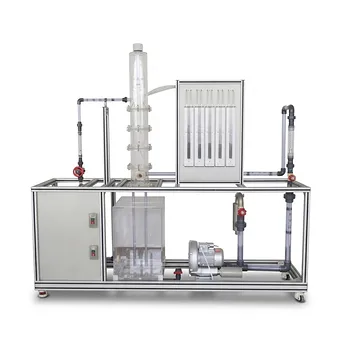
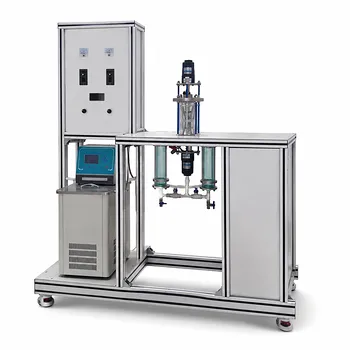
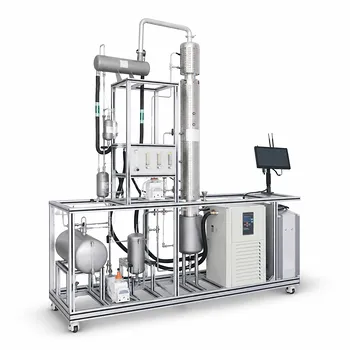
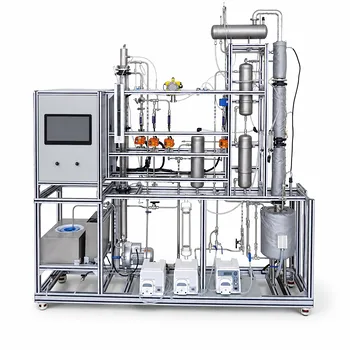
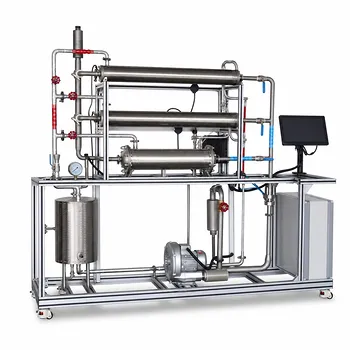
The mass transfer performance of a tray column is not a fixed outcome—it’s a direct engineering consequence of three physical design variables: active area, weir height, and slot/hole area. In a pilot plant, these dimensions control gas-liquid contact dynamics by dictating how vapor distributes through the liquid, how long the phases interact, and how much interfacial area is created. Understanding their influence allows researchers and students to systematically link tray geometry to separation efficiency, pressure drop, and operational stability.
Tray design variables define the contact time, interfacial area, and phase distribution that govern mass transfer. By independently altering active area, weir height, and slot area in a pilot plant, you can decouple their effects, reinforce fundamental mass transfer principles, and generate data that directly translates to smarter, more efficient column designs.
How Tray Geometry Governs Mass Transfer
A tray in a distillation or absorption pilot plant is the physical stage where vapor and liquid meet. The mass transfer rate depends on the specific interfacial area (a), the concentration driving force, and the mass transfer coefficient. The tray’s physical dimensions—active area, weir height, and slot area—directly set the conditions that alter each of these factors. Manipulating them is the central experimental lever for studying separation performance.
Active Area: The Battleground for Vapor-Liquid Contact
Active area (AA) is the portion of the tray deck where vapor rises and bubbles through the liquid. It defines the region of intense mass transfer.
A larger active area distributes vapor more evenly, promoting uniform froth and maximizing the interfacial area per tray. In pilot plants, limiting the active area—by design or by derating factors (e.g., multiplying AA by 0.92 for bubble cap trays)—constrains the open cross-section. This forces higher local vapor velocities, which can increase mass transfer coefficients up to a point, but also raises the risk of premature entrainment and pressure drop. Researchers can map the relationship between active area and Murphree tray efficiency to identify the optimal utilization of the tray deck.
Weir Height: The Governor of Liquid Residence Time
Weir height (WH) controls the depth of the liquid layer that vapor must penetrate. It directly sets the liquid residence time (LIQT) on the tray—the window during which mass transfer occurs.
A taller weir holds a deeper pool, extending the contact time between phases and typically improving tray efficiency. In atmospheric pilot columns, weir heights of 40–100 mm are common for that reason. Under vacuum, however, the weir is often reduced to as low as 6 mm to minimize pressure drop, accepting lower single-tray efficiency to preserve column vacuum and overall throughput. The experiment becomes a trade-off study between residence time and pressure penalty, teaching that mass transfer cannot be optimized in isolation from hydraulic limits.
Slot/Hole Area: The Key to Interfacial Area and Phase Dispersion
The slot area (or hole area) refers to the total open area through which vapor enters the liquid. Together with the vapor flow rate, it dictates the vapor velocity through the openings, which determines bubble size and froth density.
A smaller slot area creates finer bubbles and a more turbulent froth, increasing the specific interfacial area (a) and enhancing mass transfer. But excessive restriction raises the dry-tray pressure drop and can cause weeping at low vapor loads—liquid drains through the holes rather than being supported. Pilot plant experiments often vary slot area systematically to find the point where interfacial area and pressure drop balance, and to observe regime transitions like the weep point and the spray regime. This hands-on observation connects the hydrodynamic picture to the measured mass transfer coefficient.
The Hidden Cost of Pushing Performance
Every geometric choice that improves mass transfer comes with a hydraulic or operational trade-off. In a pilot plant, these trade-offs become observable, measurable phenomena that define a column’s operating window.
Pressure Drop vs. Efficiency
Increasing weir height or reducing slot area boosts efficiency, but each raises the pressure drop per tray. In vacuum systems, a high pressure drop elevates the boiling point at the bottom of the column, potentially causing thermal degradation or forcing a higher reboiler temperature. Pilot plants allow you to plot efficiency against pressure drop as you change these variables, revealing the point of diminishing returns.
Entrainment and Flooding Limits
A high weir combined with a restricted active area can lead to excessive liquid entrainment—droplets are carried to the tray above, contaminating the countercurrent separation. This effectively reduces the concentration driving force and causes premature flooding. By adjusting weir height and active area independently while monitoring downcomer backup and froth height, a pilot-plant study can characterize the onset of entrainment and define the maximum vapor capacity.
Flow Maldistribution: The Efficiency Killer
Even perfect tray geometry can fail if the liquid is not distributed uniformly. In large-diameter trays, stagnant zones and backflow create a residence time distribution that lowers Murphree efficiency far below the point efficiency. Pilot plants with transparent column sections make these flow patterns visible—students can study how liquid flow path length and tray geometry (sieve vs. valve) affect maldistribution, linking flow visualization to measured Péclet numbers and separation performance.
Making the Right Choice for Your Experimental Goals
Designing a pilot-plant tray experiment is about choosing the geometric variables that will answer your specific research question. Here’s how to align tray design with your objectives:
- If your primary focus is maximizing separation efficiency: Start with a moderate-to-high weir height (40–80 mm) to increase residence time, and adjust slot area to create a fine dispersion. Measure pressure drop continuously to ensure you stay below flood and entrainment limits.
- If your primary focus is understanding hydrodynamic regimes and flow patterns: Vary active area and weir height systematically to force transitions from bubble to spray regime. Use visual observation and liquid sampling to correlate froth structure with local mass transfer rates and to study maldistribution.
- If your primary focus is generating scale-up data: Emphasize slot area and active area sizing to maintain stable operation over a wide turndown range. Characterize the weep point and entrainment flooding to define the operational window that a commercial column must respect.
- If your primary focus is teaching fundamental transport phenomena: Keep the geometry simple and change only one variable at a time—for example, test three weir heights under identical vapor and liquid loads. Have students calculate the mass transfer coefficient from composition data and overlay the results to directly see the role of residence time.
When you treat active area, weir height, and slot area as independent experimental knobs rather than fixed specifications, the pilot plant transforms from a demonstration tool into a research instrument that builds deep, transferable insight.
Summary Table:
| Tray Design Variable | Primary Effect on Mass Transfer | Key Trade-off / Operational Limit |
|---|---|---|
| Active Area | Controls vapor distribution and interfacial area per tray. | High local vapor velocity can cause premature entrainment. |
| Weir Height | Determines liquid residence time (contact window) on the tray. | Taller weirs increase tray efficiency but raise pressure drop. |
| Slot/Hole Area | Dictates vapor velocity, bubble size, and phase dispersion. | Restricted area boosts turbulence but risks high pressure drop or weeping. |
Elevate Your Unit Operations Training with LABPARK
At LABPARK, we provide state-of-the-art Educational and Vocational Unit Operations Pilot Plants tailored for chemical engineering, bioprocess & biotech, and environmental & water treatment applications. Our modular systems empower universities, research institutes, and enterprises to explore complex mass transfer dynamics with hands-on, scalable equipment.
Ready to enhance your teaching and research capabilities? Contact LABPARK today to find the perfect pilot plant solution for your lab!
Related Products
- Absorption and Desorption Educational Unit Operations Pilot Plant
- Dual-Mode Rectification Pilot Plant for Practical Training Unit Operations
- Multimodal Absorption and Desorption Pilot Plant for Unit Operations Training
- High-Gravity Emulsification and Mass Transfer Educational Pilot Plant
- Plate Column Hydrodynamics Tray Demonstration Educational Pilot Plant
People Also Ask
- How to demonstrate physical vs chemical absorption using a pilot plant? A practical lab guide.
- Why are liquid-phase mass transfer rates in pilot plants comparable to gas-phase rates? Key Insights
- Why is interface composition critical in absorption pilot plants? Bridging Theory & Practice
- How to Calculate HTU & NTU for Pilot Plant Packing Height: A Complete Guide
- How do absorption pilot plants assist students in calculating mass transfer coefficients and sizing column parameters?