The integrity of your acoustic data begins long before the signal processor—it starts with a stud and a piece of tape.
For temporary or experimental setups on chemical engineering unit operations, mount the sensor with a glue stud. For long-term, stable monitoring, a screw tap into the surface is the preferred method. In every case, however, the sensor cable must be rigidly fixed to the same surface as the sensor. If the cable is left loose, process-induced vibration will whip it against the pipe or vessel wall, injecting overwhelming mechanical noise directly into your acoustic measurement.
The most critical factor in deploying acoustic chemometrics on pilot plants is the combined discipline of mechanical attachment and cable management. Glue studs deliver speed and reversibility; screw taps deliver permanence and robustness. Yet both are worthless if the cable is allowed to flap—the resulting noise floor can easily swamp the very signatures you need to detect.
Mounting the Sensor: Glue Studs vs. Screw Taps
Choosing the right mechanical interface between sensor and surface is the foundation of signal fidelity. The two primary methods address distinctly different operational timelines.
When to Use a Glue Stud
A glue stud uses a high-strength adhesive to bond a threaded mounting base directly to the pipe or vessel wall.
This is the go-to choice for short-term, experimental, or academic pilot campaigns.
It can be applied in minutes, requires no alteration to the plant equipment, and leaves zero permanent marks once removed.
The adhesive must be rated for the process temperature and surface condition.
Any residual paint, rust, or moisture under the bond line will create a soft, damped interface that attenuates high-frequency acoustic energy.
Glue studs are ideal for rapid screening of multiple monitoring locations, teaching laboratories, and proof-of-concept tests where sensor relocation is frequent.
When to Use a Screw Tap
A screw tap involves drilling and threading a shallow hole in the equipment wall, into which a steel stud is permanently screwed.
This method delivers the highest long-term mechanical stability and the most rigid coupling between the sensor and the process structure.
Because the connection is metallurgically rigid and immune to adhesive creep or thermal softening, it preserves the full bandwidth of vibration transmission over months or years of continuous operation.
However, a screw tap is an invasive modification—even if it does not penetrate the inner wall.
You must verify beforehand that the component wall thickness, material grade, and process pressure can safely accept a tapped hole.
On pressure vessels, hazardous chemical lines, or thin-walled heat exchanger shells, engineering approval is non‑negotiable. When permitted, the screw tap becomes the definitive choice for production-scale pilot campaigns and validated process monitoring studies.
The Non-Negotiable Rule of Cable Fixation
No mounting decision matters unless the sensor cable is properly immobilized. This is the most frequently violated rule in pilot‑plant acoustics.
Why a Loose Cable Destroys Your Signal
In any pump-driven flow loop or agitated reactor, the pipework and vessel walls vibrate continuously.
A free-hanging sensor cable will bounce against that vibrating surface, producing impact transients that are broad‑band, high‑amplitude, and completely unrelated to the process phenomena you are trying to capture.
These impacts look like spikes in the time domain and raise the entire noise floor in the frequency domain, masking subtle acoustic signatures from cavitation, turbulent mixing, or particle flow.
How to Fix the Cable Correctly
Immediately after the sensor, secure the cable to the same surface using strong adhesive tape, UV-resistant cable ties, or adhesive‑backed plastic clips.
Fix the cable for a distance of at least 20–30 cm along the pipe or vessel wall before routing it away to your data acquisition system.
This ensures that the cable, the connector, and the sensor body all vibrate as a single inertial unit. There is no relative motion to generate spurious forces on the piezoelectric element or to cause connector fretting.
Do not anchor the cable to a separate structural support (a nearby handrail, cable tray, or building steel) unless a generous service loop has first been fixed to the process equipment.
Anchoring the cable to a static reference point while the pipe moves will transmit strain directly into the accelerometer, creating low‑frequency drift artifacts that degrade PLS model predictions.
Understanding the Trade-offs and Common Mistakes
Even with the best intentions, a few predictable failures crop up in pilot‑plant acoustic installations. Awareness of these trade‑offs will save days of troubleshooting.
Permanent vs. Reversible Access
- Glue studs are fully reversible, making them suitable for leased equipment or shared pilot halls. The trade‑off is a slight loss of high‑frequency stiffness above 5–10 kHz due to the thin adhesive layer.
- Screw taps provide a path to the highest-fidelity coupling but leave a threaded hole. If a pressure boundary is accidentally breached or the tap location is wrong, repair may require welding and re-certification.
Temperature and Chemical Exposure
- Adhesives can soften, oxidize, or swell when exposed to hot solvent vapors. A glue stud that works perfectly with cold water may fail catastrophically on a 180 °C steam line. Always match the adhesive chemistry to the maximum upset temperature.
- Screw taps avoid this temperature limitation but still require anti‑seize compound on the threads to prevent galling in cyclic duty.
Cable Routing Obsessions
- The most common installation error is not fixing the cable at all, or taping it with a single small piece of low‑tack office tape. The cable works free within hours, and the data quality degrades silently.
- A second error is using a screw tap for the sensor but leaving the cable clipped to a distant frame. The result is a rigid sensor mount that faithfully transmits the cable‑strain noise from the relative motion between pipe and clip—defeating the purpose of the tapped connection.
Making the Right Choice for Your Pilot Plant Setup
Your specific experimental duration, process environment, and signal-quality requirements will dictate the optimal combination.
- If your primary focus is rapid experimentation, teaching campaigns, or temporary sensor surveys: Use a glue stud with a cyanoacrylate or two‑part epoxy rated for your process temperature. This allows you to move the sensor in minutes and leaves no damage when the campaign ends. Pair it with aggressive cable‑taping every time the sensor is relocated.
- If your primary focus is long‑term process monitoring, regulatory data, or validated chemometric models: Invest in a screw‑tapped stud after an engineering review confirms pipe‑wall integrity. Plan the sensor location once, and expect stable coupling for the entire life of the campaign.
- If your primary focus is the lowest possible noise floor for detecting subtle acoustic signatures: Ruthlessly fix the cable along the same surface for the first 30 cm with multiple high‑tensile ties before any other mounting decision. A mid‑grade glue stud with immaculate cable management will often outperform a perfectly tapped stud with a flapping cable.
Treat the sensor body, the stud, and the first length of cable as a single unified measurement transducer—and your pilot‑plant acoustic data will immediately step up in repeatability and predictive power.
Summary Table:
| Feature | Glue Studs | Screw Taps |
|---|---|---|
| Best For | Short-term, teaching, or rapid testing | Long-term monitoring & validated models |
| Installation | Fast & non-invasive (adhesive-based) | Invasive (requires drilling and tapping) |
| Signal Fidelity | Slight high-frequency loss (>5–10 kHz) | Maximum mechanical coupling & bandwidth |
| Reversibility | Fully reversible (leaves no marks) | Permanent equipment modification |
| Cable Rule | Must be rigidly fixed to the surface | Must be rigidly fixed to the surface |
Elevate Your Chemical Engineering Research with LABPARK
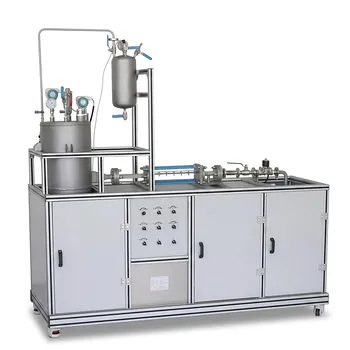
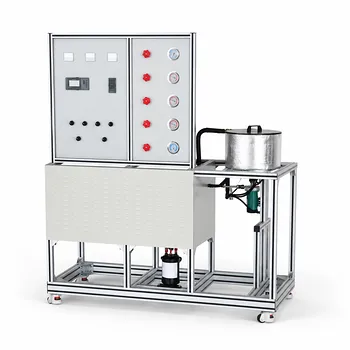
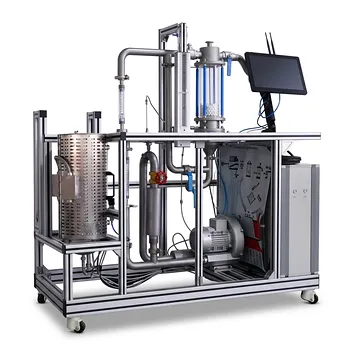
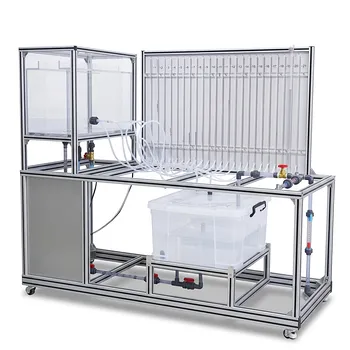
Accurate experimental data depends on high-fidelity instrumentation and robust equipment. LABPARK provides premium Educational and Vocational Unit Operations Pilot Plants in chemical engineering, bioprocess & biotech, and environmental & water treatment designed for universities, research institutes, and enterprises.
Whether you need reliable structures to mount advanced acoustic sensors or complete systems for hands-on training, our pilot plants deliver the stability and precision your research demands.
Contact LABPARK today to discuss your pilot plant requirements and get a customized quote!
Related Products
- Cavitation Phenomenon Demonstration and Analysis Educational Unit Operations Pilot Plant
- Fluid Friction Resistance Determination Educational Unit Operations Pilot Plant
- Orifice and Venturi Flowmeter Calibration Educational Pilot Plant for Fluid Mechanics Laboratory
- Educational Compression Refrigeration Performance Determination Unit Operations Pilot Plant
- Solid Spherical Heat Transfer Coefficient Determination Educational Chemical Engineering Pilot Plant
People Also Ask
- How do pilot plants teach U-tube manometers? Master Differential Pressure Calculations
- How to teach pump cavitation vs. gas binding? Interactive pilot plant teaching guide.
- What factors should be considered when selecting float valve types? F1 vs. V-4 vs. T-type Guide
- How does an FIA biosensor improve fermentation monitoring compared to HPLC? Speed & automation.
- What are key parameters for stable biosensor FIA in bioprocess training? Achieve optimal performance.