Consistency in reagent preparation is the single most important factor for generating reliable data from fluorescence-based bioassays. In a biotech pilot plant, the standard procedure is to dissolve double-stranded DNA in a specific buffer (Tris/NaCl/EDTA, pH 7.0) with gentle agitation for at least 12 hours, then quantify the resulting stock by measuring UV absorbance at 260 nm in a quartz cuvette—where 1.0 A260 unit equates to 50 µg/mL of duplex DNA. This two-step protocol forms the backbone of quality control, ensuring that every fluorescence assay starts with a solution of known, reproducible concentration.
Preparing DNA solutions for fluorescence assays is less about complex technique and more about strict adherence to a proven dissolution and quantification workflow. The 12-hour agitation and A260 measurement eliminate hidden variables, guaranteeing that the fluorescent signal you measure really reflects the biology, not a pipetting or solubility error.
Why a Standardized Dissolution Protocol Matters
Fluorescence-based bioassays—whether for DNA quantitation itself, protein-DNA binding, or nuclease activity—are exquisitely sensitive to the physical state of the DNA substrate. Unevenly dissolved stock solutions can create false gradients in your assay, while degradation products can quench or alter dye-binding behavior.
The Buffer Recipe: More Than Just pH 7.0
The prescribed buffer (Tris, NaCl, EDTA, pH 7.0) is not arbitrary. Tris maintains a stable pH near physiological conditions, preventing acid- or base-catalyzed depurination. NaCl provides the ionic strength necessary to keep the double helix in its native B-form, which is critical for consistent intercalation of dyes like SYBR Green or PicoGreen. EDTA chelates divalent metal ions, inhibiting nucleases that would otherwise nibble away at your DNA during the long dissolution step. Together, they create a stabilizing environment that preserves the molecule exactly as you intend to measure it.
The 12-Hour Agitation: Ensuring Complete Solubilization
DNA is a massive, semi-flexible polymer. When lyophilized or ethanol-precipitated, it forms a tangled, partially crystalline mass that resists rapid hydration. Agitating for at least 12 hours—often overnight on a gentle shaker or rotator—allows water to fully penetrate the polymer network. Shorter dissolution times can leave micro-aggregates that settle or create local concentration spikes. In a fluorescence assay, those spikes translate directly into well-to-well variability that no amount of post-hoc normalization can fully correct.
The Quantification Step: UV Absorbance as the Gold Standard
Once the stock is in solution, you need an accurate concentration value that can be traced back to a physical property of the molecule itself. A260 measurement is fast, non-destructive, and, when done correctly, remarkably reproducible.
Why Quartz Cuvettes Are Non-Optional
Quartz (or UV-transparent disposable cuvettes) is mandatory. Standard plastic or polystyrene absorbs strongly below 300 nm, rendering the 260 nm reading useless. Even “UV-compatible” plastics can leach UV-absorbing compounds or scatter light, introducing a systematic underestimation. Using a quartz cuvette—and handling it only by the frosted sides—eliminates this source of error.
The 260 nm Measurement and the Conversion Factor
The classic rule—1.0 A260 = 50 µg/mL for duplex DNA—is based on the average molar absorptivity of nucleotide base pairs. It works well for genomic DNA or long PCR products. However, it assumes your sample is pure DNA. In a pilot plant, you should always check the A260/A280 ratio as an internal purity check. A ratio >1.8 indicates minimal protein contamination; a lower ratio would artificially inflate your apparent DNA concentration and lead to underloaded fluorescence assays. This is especially important because many fluorescent DNA-binding dyes are also quenched by contaminants like phenol or excess salt.
Understanding the Limitations and Avoiding Pitfalls
While the protocol is robust, no single method is perfect. Relying solely on A260 without considering its blind spots can still introduce error into your fluorescence workflow.
When UV Purity Falls Short
A260 measurement cannot distinguish between intact double-stranded DNA and free nucleotides or short oligos that may be present from degradation. In fluorescence assays that rely on intercalating dyes, the signal per microgram can vary with fragment length because small fragments have fewer intercalation sites per base pair. If your DNA stock has degraded during preparation, your calibration curve may drift. This is where regular agarose gel analysis of the stock becomes a complementary QC step—not a replacement for A260, but a vital reality check.
The Buffer’s Impact on Fluorescence
The Tris/NaCl/EDTA buffer is gentle on DNA, but some fluorescence assays are sensitive to salt concentration or EDTA levels. High EDTA, for instance, can chelate magnesium ions required for certain enzymatic reactions coupled to a fluorescence readout. Always verify that a 1:10 or 1:100 dilution of your DNA stock into the assay buffer does not alter the final ionic conditions beyond the assay’s tolerance. A simple buffer-compatibility test—measuring fluorescence of a known DNA amount with and without your stock buffer components—can save hours of troubleshooting.
Making the Right Choice for Your Pilot Plant Goals
The core protocol (Tris/NaCl/EDTA, 12-hour agitation, A260 quantitation) is your baseline. How you implement it can be fine-tuned to your operation’s specific objectives.
- If your primary focus is training new operators: Strictly enforce the 12-hour dissolution and quartz-cuvette-only rule. Add a checklist for recording A260/A280 ratios. This builds a habit of precision that directly translates to fewer failed assays.
- If your primary focus is high-throughput screening: Pre-quantify large batches of DNA stock and aliquot them in single-use volumes. Before each run, re-measure A260 of one aliquot as a “sentinel” to confirm concentration stability.
- If your primary focus is maximum sensitivity (e.g., low-copy detection): Supplement the UV quantification with a fluorescence-based DNA quantitation kit (like PicoGreen) on a dilution series of your stock. This cross-validation exposes any hidden contaminants that absorb UV but are invisible to the dye, giving you the truest measure of “assay-active” DNA.
Robust, predictable results in a biotech pilot plant begin and end with the seemingly mundane act of preparing a DNA solution. When you treat reagent preparation as a standardized, quantified step, you transform your fluorescence bioassays from a source of variability into a source of truth.
Summary Table:
| Step | Key Parameters | Purpose & Quality Check |
|---|---|---|
| 1. Dissolution | Tris/NaCl/EDTA (pH 7.0), $\ge$ 12 hrs gentle agitation | Prevents degradation; ensures complete polymer solubilization. |
| 2. Quantification | $A_{260}$ in quartz cuvette ($1.0\ A_{260} = 50\ \mu\text{g/mL}$) | Determines concentration; $A_{260}/A_{280}$ ratio check (>1.8). |
| 3. Quality Control | Agarose gel analysis & buffer compatibility test | Verifies DNA integrity; prevents downstream assay interference. |
Scale Up Your Biotech Training & Research with LABPARK
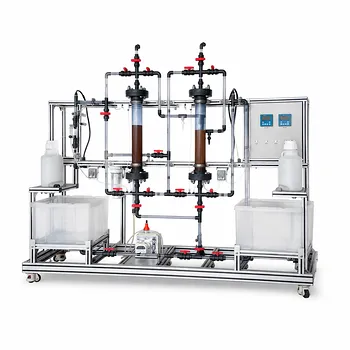
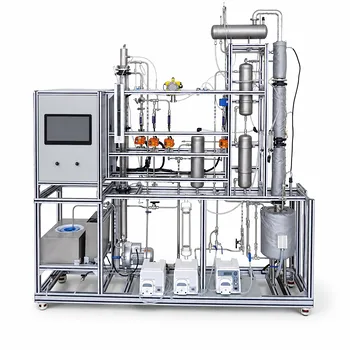
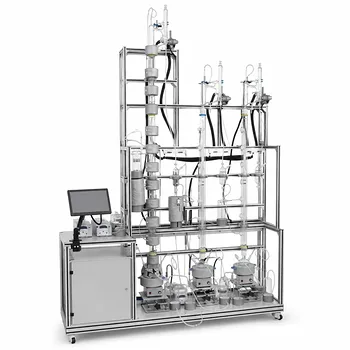
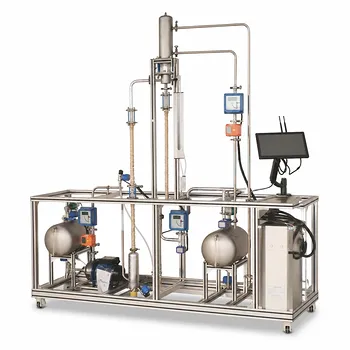
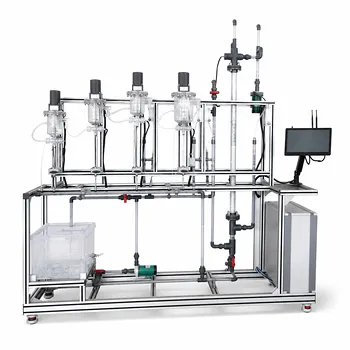
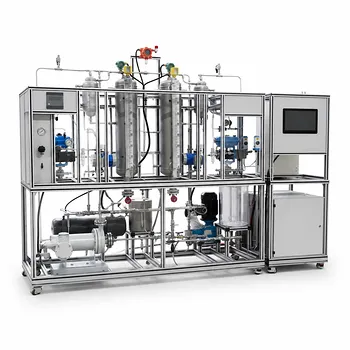
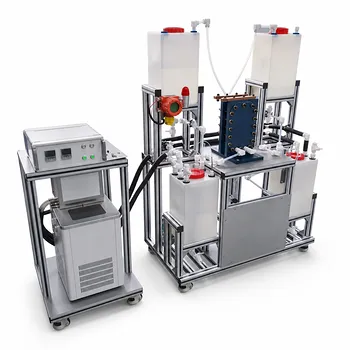
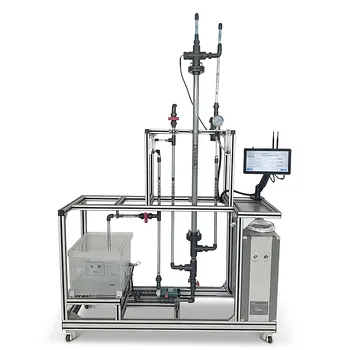
Achieving precise, reproducible bioassay results starts with standardized pilot plant operations. LABPARK provides industry-grade Educational and Vocational Unit Operations Pilot Plants in bioprocess & biotech, chemical engineering, and environmental & water treatment.
Designed specifically for universities, research institutes, and enterprises, our pilot plants help you:
- Train Future Talents: Equip students and operators with practical, industry-relevant skills.
- Optimize Scale-Up Processes: Bridge the gap between lab-bench discovery and industrial-scale production.
- Ensure Compliance & Safety: Leverage robust systems built to international research standards.
Ready to elevate your biotechnology training and research capabilities? Contact LABPARK today to discover the ideal pilot plant solution for your facility!
Related Products
- Multi-Functional Membrane Separation Educational Pilot Plant for Unit Operations Lab
- Multifunctional Membrane Separation Educational Pilot Plant with Ultrafiltration, Nanofiltration, Reverse Osmosis
- Water Electrolysis Hydrogen Production and Storage Educational Pilot Plant
- Electrolyte Distillation Purification and Formulation Educational Pilot Plant
- Ion Exchange Water Purification Educational Pilot Plant for Engineering Unit Operations
People Also Ask
- What are the key differences in membrane configurations? Choose the Right Unit Operations Pilot Plant
- How Do Pervaporation, Vapor, and Gas Permeation Differ in Pilot Plants? Key Comparison
- What are the advantages of membrane separation pilot plants? Energy-saving process intensification.
- Pervaporation vs. Vapor Permeation: Handling Suspended Solids in Membrane Pilot Plants
- How do PEI, PVDF, and PSU membranes compare in pilot plants? Find the best fit.