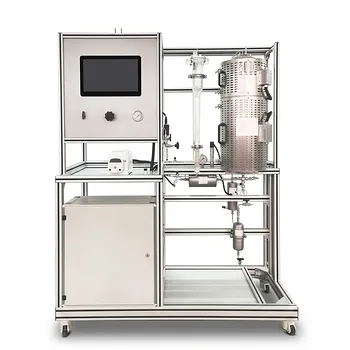
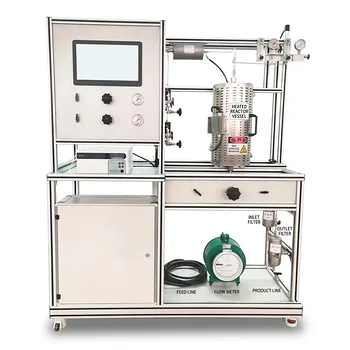
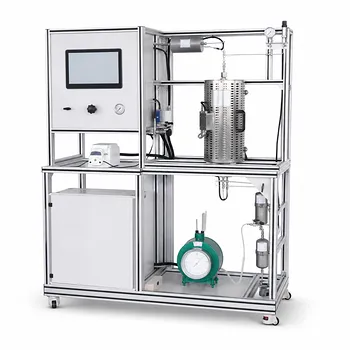
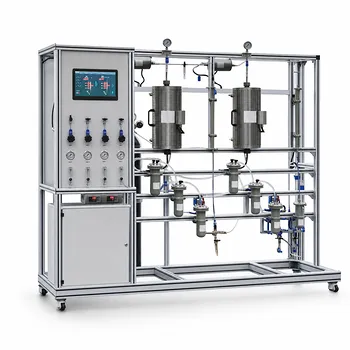
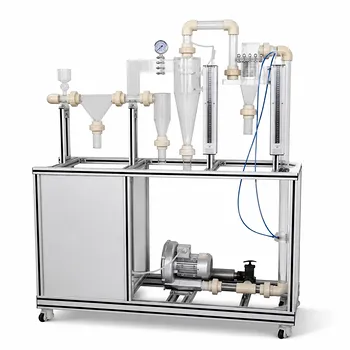
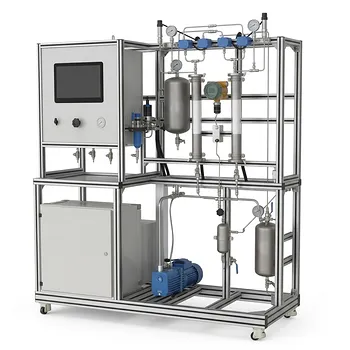
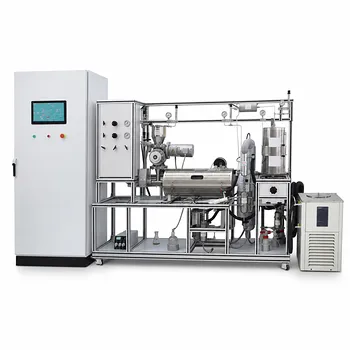
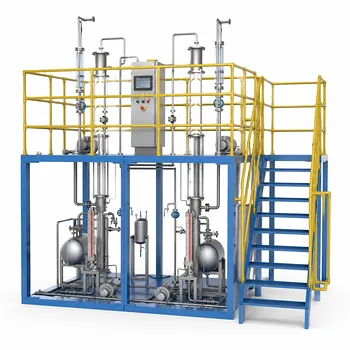
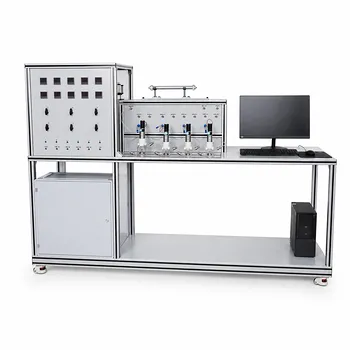
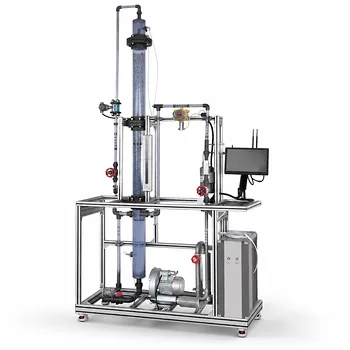
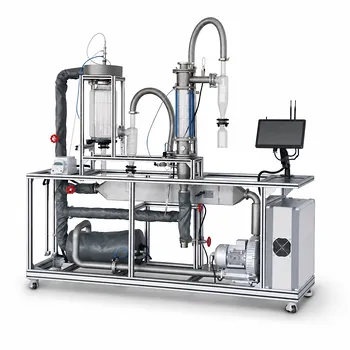
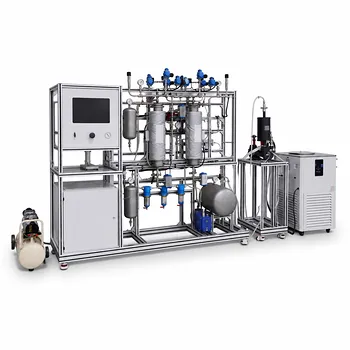
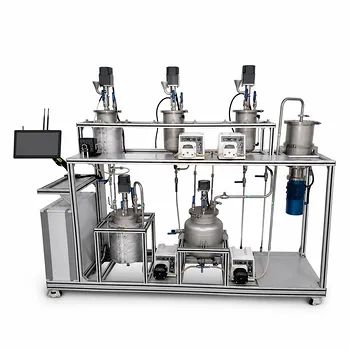
The core experimental task for any chemical engineering student is to accurately find the minimum fluidization velocity (Umf), and the pilot plant is the perfect tool for this. You do this by systematically increasing the gas flow through a bed of particles and meticulously recording the pressure drop across it. The Umf is not just a number from a textbook; it's the specific point on your graph where the rising pressure drop plateaus and becomes equal to the buoyant weight of the bed per unit area, signifying the moment the bed transforms from a static solid into a dynamic, fluid-like state.
Understanding how to experimentally determine Umf bridges the gap between theoretical equations and real-world reactor operation. The key insight is that Umf is found not at the peak pressure drop, but at the transition to a flat, stable pressure-drop region, and verifying this point with established models teaches the critical skill of data validation essential for reliable reactor design and scale-up.
Designing Your Experimental Protocol
The path to a reliable Umf measurement begins with a well-structured experimental plan. It’s not just about turning a knob and watching; it's about knowing what data to collect and why each step is critical for isolating the precise point of fluidization.
Understanding the Physics in Your Column
You must first visualize what happens inside the column. Initially, as you pack the solids, the bed is a fixed, load-bearing structure. When you introduce a low, upward gas flow, the gas simply percolates through the voids between particles, and the pressure drop rises linearly as you increase the velocity.
At this stage, the particles are physically supported by each other and the distributor plate. The drag force from the gas is not yet high enough to overcome the particles' weight. Your pressure drop reading, Δp, is increasing, but the bed height remains constant.
The critical moment occurs when the upward drag force from the gas exactly counterbalances the downward gravitational force on the particles. At this minimum fluidization velocity (Umf), the static friction between particles vanishes. The bed transitions from a fixed to a fluidized state, and the pressure drop stabilizes, equal to the effective weight of the bed per unit cross-sectional area, given by the equation Δp = H(ρs - ρf)(1 - ε)g.
The Step-by-Step Measurement Procedure
Start by loading a known mass of solid particles into the pilot plant's column to create a carefully measured initial bed height (H). This is your baseline. Then, initiate the gas flow at its lowest controllable setting, ensuring you get a measurable reading on your rotameter or mass flow controller.
Your data collection must be sequential and systematic. For each small, incremental increase in superficial gas velocity, allow the bed to reach a steady state and then record both the gas flow rate and the resulting pressure drop across the bed. This pairing is the heart of your experiment. Continue this process far beyond the point you expect fluidization to ensure you capture the full behavior.
Moving from Raw Data to Verifying Umf
Collecting numbers is only the first task. The real engineering skill lies in analyzing that data to pinpoint Umf and then defending your finding by verifying it against established theory.
Identifying the Critical Transition Point
The most reliable method to find Umf is graphical analysis. Plot your experimental data with the superficial gas velocity on the x-axis and the pressure drop (Δp) on the y-axis. You will observe three distinct regions.
Initially, you'll see a sharply rising, near-linear region representing the fixed bed. Often, the pressure drop will peak just before fluidization begins, as the gas needs extra energy to unlock the interlocked particles. The Umf is identified as the velocity where the pressure drop first stabilizes and flattens out, transitioning to a horizontal line that represents full fluidization. Don't be misled by the initial peak; find the steady-state plateau.
Verifying Your Results with a Theoretical Model
Your experimentally determined Umf is a raw data point that now needs validation. This is where you use a semi-empirical model, such as the one from Broadhurst and Becker. This equation balances gravitational, buoyant, and drag forces using parameters like particle density (ρs), gas density (ρg), particle diameter (dp), and gas viscosity (μ).
Calculate a theoretical Umf value using this correlation with your known material properties. A close agreement between your experimental value and the theoretical prediction confirms the validity of your procedure. A significant discrepancy is not a failure; it’s a powerful learning opportunity to investigate the root cause, such as particle size distribution, wall effects in your column, or even van der Waals forces that the model ignores.
Understanding the Trade-offs and Pitfalls
An experienced engineer knows that every method has limitations. Acknowledging these is essential for producing trustworthy results and avoiding operational disasters in larger units.
The Critical Impact of Particle Size Distribution
You will rarely work with perfectly uniform particles. When your bed has a range of particle sizes, a single Umf measurement is an approximation. The operational rule is stark: to prevent defluidization, your Umf calculation must be based on the largest particles present (dmax).
Conversely, the upper limit of your operating window, the terminal velocity (ut), must be calculated for the smallest particles (dmin) to prevent them from being blown out of the reactor. The safe operating gas velocity for a pilot plant with a particle distribution lies between the Umf for your biggest particles and the ut for your finest particles. This entire range is quantified by the fluidization index (ut/umf), which can shrink dramatically for larger particles.
Avoiding the Hysteresis Loop Error
Always approach the fluidization point from a fixed-bed state by increasing velocity, and not the reverse. If you start with a fully fluidized bed and decrease gas flow, the pressure drop path may not be the same due to particle rearrangement. The Umf determined on the defluidization curve is often different and less reliable for defining the lower operating limit. Your standard protocol should always be an ascending velocity curve.
Making the Right Choice for Your Goal
Your experimental approach and analytical depth should be tailored to what you ultimately need to learn or achieve from the pilot plant run.
- If your primary focus is validating a supplier’s particle data: Run multiple cycles of increasing and decreasing velocity. Use the ascending curve to determine Umf and compare it directly with the manufacturer’s specification. A consistent mismatch could indicate particle attrition or an unexpected size distribution.
- If your primary focus is studying fluidization hydrodynamics for scale-up: Go beyond just Umf. Once fluidized, continue to increase the velocity towards ut. Record bed expansion and pressure drop to map the full fluidization regime. This data is vital for reactor design models, showing how heat and mass transfer coefficients will behave.
- If your primary focus is mastering pilot plant operations: Use the experiment to calibrate your instrumentation. Verify your rotameter and pressure transducer readings by ensuring the experimental Umf matches the theoretical one. This teaches you that every sensor and final control element has a bias that must be accounted for.
Confidence in pilot plant data comes from understanding not just the result, but the physics, the procedure, and the pitfalls that define it.
Summary Table:
| Fluidization Stage | Superficial Gas Velocity | Bed Physical State | Pressure Drop (Δp) Behavior |
|---|---|---|---|
| Fixed Bed | Low ($U < U_{mf}$) | Static solid, load-bearing | Increases linearly with velocity |
| Transition (Umf) | Critical ($U = U_{mf}$) | Fluid-like, friction vanishes | Reaches a plateau (stabilizes) |
| Fluidized Bed | High ($U_{mf} < U < U_t$) | Expanded, dynamic motion | Remains constant/flat |
Elevate Chemical Engineering Education with LABPARK
Bridge the gap between theory and practice in your laboratory. LABPARK designs and manufactures high-performance Educational and Vocational Unit Operations Pilot Plants for chemical engineering, bioprocess & biotech, and environmental & water treatment.
We help universities, research institutes, and enterprises empower students and researchers with robust, safe, and highly accurate experimental systems—like our gas-solid fluidization pilot plants.
Interested in upgrading your laboratory capabilities? Contact LABPARK today to discuss your project requirements!
Related Products
- Fluidized Bed Gas Solid Catalytic Reaction Educational Pilot Plant
- Two-Dimensional Fluidization Hydrodynamics Educational Pilot Plant for Unit Operations Training
- Fixed Bed Gas Solid Catalytic Reaction Educational Pilot Plant
- Micro-Scale Gas-Solid Catalytic Reaction Educational Pilot Plant
- Educational Unit Operations Pilot Plant for Intraparticle Diffusion Effective Factor Measurement
People Also Ask
- Why is the bed height-to-diameter ratio (L/dt) critical? Fluidized bed pilot plant selection guide.
- How is the minimum fluidization velocity (U_mf) determined and utilized? A Unit Operations Guide
- How does the Mears criterion evaluate transport resistance? Key Guide to Intrinsic Kinetics
- How do reactor pilot plants safely study gas-solid reactions? Master kinetics with thermal & flow control.
- How do pilot plants demonstrate fluidized-bed reactor advantages over fixed-bed? Find Out Now