Precision begins with your cuvette. The key maintenance and operational precautions for optical cuvettes in chemical engineering laboratory training are: handling only by the frosted sides, filling to exactly two‑thirds of the cell volume, rinsing with the test solution before use, measuring solutions from lowest to highest concentration to limit carryover, and, after use, rinsing with deionized water and blotting (never wiping) the optical surfaces with lens paper.
Every fingerprint, scratch, or residue left on a cuvette is optically amplified by the Beer–Lambert Law, turning a tiny handling error into a significant concentration error. Mastering cuvette care is not just about protecting glass—it is about building the contamination‑prevention mindset required for process analytical technology (PAT) in pilot plants.
Why Cuvette Care Directly Determines Data Integrity
The cuvette is the interface where your sample meets the light beam. Any defect on its optical surfaces scatters or absorbs photons, distorting transmittance and undermining the entire quantitative analysis. In chemical engineering education, treating the cuvette as a consumable that “just works” leads to erratic results and masks the true principles of spectrophotometry.
The Optically Active Window Must Remain Immaculate
The two transparent faces of the cuvette are the only pathways for the measuring beam. A single greasy fingerprint can reduce transmittance by several percent, a deviation that propagates directly into the calculated concentration. Only the frosted sides are safe to touch; the optical faces must never encounter skin, bench tops, or dirty gloves.
Scratches Create Permanent Detection Bias
Even microscopic scratches act as permanent scattering centers. Unlike a fingerprint, a scratch cannot be wiped away. Each scratch artificially lowers the light reaching the detector, forcing the instrument to report a higher absorbance—an error that persists through every subsequent measurement. Preventing scratches is a core maintenance principle that extends cuvette life and guarantees long‑term data quality.
Operational Precautions: Building a Contamination‑Free Workflow
The way you handle, fill, and sequence cuvettes during a lab session determines whether your measurements reflect the sample or a cocktail of errors from previous runs.
The “Frosted Sides Only” Rule
Always pick up the cuvette by the frosted or ridged faces. These non‑optical sides are designed for handling. Your fingers leave invisible oils and salts. Contact with the optical windows transfers those contaminants directly into the light path, altering absorbance and requiring time‑consuming recleaning. This simple habit is non‑negotiable for reliable routine work.
The 2/3 Fill Volume: Balancing Light Transmission and Safety
Fill the cuvette to approximately two‑thirds of its total height. Underfilling—leaving the liquid level below the light beam—creates a void that causes refractive index mismatches and stray light artifacts, making the absorbance reading meaningless. Overfilling, on the other hand, risks spillage. Spilled corrosive or staining solutions can damage the spectrophotometer’s sample chamber, leading to expensive repairs and downtime. The two‑thirds rule is both a physics requirement and an equipment‑protection mandate.
Rinse Before Use: The Invisible Shield Against Carryover
Before adding your test solution, rinse the cuvette with the same solution you are about to measure. This displaces residual water or previous solvents that would otherwise dilute your sample. Skipping this step introduces an uncontrolled offset, especially when working at the low‑concentration end of a calibration curve. In multi‑sample workflows, this rinse is the minimal‑effort operation that prevents cross‑contamination from the previous analyte.
Measure from Low to High Concentration
Process your standard solutions from the lowest concentration to the highest. Even after rinsing, trace amounts of the previous solution remain in a cuvette. When you move from a dilute to a concentrated standard, that residual carryover has a minimal proportional effect. Reversing the order—measuring a high concentration first—leaves enough residual analyte to significantly distort the true absorbance of a subsequent low‑concentration standard, rendering the calibration curve unreliable. This sequencing is a cost‑free, high‑impact operational lever.
Post‑Measurement Maintenance: Preserving Optical Quality
Cleaning the cuvette after each session is the difference between a tool that lasts for years and one that becomes a source of systematic error after a single lab.
The Deionized Water Rinse
Immediately after the final measurement, rinse the cuvette thoroughly with deionized water. This removes salts, organics, and any trace of corrosive solutes. Tap water contains minerals that can form films and etch marks upon drying; only deionized water ensures a residue‑free optical surface. A multi‑step rinse—discard the first wash, follow with a second, fresh volume—provides the highest assurance.
Blot, Don’t Wipe: The Art of Lens Paper Drying
The optical faces must be blotted gently with dedicated lens paper—never wiped with a rubbing motion. Wiping, even with soft tissue, drags any remaining microparticles across the glass, creating micro‑abrasions that accumulate with every cleaning. Blotting, by contrast, lifts the liquid film vertically from the surface, avoiding shear forces. This technique, while seemingly minor, is the single most important skill for preventing the gradual degradation that turns a precision cuvette into a frosted, light‑scattering cell.
Storage to Prevent Mechanical Damage
When not in use, store cuvettes in a dedicated rack or case where optical faces cannot contact hard surfaces. Even a brief knock against a glass beaker or metal support can chip an edge, distorting the light beam. A storage protocol that separates fresh cuvettes from those awaiting cleaning further reduces the risk of cross‑contamination.
Understanding the Trade‑offs and Common Pitfalls
No cuvette‑handling procedure is free of nuance, and understanding the trade‑offs transforms a protocol from a memorized list into an informed practice.
Blotting vs. wiping. Blotting preserves the optical surface indefinitely but may leave a micro‑film if the cuvette is not thoroughly rinsed first. Wiping appears faster but inevitably accelerates optical decay. The trade‑off is speed today versus accuracy tomorrow—in a training environment, blotting is the only defensible choice.
Fill volume and light beam alignment. While two‑thirds is the convention, cuvettes with a lower internal geometry may require a slightly different fill to ensure the meniscus sits well above the measurement beam. Always verify the instrument’s beam height. Over‑filling “just to be safe” may lead to a spill from thermal expansion or accidental knock, potentially damaging the instrument.
Measuring order and rinse volume. Some labs attempt to compensate for poor sequencing by rinsing with larger volumes or multiple solvent washes. While helpful, a flush can never fully undo the contamination bias created when a high‑concentration solution preceded a low one. The most efficient approach is to always organize the run sequence from low to high concentration, supplementing with a minimal test‑solution rinse.
How to Embed These Precautions into Your Lab Routine
Making these habits second nature requires linking them to the specific goals of your training or research.
- If your primary focus is data reproducibility: Establish a strict, timed post‑use cleaning regimen—rinse with deionized water, blot with lens paper, and inspect under a light source for streaks before storage.
- If your primary focus is protecting expensive instrumentation: Never overfill. Integrate a visual check of the fill level before inserting the cuvette, and wipe any drips from the exterior frosted surfaces immediately.
- If your primary focus is preparing for industrial PAT environments: Practice the low‑to‑high measurement sequence faithfully. This mirrors the process control mindset where small, consistent habits prevent large‑scale production deviations.
- If your primary focus is extending cuvette lifespan: Enforce the blot‑only policy. Replace any lab protocol that mentions “wiping” with the correct verb, and supply only non‑abrasive lens paper at every workbench.
Mastering cuvette care is a microcosm of the analytical rigor that defines successful chemical engineering practice—once it becomes a reflex, every absorbance reading you collect will be a statement of precision rather than a guess.
Summary Table:
| Operational Step | Key Action | Benefit / Purpose |
|---|---|---|
| Handling | Touch frosted sides only | Prevents fingerprint grease in the light path |
| Filling | Fill to exactly 2/3 volume | Avoids stray light artifacts and liquid spills |
| Rinsing | Rinse with the test solution first | Eliminates residual solvent dilution errors |
| Sequencing | Measure low to high concentration | Minimizes carryover bias on calibration curves |
| Cleaning | Rinse with DI water; blot with lens paper | Prevents mineral films and optical micro-scratches |
Elevate Your Chemical Engineering Lab Training with LABPARK
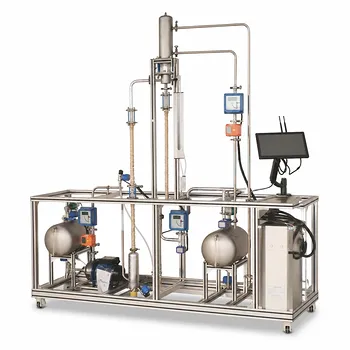
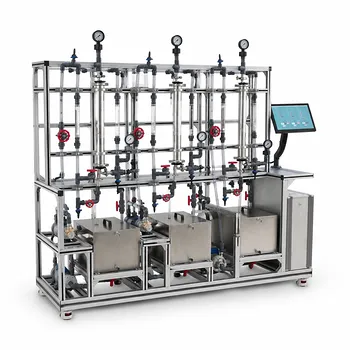
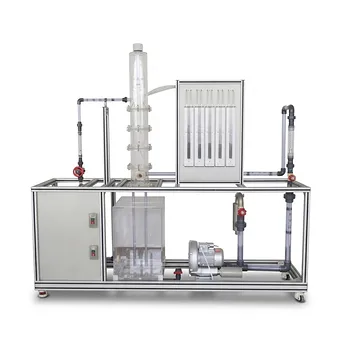
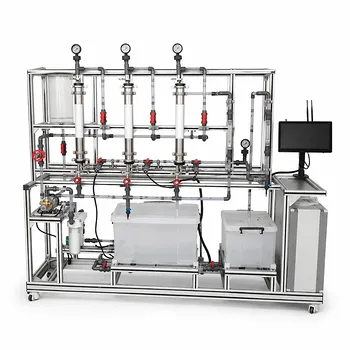
Accurate analytical habits start with the right laboratory foundation. LABPARK provides premium Educational and Vocational Unit Operations Pilot Plants in chemical engineering, bioprocess & biotech, and environmental & water treatment for universities, research institutes, and enterprises.
Our systems help students and researchers transition seamlessly from basic laboratory care to advanced process control. Contact our team today to learn how LABPARK can customize pilot plant solutions to meet your educational and research objectives.
Related Products
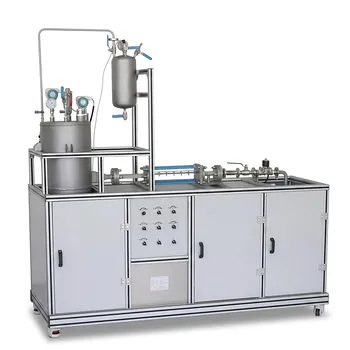
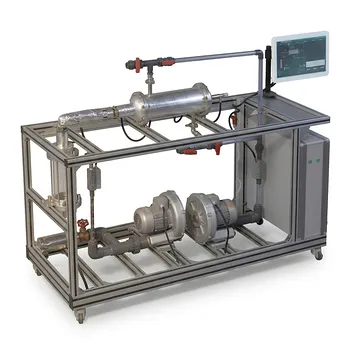
- Cavitation Phenomenon Demonstration and Analysis Educational Unit Operations Pilot Plant
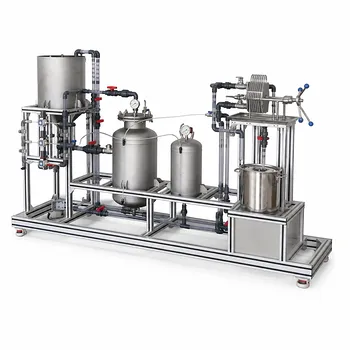
- Constant Pressure Filtration Educational Unit Operations Pilot Plant
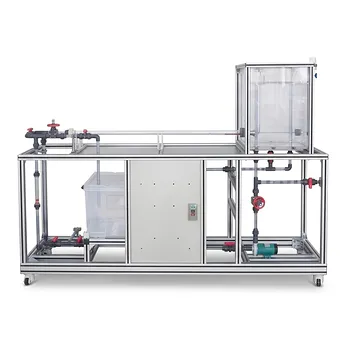
- Orifice and Venturi Flowmeter Calibration Educational Pilot Plant for Fluid Mechanics Laboratory
- Multi-Functional Special Distillation Educational Pilot Plant
- Centrifugal Pump Performance and Orifice Flowmeter Calibration Educational Pilot Plant
People Also Ask
- How do pilot plants teach U-tube manometers? Master Differential Pressure Calculations
- How to teach pump cavitation vs. gas binding? Interactive pilot plant teaching guide.
- What factors should be considered when selecting float valve types? F1 vs. V-4 vs. T-type Guide
- How does an FIA biosensor improve fermentation monitoring compared to HPLC? Speed & automation.
- What are key parameters for stable biosensor FIA in bioprocess training? Achieve optimal performance.