The key to teaching minimum static leg height is to make the invisible hydrostatic force visible.
Instructor explanations should begin with a simple, memorable rule of thumb—multiplying the heat exchanger tube length by 1.4—but must ground that number in the physics of the loop. For an educational pilot plant, this calculated value is the absolute minimum static leg (L_F) required to overcome friction and initiate circulation. To guarantee stable operation and provide a built-in safety margin, the final installed static leg height must then be increased by at least 1 foot above that minimum. The goal of the lesson is not just to memorize the factor; it is to understand why a static leg exists at all and what system-level failure looks like when it is too short.
A confident unit ops instructor will teach students to see the static leg as a hydrostatic pump. The rule
L_F_min = 1.4 × tube lengthgives the pump’s minimum required head. Never stop there—always add a practical margin of at least 1 foot to protect against real-world level swings and piping losses, transforming a theoretical number into a reliable pilot-plant design.
Understanding the Static Leg as a Driving Force
The Hydrostatic Pump in the Loop
In a thermosyphon reboiler, there is no mechanical pump. The circulation relies entirely on the density difference between the cold liquid in the downcomer (static leg) and the warmer, often two-phase fluid in the riser.
The static leg provides the net positive driving head that pushes liquid into the reboiler tubes. Without enough vertical height, the hydrostatic pressure difference is too small to overcome the frictional pressure drop through the heat exchanger and piping. This leads to stalled flow, vapor binding, and potential dry-out.
Why a Minimum Height is Absolutely Critical
If the static leg is even slightly below the minimum requirement, the loop will not function at full design capacity. In a lab setting, this manifests as hunting level oscillations, poor heat transfer, and unrepresentative separation data. Students quickly learn that the “minimum” is not a suggestion—it’s the threshold between circulation and collapse.
The 1.4 × tube length factor captures this threshold. It ensures the static head is sufficient, accounting for approximate friction losses in a well-designed, single-phase inlet leg on a typical pilot-scale shell-and-tube unit.
Deconstructing the 1.4 × Tube Length Rule
Where the Empirical Factor Comes From
The factor of 1.4 is not derived from first principles but from decades of practical design experience. It approximates the ratio of required driving head to tube-side frictional length in small to medium-sized vertical thermosyphon reboilers. For the educational lab, it provides a fast, reliable starting point without needing a full pressure drop calculation.
Step-by-Step Calculation in Class
Instructors should walk students through three clear steps:
- Measure the actual heat exchanger tube length (often given on the equipment data sheet).
- Multiply that length by 1.4. This yields the theoretical minimum static leg height, measured from the reboiler top tubesheet down to the liquid level in the bottom sump or column.
- Emphasize that this number is the absolute rock-bottom height. No real system should ever operate there.
Why Heat Exchanger Tube Length is the Scaling Factor
The tube length is the dominant frictional length in the boiling zone. The longer the tubes, the greater the two-phase pressure drop, and therefore the greater the required driving head. By tying L_F directly to tube length, the rule automatically scales for different pilot-plant sizes, which is especially useful when training students on multiple column setups.
The Non-Negotiable Safety Margin: Adding 1 Foot
Accounting for Real-World Friction and Level Fluctuations
The 1.4 multiplier accounts for basic frictional losses, but it assumes steady-state conditions with a perfect constant level. In a real unit ops lab, the liquid level in the column sump can fluctuate by several inches during startup and operational transients. Adding at least 1 foot of static leg ensures the driving head never dips below the absolute minimum, even when the level drops momentarily.
A Margin for Operator Confidence and Troubleshooting
The extra foot transforms the static leg from a fragile, on-the-edge condition into a robust design. It allows students and lab managers to safely commission the loop and diagnose problems without immediately losing circulation. When training future operators, this margin is often presented as “the difference between a lab that works and one that doesn’t.”
Common Pitfalls to Avoid in Explanations
Mistaking the Minimum for the Optimum
A dangerous misunderstanding is teaching that the 1.4 × tube length value is the design height. This leads students to install static legs that are far too short. Always reinforce that the calculated number is the minimum to just barely move fluid, and that the real installed height must exceed it significantly.
Overlooking the Influence of Liquid Properties
The rule assumes a typical organic or water-like liquid. High-viscosity fluids or fluids with very low boiling point differences require far more driving head. Without acknowledging this limitation, students may incorrectly apply the rule to systems where it fails, eroding their trust in empirical methods.
Ignoring the Rest of the Piping Loop
Static leg height is only one part of the picture. Sharp elbows, long horizontal runs, and restrictive valves add significant frictional losses that the 1.4 factor cannot cover. When teaching, always stress that the rule applies to a clean, straightforward vertical layout with minimal fittings.
Making the Calculation Meaningful in the Lab
Hands-On Activity: Measure and Mark Your Pilot Plant
Have students physically measure the tube length on the installed exchanger, calculate the minimum L_F, add the 1‑foot margin, and then mark that height on the column sight glass or sump. This transforms an abstract number into a visible operational limit they will remember.
Using Simple Pressure Balance Sketches
Draw the loop as a U-tube manometer analogy. The cold leg is dense liquid; the hot leg is less dense. The difference in hydrostatic pressure must overcome friction. When students sketch this pressure profile, they immediately grasp why a taller cold leg is beneficial and why the rule of thumb works.
Making the Right Choice for Your Training Goal
A well-designed instructor’s explanation aligns with the specific learning objective of the lab session.
- If your primary focus is safe, reliable pilot-plant operation: Teach the rule as a mandatory pre-lab check. Show that
L_F_final = 1.4 × tube length + 1 footis the operational minimum you must never go below before turning on the steam. - If your primary focus is deep process understanding: Use the rule as a launching point. Then require students to calculate the minimum static leg from first principles—using density differences, two-phase friction factor correlations, and system curves—and compare their result to the empirical 1.4 factor.
- If your primary focus is design project assessment: Challenge students to modify the lab setup with a longer tube bundle and predict how the static leg must change. This teaches them that the rule scales, but also reveals its limits when extrapolating beyond pilot-scale experience.
The art of teaching the static leg height lies in giving students a tool they can use instantly while ensuring they never mistake it for a design law to be applied blindly.
Summary Table:
| Design Parameter | Value / Formula | Operational Purpose |
|---|---|---|
| Theoretical Minimum ($L_{F, min}$) | $1.4 \times \text{Tube Length}$ | Overcomes tube-side friction to initiate circulation |
| Practical Safety Margin | Add $\ge 1\text{ foot}$ (0.3 m) | Absorbs sump level fluctuations & piping losses |
| Final Installed Height ($L_F$) | $1.4 \times \text{Tube Length} + 1\text{ ft}$ | Ensures stable operation and prevents dry-out |
Bring complex fluid dynamics and process principles to life in your labs! LABPARK provides state-of-the-art Educational and Vocational Unit Operations Pilot Plants in chemical engineering, bioprocess & biotech, and environmental & water treatment. Tailored for universities, research institutes, and enterprises, our systems bridge the gap between classroom theory and industrial reality. Contact us today to find the perfect pilot plant solution for your educational program!
Related Products
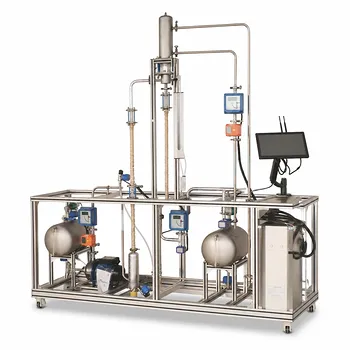
- Rising and Falling Film Evaporation Educational Unit Operations Pilot Plant
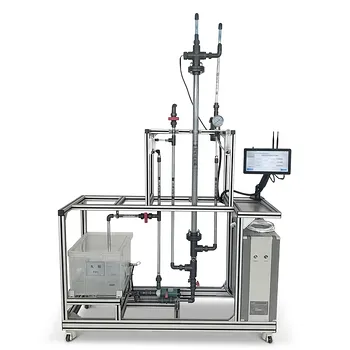
- Tubular Reactor Flow Characteristics Determination Educational Unit Operations Pilot Plant
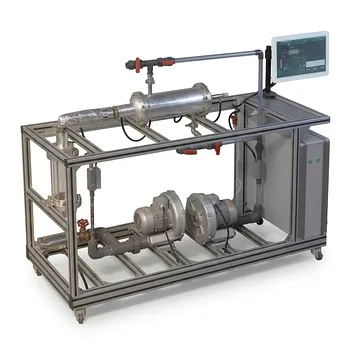
- Shell and Tube Heat Exchanger Heat Transfer Coefficient Determination Educational Pilot Plant
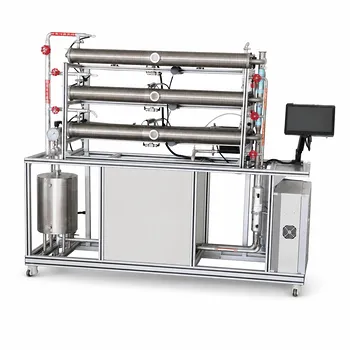
- Three-Tube Heat Transfer Educational Pilot Plant for Unit Operations Training
- Hot Filtration Educational Unit Operations Pilot Plant Laboratory System
People Also Ask
- How to Select Natural vs. Forced Circulation Evaporators by Feed Type
- How do unit operation requirements differ between traditional chemical processes and bioprocesses? Build Better Pilot Plant Curricula
- How do educational unit operations pilot plants bridge theory and design? Bridge the Engineering Gap
- How do educational unit operations pilot plants bridge theory and industrial process development? Hands-On Learning
- How do educational unit operations pilot plants address safety and waste management when scaling up?