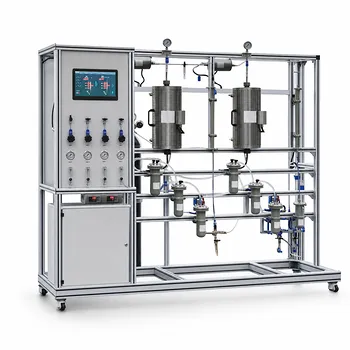
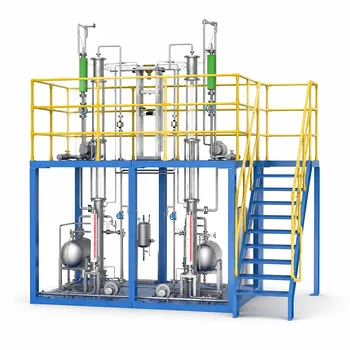
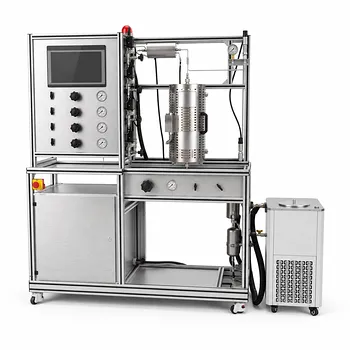
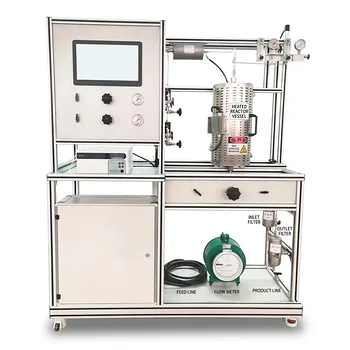
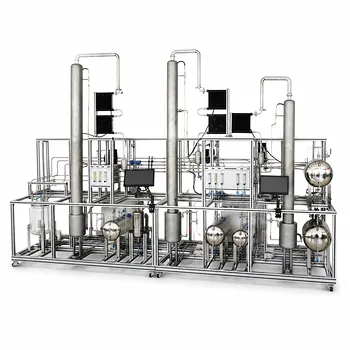
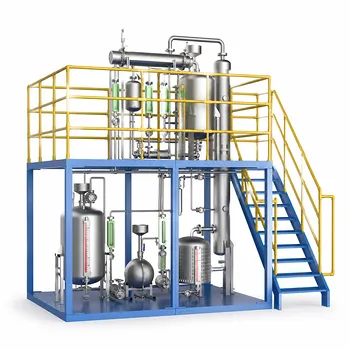
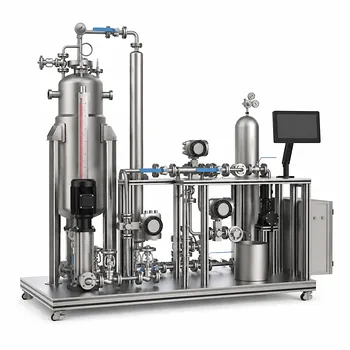
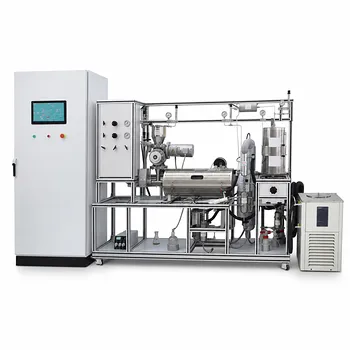
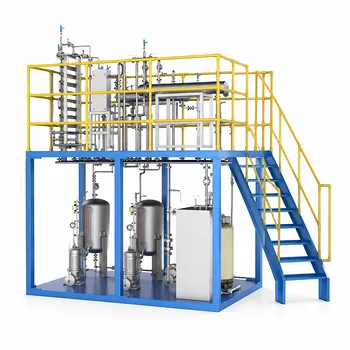
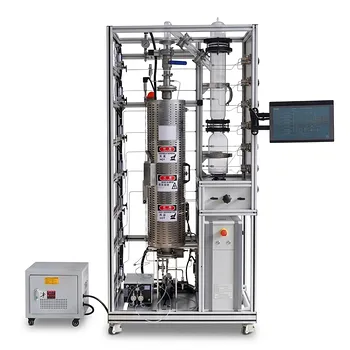
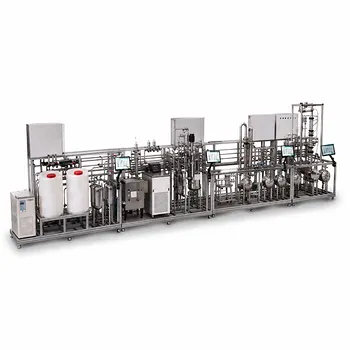
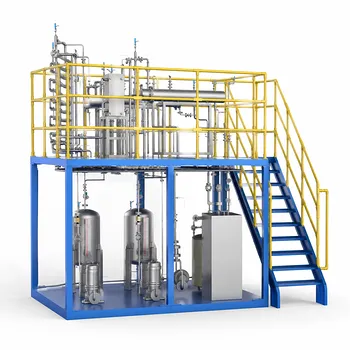
Leakage from joints and packing is one of the most insidious safety risks in a university pilot plant. It rarely announces itself with a dramatic rupture — more often, it starts as a slow seep from a degraded gasket or a poorly sealed pump shaft. To evaluate this risk when selecting a unit operations pilot plant, you must systematically identify every potential leak point and then apply a semi-quantitative assessment based on established penalty factors. Mitigation then follows a defense-in-depth strategy: designing out unnecessary joints, selecting compatible high-integrity materials, and layering on engineered safety controls like interlocks and secondary containment.
The risk of leakage from joints, gaskets, and seals is not a binary yes/no — it exists on a continuum. The safest university pilot plants manage this by combining a rigorous hazard evaluation (using penalty factors to weight leak-prone components) with a layered mitigation approach that prioritizes welded connections, corrosion-resistant materials, emergency isolation, and catchment systems.
How to Evaluate Leakage Risk at Joints and Packing
Before you can prevent a leak, you must know where and how severely a connection might fail. This evaluation blends a broad hazard identification exercise with a focused, quantitative method tailored to joints and seals.
Applying Penalty Factors to Leak-Prone Components
Not all potential leak paths are equal. A simple threaded nipple on a non-hazardous water line poses a fundamentally different threat than a sight glass assembly on a high-temperature thermal oil loop.
The most rigorous way to evaluate this is by assigning penalty factors to each joint, gasket, pump seal, and packing gland. These factors act as multipliers that increase the baseline risk score of a process, forcing you to acknowledge that certain component choices inherently carry more danger.
Standard penalty factor ranges for common laboratory equipment:
- Simple threaded or compression joints with compatible, non-corrosive fluids: as low as 0.1.
- Standard flanged connections with proven gasket materials: typically around 0.5.
- Pump mechanical seals and agitator packings subject to frequent thermal or pressure cycling: factor rises to 1.0 or above.
- Complex systems with sight glasses, bellows, or expansion joints: penalty can reach 1.5, reflecting the high probability of leak development over time.
This methodology forces a transparent conversation: every sight glass you add for educational observation directly increases the pilot plant’s overall leakage risk profile.
Systematic Hazard Identification for Pilot Plants
Penalty factors are part of a larger framework. The supplementary evaluation process starts with a comprehensive hazard hunt across the entire unit.
You and your safety team should work through a structured checklist:
- Maintain a detailed chemical inventory and review every MSDS sheet to understand toxicity, flammability, and vapor pressure.
- Analyze each process line — trace every pipe, valve, and vessel — to identify where a leak could start (corrosion under insulation, gasket creep, vibration-induced fatigue).
- Inspect the mechanical integrity of all machinery, focusing on signs of wear, corrosion, or previous spillage around seals.
- Evaluate secondary containment and drainage to understand where a leaked liquid or vapor would actually travel.
- Consider human factors such as operator fatigue, training level, and the potential for a student to forget to close a sampling valve.
This top-down sweep ensures you don’t miss a low-lying drain or a rarely used bypass line that could become the primary leak source.
Prioritizing High-Risk Interfaces
After the initial identification, cross-reference your list against the penalty factors. The interfaces that score highest — typically those combining high temperature, corrosive fluids, and complex sealing geometries — become your non-negotiable mitigation targets.
If a component combines a penalty factor above 1.0 with a hazardous chemical, it should trigger a mandatory engineering review before purchase. The pilot plant manufacturer must provide evidence of long-term sealing reliability under those specific conditions.
Strategies for Mitigating Leakage
Once risk is evaluated, mitigation moves from paper to physical design. The most effective strategies permanently remove the leak path; the next best add robust containment and automatic responses.
Design Out the Leak Point: Welded vs. Flanged Connections
The single most impactful mitigation decision is to minimize the number of mechanical joints.
Every flange, every threaded union, every compression fitting is a potential failure point. For university laboratories where routine process changes are less frequent than in an industrial plant, welded connections offer superior integrity. They eliminate the leak path entirely.
Where flanges are unavoidable — for example, around heat exchangers that require periodic cleaning — insist on raised-face flanges with spiral-wound gaskets, and design the layout so these joints are positioned over drip trays or bunded areas.
Material Compatibility and Integrity
A gasket that swells, a pump seal that corrodes, or a pipe that rusts from the inside out will defeat any safety system.
Select all wetted materials — including valve packings and seal faces — based on the most aggressive chemical you plan to run. While carbon steel may be economical for water-based experiments, 304 or 316 stainless steel is essential for any acidic or corrosive environment. This is true even for humid lab air; external corrosion on a carbon steel flange can weaken it to failure just as surely as internal attack.
Equally important, verify that gasket and packing materials are chemically compatible at the full operating temperature range. A gasket that works perfectly at 20°C can harden and crack at 180°C, creating a sudden, invisible leak path.
Engineered Safety Controls: Interlocks and Relief Systems
Even a well-designed pilot plant can experience a seal failure. When that happens, active safety controls must step in.
Apply safety compensation factors to your risk model to quantify the benefit of these layers. A properly implemented safety interlock — for example, an automatic isolation valve that closes when a gas detector trips — can reduce the overall system risk by a factor of 0.91 to 0.98. These are not marginal improvements; they are critical, last-line-of-defense multipliers.
Essential engineered controls include:
- Remote-operated shutoff valves on feed and product lines, allowing students to isolate a leak without approaching the spill.
- Pressure relief valves and burst discs set below the maximum allowable working pressure of the weakest joint or sight glass in the system.
- Gas and flame detectors interlocked with emergency ventilation and process shutdown.
- Proper drainage configurations that allow the system to be safely purged and depressurized before any maintenance work on joints or packing.
Operational Controls and Secondary Containment
Engineering cannot eliminate every risk. Operational discipline and physical containment provide the final layers.
Secondary containment bunds must be sized to hold 110% of the largest vessel’s volume, and the foundation should be sealed concrete to prevent groundwater contamination. All drain and vent lines should route to scrubbers or safe dispersal points.
Operationally, the most common cause of a leak is human error — a sampling valve left cracked open, a filter housing tightened unevenly. Mitigate this with:
- Standardized lock-out/tag-out procedures for any joint-breaking activity.
- Pre-startup leak check protocols using inert gas at 1.5 times operating pressure.
- A clear culture that any observed dripping, sweating, or staining around a joint or packing gland must be reported and corrected immediately, not tolerated as “normal.”
Understanding the Trade-offs
No safety decision is made in a vacuum. Reducing one risk often creates another challenge, especially in a teaching environment.
The Sight Glass Dilemma: Visibility vs. Leak Risk
Sight glasses and transparent columns are immense educational assets. They allow students to witness flooding, weeping, bubble dynamics, and phase separation — moments that cement theoretical concepts.
However, they also introduce long seal perimeters, fragile materials, and expansion mismatch stresses. Applying a penalty factor of 1.5 forces you to ask: for every glass section, have you added compensatory interlocks, a shatter-proof secondary shield, and a written protocol for what to do if it leaks? The equipment must prove it can remain safe under the most severe upset condition, not just steady-state operation.
Maintenance Access vs. Leak-Proof Design
A fully welded, joints-free pilot plant is a nightmare to clean between experiments. Research labs often switch chemical systems regularly, requiring the flexibility to open and inspect heat exchanger tubes, column internals, or reactor vessels.
The compromise is strategic placement. Use welded construction for long straight pipe runs and in areas where a leak would pool in an inaccessible pit. Reserve flanged or tri-clamp joints for equipment that genuinely requires periodic disassembly, and design those locations with dedicated drip trays and local ventilation. The goal is not to eliminate all joints, but to minimize them and manage the ones that remain.
Making the Right Choice for Your Laboratory
Your selection and mitigation strategy should align with your primary laboratory mission. Use the following guidance to tailor your approach.
- If your primary focus is maximizing student safety with novice operators: Prioritize the lowest possible penalty factor sum by drastically reducing the number of sight glasses, preferring welded connections, and mandating full secondary containment. Accept that this may limit some visual observation opportunities.
- If your primary focus is deep educational visualization of phenomena: Strategically include critical glass sections but require that the manufacturer demonstrates a safety case with high-integrity seals, shatter guards, and a dedicated gas and pressure interlock system that provides a compensation factor of 0.95 or better.
- If your primary focus is flexible, multi-user research with frequently changing chemicals: Choose corrosion-resistant materials throughout (316 stainless steel minimum) and design for easy disassembly at key flanges. Invest heavily in operational controls — rigorous lock-out/tag-out, pre-break purging, and chemical inventory management — to compensate for the increased joint count.
- If your primary focus is balancing budget constraints with long-term integrity: Avoid the false economy of carbon steel; the cost of corrosion-related leaks, downtime, and replacement will erase any initial savings. Invest in a simpler, more welded design with fewer, higher-quality components rather than a complex system that spreads the budget thin.
Every joint and packing gland in your pilot plant represents a deliberate choice between hazard and function. By evaluating those choices with objective penalty factors and then layering on robust mitigation, you build a laboratory where the only thing students absorb is knowledge — not the consequence of a preventable leak.
Summary Table:
| Component Type | Penalty Factor | Risk Level | Key Mitigation Strategy |
|---|---|---|---|
| Threaded / Compression Joints | 0.1 | Low | Minimize use; substitute with welded joints |
| Standard Flanged Connections | 0.5 | Medium | Use raised-face flanges with spiral-wound gaskets |
| Pump Seals & Agitator Packings | 1.0 | High | Verify material compatibility & use active interlocks |
| Sight Glasses & Expansion Joints | 1.5 | Very High | Install shatter-proof shields & automatic shutoff valves |
Secure Your Laboratory with LABPARK's Safe Pilot Plants
Designing a safe learning environment requires balancing educational visualization with robust risk management. LABPARK provides state-of-the-art Educational and Vocational Unit Operations Pilot Plants in chemical engineering, bioprocess & biotech, and environmental & water treatment. Tailored for universities, research institutes, and enterprises, our pilot plants feature leak-proof welded designs, high-integrity materials, and advanced engineered safety controls to keep your students and operators safe.
Want to minimize leakage risks in your next lab upgrade? Contact LABPARK today to discuss your customized pilot plant configuration!
Related Products
- Carbon Dioxide Hydrogen Methanol Synthesis Educational Unit Operations Pilot Plant
- Multi Pump Fluid Transport Process Piping Unit Operations Training Pilot Plant
- Natural Product Extraction Unit Operations Training Pilot Plant
- Multi-Modal Distillation Unit Operations Training Pilot Plant
- Multi-Reactor Educational Pilot Plant for Reaction Engineering Unit Operations
People Also Ask
- How do temp & pressure affect methanol synthesis pilot plants? Optimize equilibrium and catalyst performance.
- Why is a purge system necessary when operating a gas recirculation loop in a methanol synthesis pilot plant? (Guide)
- Why do modern methanol pilot plants operate at lower pressures? Catalyst & Feed Requirements Explained
- What are the operational requirements for catalyst activation? Safe Methanol Pilot Plant Operation
- Why is the chemical plant startup schedule crucial? De-risk scale-up with pilot plants.