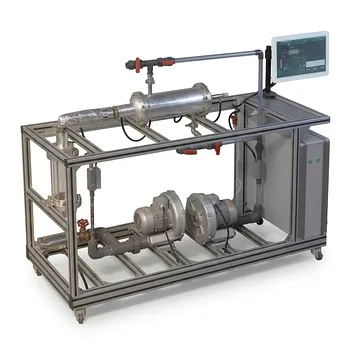
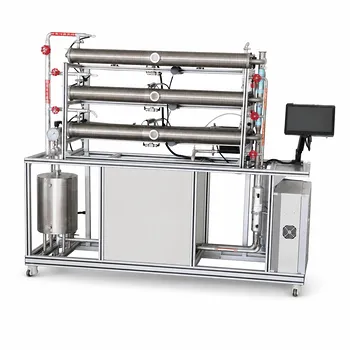
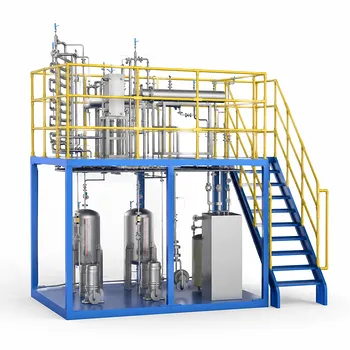
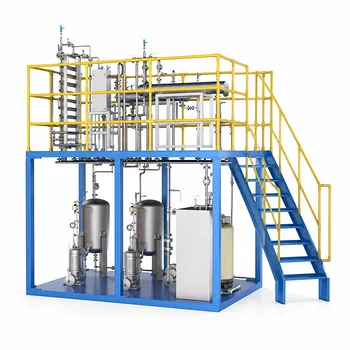
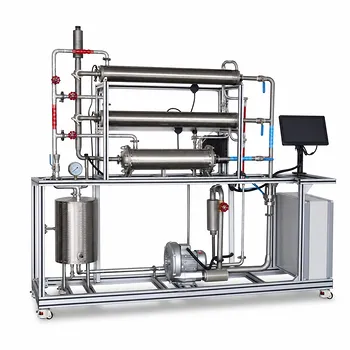
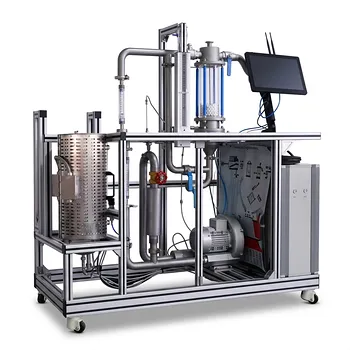
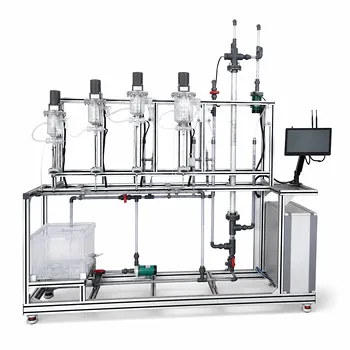
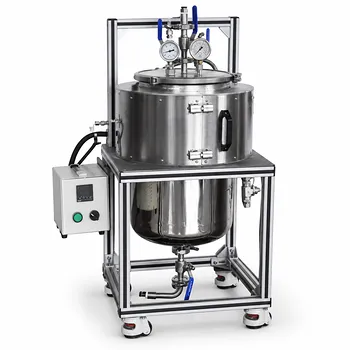
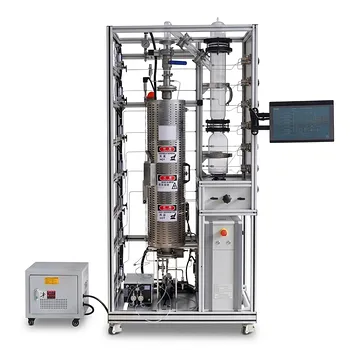
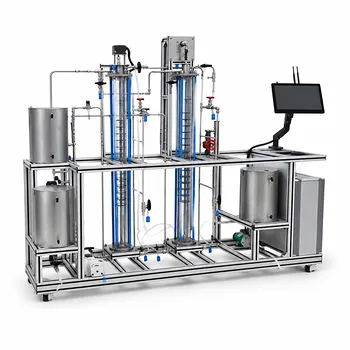
The direct answer to your question is this: In a pilot-scale shell-and-tube heat exchanger, sealing strips are installed in the shell side to block the bypass clearance between the tube bundle and the shell inner wall. Their primary purpose is to eliminate a low-resistance flow path that otherwise allows fluid to slip around the bundle without passing over the tubes. This forces the fluid back into the active crossflow region, where it can actually exchange heat, and in an educational pilot plant, it makes the effect of flow-directing hardware visually demonstrable.
A small strip of metal can transform a heat exchanger’s performance. By physically blocking the gap between the outermost tubes and the shell, sealing strips redirect lazy bypass fluid into productive crossflow—turning a potential efficiency leak into a hands‑on lesson in how baffles and flow path management directly control heat transfer and pressure drop.
What Happens Without Sealing Strips?
In any shell-and-tube unit, the fluid will always take the path of least resistance. That path is often not the one you designed.
The Three Critical Flow Paths
Fluid on the shell side can travel through several parallel routes. Only one of them does useful thermal work.
- Path B (Crossflow): The desired path, where fluid flows perpendicularly across the tube bundle. It maximizes turbulence and the convective heat transfer coefficient.
- Path C (Bundle‑to‑Shell Bypass): The clearance between the outer tube limit and the shell wall. Fluid here barely touches the tubes and leaves almost as cold as it came in.
- Path A (Tube‑to‑Baffle Leakage): Leakage through the holes where tubes pass through baffles. While unavoidable, it still robs the bundle of effective crossflow.
Why Bypass Flow Sabotages Performance
Without a barrier in the shell‑to‑bundle gap, a measurable fraction of the flow stream simply shortcuts the entire heat transfer surface. In a pilot‑scale unit, even a modest gap can carry 10–20% of the total flow. That portion contributes virtually nothing to heat duty, because it sees only a few tube rows in glancing contact. The result is a lower overall heat transfer coefficient and a misleading performance characteristic—you’d see worse results than the design intended.
How Sealing Strips Force the Fluid Back into Crossflow
The mechanism is physical, not magical. Sealing strips are nothing more than longitudinal metal plates welded or clamped in the clearance region.
Blocking the Least‑Resistance Path
A sealing strip sits in the annulus between the outermost tubes and the shell. It physically b locks the flow moving in that annular gap. When the fluid hits the strip, it has nowhere to go except back into the tube bundle. This converts what would be an unused bypass stream into additional Path B flow.
Creating a More Uniform Velocity Profile
The redirected fluid now joins the main crossflow stream, increasing the local velocity between the baffle windows. Higher velocity and greater turbulence directly raise the shell‑side heat transfer coefficient. For a given heat duty, a unit with sealing strips often needs less surface area—or, in a pilot plant, shows a markedly higher outlet temperature at the same flow rate.
The Educational Value in Pilot‑Scale Setups
This is where the pilot plant context becomes crucial. A commercial unit hides the sealing strip’s effect inside a metal shell, but in a teaching lab, you can make it visible.
From Theory to Tangible Observation
In a transparent or easily instrumented pilot plant, running the exchanger first without sealing strips and then with them shows students two distinctly different flow distributions. You might see dye streams bypassing the bundle entirely in the first run. After inserting the strip, the same flow rate forces those dyes deep into the tube array. It’s an unignorable, real‑time proof that geometric details determine thermal performance.
Connecting Piping to Process Control
Sealing strips also demonstrate a broader control‑system lesson. When you block one path, the overall shell‑side resistance increases. Students can measure the corresponding rise in pressure drop and learn to balance heat transfer gains against pumping cost—a trade-off that drives every real‑world heat exchanger design.
Understanding the Trade-offs and Limitations
No design choice comes for free. Sealing strips are not a universal “good” – they solve a specific problem but introduce their own constraints.
The Pressure Drop Penalty
When you force fluid back into the tight cross‑flow zone, you increase the shell‑side pressure drop. In a pilot plant, this may not matter for the utility bill, but it teaches a vital lesson: every gain in heat transfer coefficient comes with a hydraulic cost. Designers must decide whether the saved heat transfer area justifies the extra pump energy.
When Your Clearance Is Already Tight
If the bundle‑to‑shell clearance is inherently small (for example, in a unit with a close‑fitting shell), the bypass flow percentage is negligible. Adding sealing strips in such a case yields almost no thermal benefit while adding manufacturing complexity and potential vibration points. In these scenarios, the strips become a theoretical demonstration rather than a practical upgrade.
Installation and Maintenance Considerations
Sealing strips are long, thin metal elements exposed to flowing fluid. If not robustly attached, they can vibrate, fatigue‑crack, and even damage adjacent tubes. In an educational pilot plant, this is unlikely, but it reinforces the principle that flow‑directing hardware must be mechanically reliable or it will eventually undo its own performance gains.
Making the Right Choice for Your Goal
Your next step depends entirely on whether you are teaching, designing, or simply trying to interpret experimental data.
- If your primary focus is teaching heat exchanger fundamentals: Install removable sealing strips in a transparent or well‑instrumented pilot unit. Run before‑and‑after experiments to let students see the bypass effect and measure the resulting change in heat transfer and pressure drop. This is one of the most powerful analogies for how baffling geometry drives performance.
- If your primary focus is validating a pilot‑scale process design: Use sealing strips if the unit’s shell‑to‑bundle clearance represents more than about 5‑10% of the cross‑sectional flow area. This ensures your pilot data reflects the intended commercial‑scale flow distribution and avoids under‑predicting the required heat transfer area when scaling up.
- If your primary focus is minimizing capital or pumping cost: Omit the strips if the clearance is inherently tight or if you are willing to accept a slightly larger exchanger in favor of a lower pressure drop. The trade‑off can be quantified directly from pilot plant data with and without strips.
Mastering the humble sealing strip gives you a hands‑on lesson in the physics that govern every shell‑and‑tube heat exchanger. Apply it thoughtfully, and you turn a simple metal plate into a teaching tool and a performance lever.
Summary Table:
| Feature / Parameter | Without Sealing Strips | With Sealing Strips |
|---|---|---|
| Bypass Flow (Path C) | High (10-20% of fluid bypasses tubes) | Blocked (forced back into the tube bundle) |
| Heat Transfer Coefficient | Lower (due to poor tube-fluid contact) | Higher (maximized active crossflow) |
| Shell-Side Pressure Drop | Low (fluid takes path of least resistance) | Higher (increased hydraulic resistance) |
| Educational Utility | Standard thermal demonstration | Direct proof of how geometry controls fluid dynamics |
Enhance Your Process Engineering Labs with LABPARK
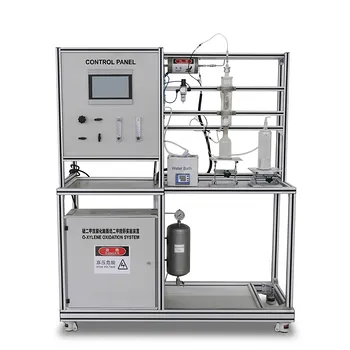
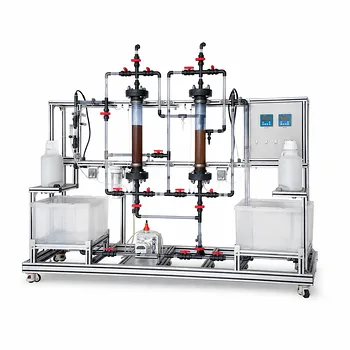
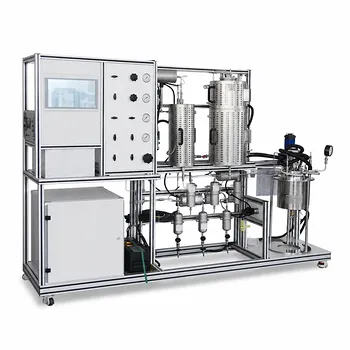
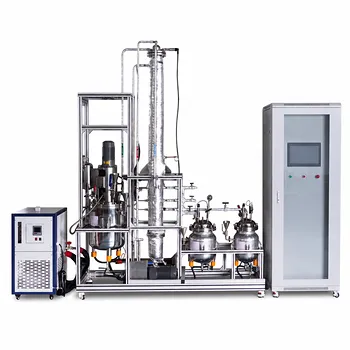
At LABPARK, we provide state-of-the-art Educational and Vocational Unit Operations Pilot Plants in chemical engineering, bioprocess & biotech, and environmental & water treatment. Designed specifically for universities, research institutes, and progressive enterprises, our pilot plants—including customizable shell-and-tube heat exchangers—bridge the gap between theoretical thermodynamics and hands-on industrial practice.
Ready to elevate your training and research capabilities? Contact LABPARK today to explore our custom pilot plant solutions and request a technical consultation.
Related Products
- Shell and Tube Heat Exchanger Heat Transfer Coefficient Determination Educational Pilot Plant
- Three-Tube Heat Transfer Educational Pilot Plant for Unit Operations Training
- Comprehensive Multi-Modal Heat Transfer Unit Operations Pilot Plant for Engineering Training
- Dual Mode Heat Transfer Pilot Plant for Unit Operations Training
- Comprehensive Heat Transfer Coefficient Determination Educational Unit Operations Pilot Plant
People Also Ask
- Why Apply LMTD Correction in Shell-and-Tube Pilot Plants & How to Determine It
- Why adjust baffle spacing in shell-and-tube heat exchanger pilot plants? Master heat transfer & pressure drop.
- How to Estimate Shell-Side Pressure Drop in a Shell-and-Tube Heat Exchanger Pilot Plant: Key Parameters Explained
- How is the fouling factor (Rd) evaluated? Key Pilot Plant Insights for Students
- How is fouling factor demonstrated using shell and tube pilot plants? Practical Lab Guide