The chromatography paper is not just a passive surface—it is the separation column itself.
In vocational laboratory training, instructors must guide students to see paper selection and preparation as the most critical pre-experiment steps. The correct paper must be chosen based on its purity, fiber tightness, and intended separation goal; then it must be cut, marked, and handled with strict protocols to avoid contamination that would render the entire experiment meaningless. Mastering these choices gives students reproducible Rf values and sharp, interpretable spot resolution every time.
The single most common cause of failed paper chromatography labs is not the solvent or the sample—it is neglecting the paper’s innate properties. When instructors teach students to treat the paper as an active component with specific performance characteristics, and to handle it with the same discipline as any precision instrument, separation success becomes predictable, not accidental.
The Hidden Impact of Paper Quality on Separation
A piece of chromatography paper looks simple, but its chemical background and physical uniformity silently shape every result. Students must understand that impurities and inconsistent texture are invisible thieves of resolution.
Purity: The Invisible Enemy of Spot Resolution
Standard filter paper often contains fluorescent brighteners, metal ions, or organic residues that can react with mobile phases or detection reagents. In biochemical separations, these impurities create ghost spots or distort the true sample pattern. Insist on high-purity cellulose paper, specifically manufactured for chromatography. This eliminates false positives and ensures that every spot a student sees comes from the sample, not the paper.
Texture and Uniformity: The Foundation of Reproducible Rf Values
Even slight variations in thickness or surface irregularity cause the solvent front to advance unevenly. That turns a straight sample line into a wavy mess and makes Rf calculations unreliable. Teach students to inspect the paper under good light: the surface must be flat, the edges smooth, and the thickness visibly uniform. This is the first lesson in treating the support material as a precision substrate.
Matching Paper to the Separation Challenge
Choosing the “right” paper is not a one-size-fits-all decision. The separation goal—whether qualitative identification or resolving tough, closely related compounds—directly dictates the fiber density and paper thickness.
Fiber Tightness: A Speed Governor for Solvent Front
Paper is a web of cellulose fibers. Loose, open fibers create wide capillary channels that pull the solvent up rapidly, but allow sample spots to diffuse outward, blurring resolution. Tight, densely packed fibers slow the mobile phase, confine spot spread, and give closely migrating solutes more time to separate. Students must internalize that fiber tightness is the primary control for balancing speed and spot sharpness.
Choosing Fast vs. Slow Paper Based on Rf Differences
- Slow-running paper (tight fibers): Use when the mixture contains compounds with only small Rf differences—like amino acids with similar side chains. The longer development time stretches the separation window, making it possible to distinguish spots that would otherwise overlap.
- Fast-running paper (looser fibers): Acceptable when Rf differences are large and you value quick results, such as screening for a highly retained contaminant. However, always warn students that speed comes at the cost of spot focus. This decision teaches students that the paper itself is a separation-time multiplier.
Thin vs. Thick Paper for Qualitative Work
In vocational settings, most experiments are qualitative identifications. Thin chromatography paper is the default because it requires less solvent, develops faster, and produces spots that are easier to detect using spray reagents. Thick paper may be needed for preparative-scale separations, but for training, thin paper reinforces the lesson of minimalism: use only what the analytical goal demands.
The Art of Paper Preparation: Avoiding Common Contamination Pitfalls
Even the perfect paper can be ruined by careless handling before the solvent ever touches it. Instructors must enforce three non-negotiable rules.
Cutting and Fitting the Chamber
The paper strip must be cut so that it reaches the bottom of the chamber—standing in the solvent—but never touches the walls. Wall contact creates a secondary wicking path that distorts the solvent front, known as an edge effect. Have students measure the chamber depth and cut the paper to leave a few millimeters of clearance on all sides. This simple act transforms a qualitative exercise into a lesson in system design.
The Pencil Line: Why Ink is Forbidden
The starting line must be drawn with a graphite pencil, not a ballpoint or rollerball pen. Ink dyes and binders are soluble in the organic or aqueous solvents used for development; they will migrate up the paper, creating brilliant blue or black bands that mask sample spots. A hard pencil (e.g., 2H) leaves a thin, inert mark that stays exactly where it was drawn. Drill this into students: if it’s not graphite, it’s a contaminant.
The 2 cm Rule and the Danger Zone of Bare Hands
Draw the starting line at least 2 cm above the paper’s bottom edge. This ensures the sample spots sit well above the solvent reservoir and are never submerged, which would dissolve them directly into the mobile phase. Immediately after drawing the line, institute a strict “hands-off” policy for the paper below that line. Fingertips leave amino acids, skin oils, and salts—visible when you spray ninhydrin or turn the paper blue under UV. Use clean forceps or wear powder-free gloves to hold the paper exclusively above the starting line. In vocational training, it’s worth staining a deliberately handled strip to show students the vivid “fingerprint chromatogram” they create when they ignore this rule.
Understanding the Trade-offs
Paper chromatography is a system of compromises, and the instructor’s job is to make those compromises explicit so students can make informed choices, not just follow a recipe.
Speed vs. Resolution: Tight Fibers Aren’t Always Better
While tight-fiber paper yields beautiful, concentrated spots, it demands patience. A separation that takes 20 minutes on loose paper may require two hours on dense paper. In a time-limited lab session, this trade-off must be discussed: when is the extra resolution worth the wait? Use a real example—say, separating chlorophyll pigments versus synthetic dyes—to illustrate that the right choice depends on the complexity of the mixture.
Thin Paper and Mechanical Fragility
Thin paper tears easily when wet and can curl, especially if clamped too tightly. Teach students to gently roll the paper into a cylinder and secure it with a staple or thread, never by folding. The fragility is the price of faster runs and better reagent penetration. A torn paper teaches a lesson in technique, but instructors should pre-empt this by demonstrating safe handling.
Purity vs. Cost
High-purity chromatography paper is more expensive than ordinary filter paper or newsprint. In a vocational context, frame this as a lesson in analytical validity: a cheaper substrate introduces unknown variables that undermine the entire analysis. If cost curtails supply, reduce paper size or sample volumes, but never compromise on paper grade.
Practical Guidance for Vocational Instructors
The ultimate goal is to transform students from novices who follow steps into analytical thinkers who understand why each step matters. Tailor your emphasis based on the learning objective of the session.
- If you are training students on basic technique and building confidence: Start with a fast-running, thin, high-purity paper and a simple dye mixture. Spend 30 minutes just on handling: no bare fingers, perfect pencil line, correct chamber fit. Success in this first run builds the discipline that carries forward.
- If your students are investigating an unknown mixture with closely related compounds: Switch them to a slow-running, tight-fiber paper. Lead a discussion beforehand: “Why are we choosing a paper that takes longer?” Connect fiber density directly to the separation challenge they face.
- If you are demonstrating the consequences of poor preparation: Set up a side experiment where one group uses correctly prepared paper and another uses a cheaper, impure paper or handles the paper below the start line. Develop both strips in the same chamber. The side-by-side comparison—ghost spots, wavy solvent front, distorted Rf—is the most powerful teaching tool you have.
Teaching paper selection and preparation isn’t a procedural afterthought; it is the moment students learn that every material in the lab has a personality that shapes the result. When they leave your class knowing why a pencil line matters and how fiber density can be a tunable variable, they carry a true analytical mindset into every future experiment.
Summary Table:
| Paper Type | Fiber Density | Development Speed | Ideal Application |
|---|---|---|---|
| Slow-running | Tight, dense | Slow | High-resolution separation of closely related compounds (e.g., amino acids). |
| Fast-running | Loose, open | Fast | Rapid screening of mixtures with large Rf differences. |
Elevate Your Practical Training with LABPARK
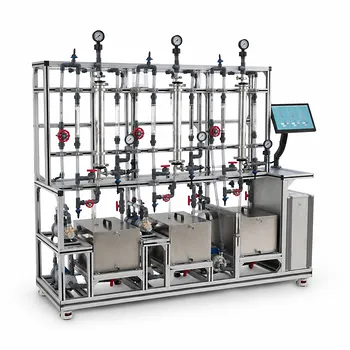
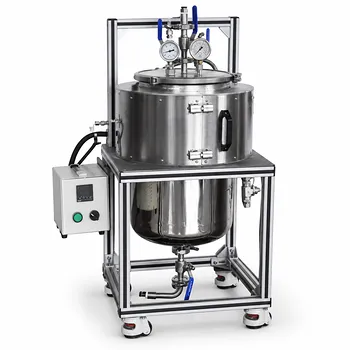
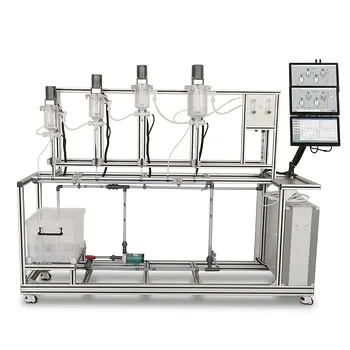
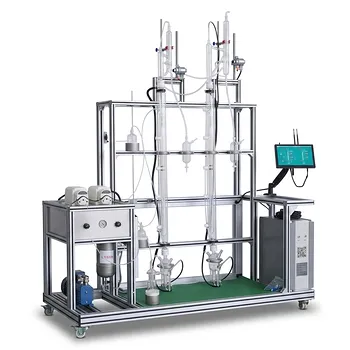
Building hands-on laboratory skills requires the right educational tools. LABPARK provides premium Educational and Vocational Unit Operations Pilot Plants in chemical engineering, bioprocess & biotech, and environmental & water treatment.
Specifically designed for universities, research institutes, and enterprises, our pilot plants help instructors deliver realistic, industry-aligned training. Contact us today to explore how we can enhance your lab's capabilities!
Related Products
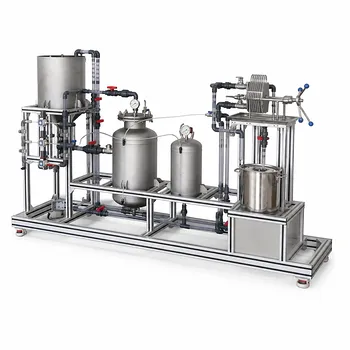
- Constant Pressure Filtration Educational Unit Operations Pilot Plant
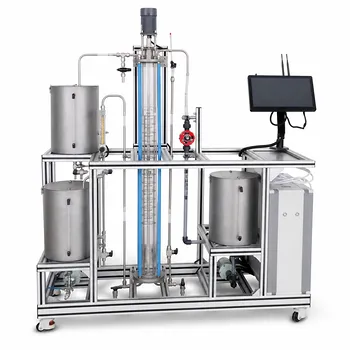
- Educational Rotary Disc Liquid-Liquid Extraction Pilot Plant
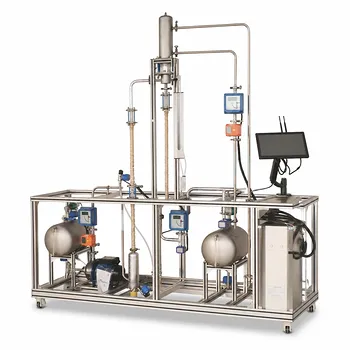
- Rising and Falling Film Evaporation Educational Unit Operations Pilot Plant
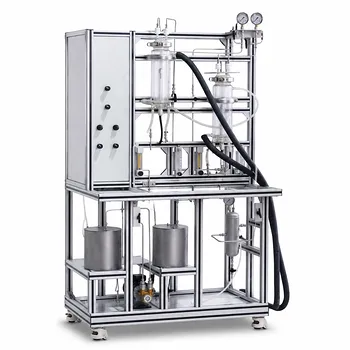
- Photocatalytic Membrane Separation and Degradation Unit Operations Pilot Plant
- Continuous Batch Extractive Distillation Educational Pilot Plant
People Also Ask
- How do educational unit operations pilot plants bridge theory and design? Bridge the Engineering Gap
- How do educational unit operations pilot plants bridge theory and industrial process development? Hands-On Learning
- How do educational unit operations pilot plants address safety and waste management when scaling up?
- How do unit operation requirements differ between traditional chemical processes and bioprocesses? Build Better Pilot Plant Curricula
- Why splitting a filtration batch doesn't always reduce cycle time? Pilot Plant Insights