If your absorbance readings fall outside the 0.2–0.8 window, your concentration data becomes fundamentally unreliable. For chemical engineering and biotechnology students who must turn raw absorbance into kinetic rates, biomass concentrations, or product yields, that range is not a suggestion—it is the practical operating envelope of the instrument. Staying within it ensures that the photometric error is minimized, the Beer‑Lambert relationship remains linear, and every calculated value withstands scrutiny in a pilot‑plant or research setting.
The 0.2–0.8 absorbance window is where the relative error in concentration reaches its minimum. Outside it, stray light, detector noise, and nonlinearity silently inflate your uncertainty, turning a precision measurement into a guess.
Understanding the Physics of Photometric Error
The Beer‑Lambert Law and Its Limits
Spectrophotometry relies on the Beer‑Lambert Law: absorbance equals the product of molar absorptivity, path length, and concentration. This is a linear relationship, but any real instrument only delivers linearity within a finite photometric band. When absorbance is too low or too high, the law appears to break down—not because the physics of light absorption has changed, but because the instrument’s own imperfections dominate the signal.
The Detector’s Challenge at Extremes
An absorbance of 0.2 corresponds to about 63 % transmittance; a value of 0.8 corresponds to roughly 16 % transmittance. At absorbance > 0.8, the transmitted light becomes so weak that the detector struggles to distinguish it from background noise. Small fluctuations in the light source or electronic drift then translate into disproportionately large errors in absorbance and, therefore, in the calculated concentration. For students, a reading of 1.5 may look precise on a digital screen, but the underlying photometric uncertainty can easily exceed 10 %.
Stray Light and Nonlinearity
At the opposite extreme, absorbance < 0.2 means the sample is nearly transparent. Here, stray light—any light reaching the detector that has not passed through the sample—becomes the dominant error source. Even a fraction of a percent of stray light distorts the absorbance scale, bending the calibration curve and making low‑absorbance readings systematically inaccurate. The instrument essentially loses its ability to resolve small concentration differences, and the linear model taught in every chemistry pre‑lab no longer applies.
Why the 0.2–0.8 Window Minimizes Uncertainty
Relative Error and the Sweet Spot
Photometric error analysis shows that the relative error in concentration (Δc/c) follows a U‑shaped curve as a function of transmittance. The curve reaches its broad minimum between roughly 20 % and 65 % transmittance, which translates to the absorbance range 0.2–0.8. Inside this zone, a 1 % uncertainty in the photometric reading causes only a modest, predictable error in concentration. Outside it, that same 1 % instrumental error gets amplified dramatically, often rendering the result unusable for engineering calculations.
Practical Implications for Bioprocess and Reaction Analysis
In a chemical engineering pilot plant or a biotechnology teaching lab, absorbance data feed directly into critical material balances: biomass concentrations from optical density, enzyme activity via colorimetric assays, or reaction progress through time‑series absorbance. If a student measures an absorbance of 0.09 to follow a fermentation, the apparent cell density will be noise‑dominated. If they let a reaction sample climb to 1.2, the linear relationship needed to extract a rate constant disappears. Diluting or using a shorter path‑length cuvette to bring the reading back into 0.2–0.8 is not just a lab technique; it is a deliberate act of guarding the integrity of the final result.
Common Pitfalls When Working Outside the Optimal Range
The Illusion of the Digital Display
Modern spectrophotometers display absorbance to three decimal places, creating a false sense of precision. A reading of 1.500 can mask a true absorbance anywhere between 1.4 and 1.6 because of stray light and detector saturation. Novice users often confuse display resolution with accuracy, which is exactly why students must learn that the instrument’s trustable performance spans only that specific absorbance window.
Dilution Risks and Time Penalties
Bringing a sample into range usually requires dilution, and each dilution step introduces its own volumetric error and adds time. There is a real trade‑off: you gain photometric reliability but risk cross‑contamination, pipetting mistakes, or delaying a kinetic measurement beyond the relevant time frame. The skill students must develop is knowing when to quickly dilute versus when to switch to a cuvette with a shorter path length, thereby avoiding the dilution entirely.
Path‑Length Adjustments as an Under‑Used Lever
The Beer‑Lambert Law links absorbance to both concentration and path length. Doubling the path length has the same effect as doubling concentration. When a sample is too dilute, a 5‑cm cell can pull the absorbance into the safe zone without any chemical manipulation. When it is too concentrated, a 1‑mm flow cell can tame the signal. Many students, unfortunately, default to dilution because they are not taught that path‑length selection is an equally valid—and sometimes cleaner—engineering control.
Making the Right Choice for Your Experiment
When every spectrophotometric measurement is tied to a material balance or a rate equation, the 0.2–0.8 rule becomes a decision‑making framework. Use the following goal‑oriented guide to decide how to adjust your sample.
- If your primary focus is minimizing total error in a rate constant: Dilute the sample to bring the highest expected absorbance below 0.8, then verify that the lowest reading stays above 0.2 after the reaction progresses. A single consistent dilution across all time points preserves relative accuracy.
- If your priority is sample integrity and avoiding dilution artefacts: Switch to a cuvette with a different path length. A short‑path cell keeps the sample undiluted, eliminating the risk of buffer mismatch or volume‑mixing errors that plague dilute‑and‑measure workflows.
- If you need to screen many samples quickly in a pilot‑plant campaign: Establish a fixed dilution factor based on the expected concentration range and validate that all resulting absorbances land between 0.2 and 0.8. This standardization saves time and allows direct comparison across runs.
- If you are teaching fundamental instrument principles: Have students deliberately measure a sample at absorbance 0.05, 0.5, and 1.5, then calculate the relative error in concentration using the manufacturer’s stray‑light specification. The experience cements the 0.2–0.8 rule far more effectively than any lecture slide.
The absorbance range itself is just the visible signal. What you are truly managing is the signal‑to‑noise architecture of your entire measurement chain, and once you internalize that, every dilution, every cuvette choice, and every data point becomes an engineered decision rather than a blind protocol step.
Summary Table:
| Absorbance Range | Transmittance (%) | Primary Error Source | Impact on Measurement |
|---|---|---|---|
| < 0.2 (Too Low) | > 63% | Stray light & low resolution | Systematically inaccurate; calibration curve bends |
| 0.2 – 0.8 (Optimal) | 16% – 63% | Minimal photometric error | Highly reliable; linear Beer-Lambert relationship |
| > 0.8 (Too High) | < 16% | Detector noise & source drift | Signal lost in background noise; false display precision |
Equip Your Lab for Practical Engineering Success
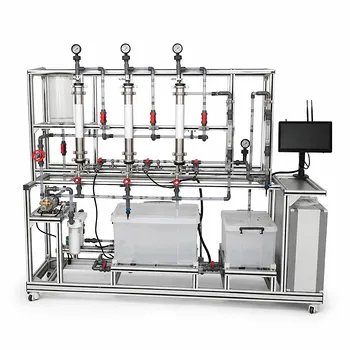
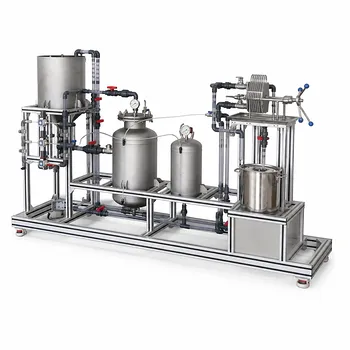
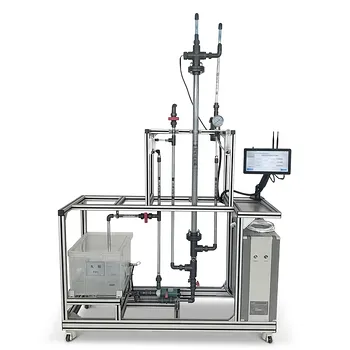
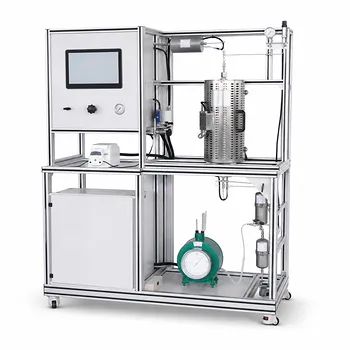
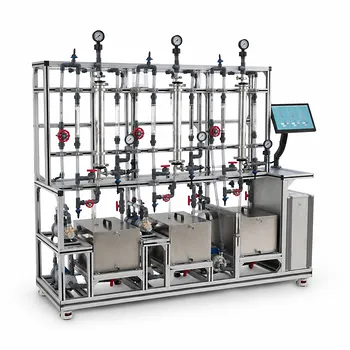
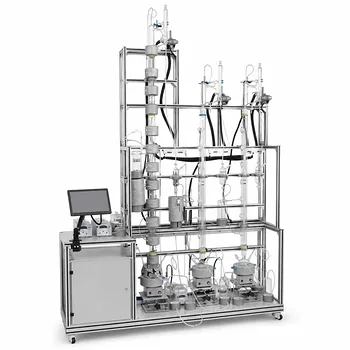
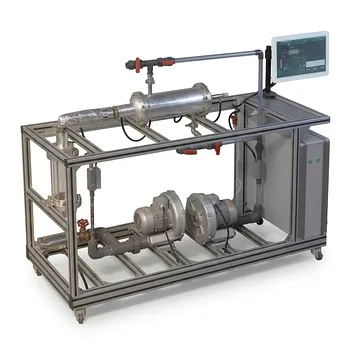
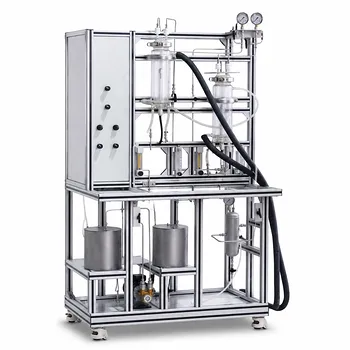
To master complex concepts like UV-Vis spectrophotometry, reaction kinetics, and mass balances, students need hands-on experience with industry-grade systems. LABPARK provides state-of-the-art Educational and Vocational Unit Operations Pilot Plants in chemical engineering, bioprocess & biotech, and environmental & water treatment tailored for universities, research institutes, and enterprises.
Help your students transition seamlessly from theory to pilot-scale practice. Contact LABPARK today to find the perfect pilot plant setup for your institution!
Related Products
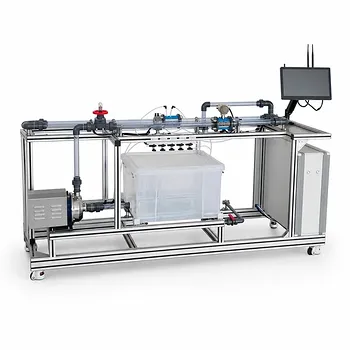
- Orifice and Venturi Flowmeter Calibration Educational Pilot Plant for Fluid Mechanics Laboratory
- Cavitation Phenomenon Demonstration and Analysis Educational Unit Operations Pilot Plant
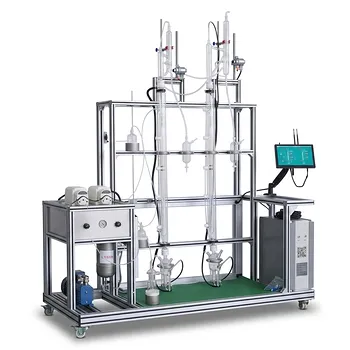
- Multi-Functional Special Distillation Educational Pilot Plant
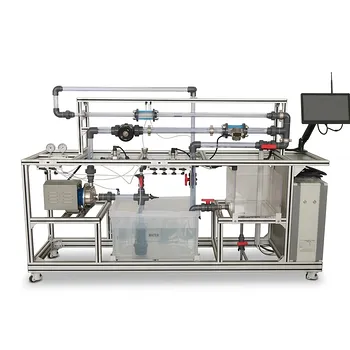
- Centrifugal Pump Performance and Orifice Flowmeter Calibration Educational Pilot Plant
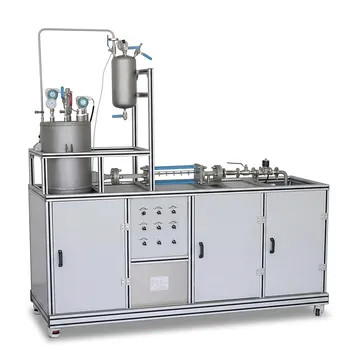
- Carbon Dioxide PVT Curve Determination Educational Unit Operations Pilot Plant
People Also Ask
- What is the difference between static and stagnation pressure? Master Pilot Plant Flow Measurement
- How is the hydrodynamic entrance length estimated for high-Re channel flows? Design accurate pilot-plant measurements
- What primary boundary conditions are applied at fluid-solid surfaces when conducting flow experiments on fluid mechanics educational pilot plants?
- How do pilot plants demonstrate siphon pressure variations? Visualizing Bernoulli's Energy Balance
- How do fluid mechanics pilot plants distinguish streamlines from streaklines? See flow visualization in action