The dissolution of boiler tube scale is not just about breaking down solids—it is a precision-driven chemical sequence designed to liberate every analyte without altering their native composition. To dissolve a boiler tube scale sample for chemical analysis, you perform a sequential multi‑acid digestion. The process begins with hydrochloric acid (HCl) to attack basic oxides, continues with nitric acid (HNO₃) to oxidize organic matter, and concludes with perchloric acid (HClO₄) heated to gentle fumes to finish oxidation and isolate a clean silica residue. The critical precautions are strict temperature control (350–400°F), gentle perchloric acid fuming for only 2‑3 minutes, and awareness that residual nitric acid can ruin downstream ion‑exchange resins used in separation steps.
Boiler scale dissolution relies on a three‑acid attack—HCl, HNO₃, HClO₄—but success is determined far more by controlling heat, time, and fuming conditions than by the acids themselves. Missing those controls can cause analyte loss, violent bumping, or irreparable damage to analytical instrumentation.
The Multi‑Acid Digestion Sequence
Every acid in the recipe serves a distinct chemical purpose. Skipping any step or altering the order leaves either the sample incompletely dissolved or the solution unsuitable for trace analysis. Understanding the “why” behind each step lets you troubleshoot instead of just following a recipe.
Step 1: Hydrochloric Acid – Dissolving the Basic Oxide Backbone
Boiler scale is primarily a mix of metal oxides—iron, aluminum, copper, and magnesium oxides are typical. Hydrochloric acid solubilizes these basic oxides through straightforward acid‑base reactions, converting them into soluble chlorides.
Simultaneously, HCl dehydrates any silicic acid present, beginning the process of converting silica into an easily filterable residue.
Step 2: Nitric Acid – Oxidizing the Carbonaceous Fraction
After the initial digestion, organic material—often carried into the scale from feedwater treatment chemicals or process leaks—remains. Nitric acid acts as a powerful oxidizer, breaking down carbon‑based matter that would otherwise leave a dark, cloudy solution that fouls analytical columns.
This step must occur before perchloric acid is introduced, because residual undecomposed organic matter can form dangerously unstable perchlorate compounds if heated with HClO₄ alone.
Step 3: Perchloric Acid Fuming – The Final Oxidation and Silica Clean‑Up
Perchloric acid is the “finisher.” Heated to its fuming point, HClO₄ achieves the highest oxidation potential of the three acids. It destroys any remaining organic traces and further dehydrates silica, producing a brilliantly clean, white silica residue that can be filtered and weighed, while the analytes of interest remain in solution.
The fuming step is brief—typically only 2‑3 minutes. Prolonging it risks losing volatile elements and corroding equipment, while under‑fuming leaves reactive residues behind.
Critical Process Precautions You Cannot Overlook
The digestion chemistry is robust, but the practical execution is what makes or breaks an analysis. The difference between a usable digest and a failed experiment almost always comes down to how carefully you manage temperature, fume duration, and acid residuals.
Temperature Control to Preserve Volatile Analytes
The hot plate must maintain a steady 350–400°F. Below this range, dissolution is sluggish and incomplete. Above it, the solution bumps violently, and volatile acid forms—such as phosphate and sulfate—can be lost through aerosol formation or thermal degradation.
A watch glass or ribbed cover on the beaker helps reflux acids and minimize evaporative loss without trapping fumes that could lead to bumping.
Managing the Perchloric Acid Fuming Step
Perchloric acid fumes are dense white vapors that must be handled exclusively in a wash‑down fume hood rated for perchloric acid use. Organic spills inside conventional hoods can form explosive crystalline perchlorates over time.
Only heat the sample until gentle fumes are visible for 2‑3 minutes. The end point is a clear, nearly dry mass of silica. Fuming beyond that window serves no analytical purpose and risks converting volatile analytes into insoluble forms or corroding the beaker.
Avoiding Resin Damage from Residual Acids
After digestion, the solution is often passed through ion‑exchange resins for individual metal separation. Nitric acid must be completely expelled before the sample reaches the resin bed.
If even traces of nitric acid remain, they oxidize the functional groups on the resin, permanently destroying its separation capacity. The gentle perchloric acid fuming step is designed to remove those last traces—but only if it is allowed to occur fully while being time‑limited.
Understanding the Hidden Trade‑offs
Every decision in this procedure is a balance. Embracing a hyper‑aggressive attack guarantees a clean digest but can sacrifice analytes you meant to measure. Playing it too safe leaves behind a matrix that clogs instruments. Recognizing these compromises is essential when adapting the method to your specific scale composition.
The Aggressive Digestion vs. Analyte Loss Conundrum
A higher digestion temperature and longer fuming time give you an exceptionally clean silica residue, but you may lose phosphate, sulfate, or boron. If your research goal is to measure these volatile species, you must favor cooler, shorter fuming at the expense of slightly higher organic residue. Quantify the trade-off by running certified reference scale samples to calibrate recovery rates.
The Perchloric Acid Necessity Dilemma
Analysts often ask: “Can I skip perchloric acid to avoid the safety hassle?” The answer is nuanced. If only major metal oxides are required and organic matter is negligible, a simple HCl/HNO₃ digestion will often suffice. However, if you need total dissolution and a silica-free solution for trace element work, perchloric acid is irreplaceable. In those cases, the safety burden is the cost of accurate data.
Safety and Infrastructure Requirements
Much like the strict explosion‑prevention protocols required when purifying ether or drying halogenated solvents with active metals, perchloric acid demands a dedicated infrastructure. The fume hood must have water‑wash systems to prevent perchlorate salt accumulation. In laboratories without such a hood, the method is simply not feasible—attempting it in a standard hood is a catastrophic risk.
Making the Right Choice for Your Scale Analysis
Adapt the procedure based on what you are measuring and the equipment you have. The ideal digestion for a 1960s‑era utility boiler is not the same as the one for a modern high‑purity once‑through unit.
- If your primary focus is complete metal dissolution for routine oxide reporting: Follow the classic three‑acid sequence with strict 350‑400°F plate temperature and a short 2‑minute perchloric fume. This delivers reliable iron, copper, and magnesium data with minimal resin interference.
- If your primary focus is volatile anion analysis (phosphate, sulfate): Limit the digestion to HCl and HNO₃, keep the hot plate below 350°F, and omit perchloric acid entirely to preserve these anions, even if the final silica residue is slightly darker.
- If your primary focus is trace element fingerprinting (zinc, lead, arsenic): Commit to the full perchloric acid digestion to completely destroy organic chelates that would suppress trace signals, but verify your hood is perchloric acid‑rated and dedicate a separate beaker set to avoid cross‑contamination.
When you align the digestion intensity with your analytical target, you stop fighting the chemistry and start using it as a precision tool.
Summary Table:
| Step / Acid | Purpose | Key Precaution |
|---|---|---|
| 1. HCl | Dissolves basic metal oxides | Maintain hot plate temperature at 350–400°F to avoid violent bumping. |
| 2. HNO₃ | Oxidizes organic matter | Complete this step before adding HClO₄ to prevent explosive perchlorate formations. |
| 3. HClO₄ | Final oxidation & silica dehydration | Limit fuming to 2–3 minutes; must use a dedicated wash-down fume hood. |
Elevate Your Chemical Engineering Lab with LABPARK
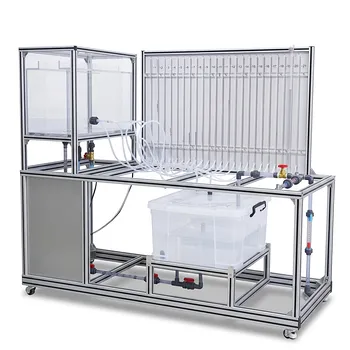
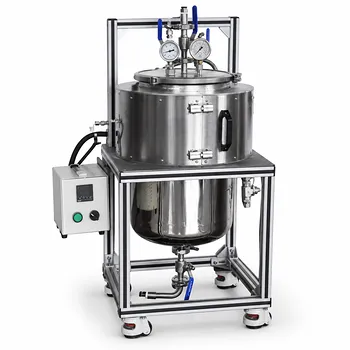
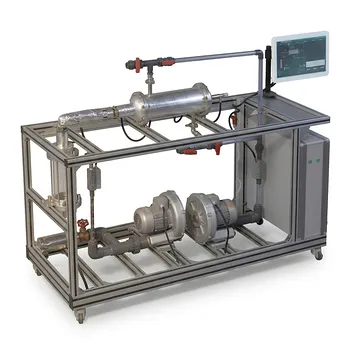
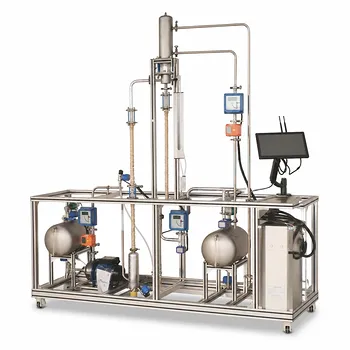
Equip your students and researchers with hands-on learning solutions. LABPARK provides state-of-the-art Educational and Vocational Unit Operations Pilot Plants in chemical engineering, bioprocess & biotech, and environmental & water treatment. Designed for universities, research institutes, and enterprises, our systems ensure safe, industry-standard training for scale analysis, reaction kinetics, and thermal operations.
Contact LABPARK today to request a quote or custom solution!
Related Products
- Three-Tube Heat Transfer Educational Pilot Plant for Unit Operations Training
- Bernoulli Equation Demonstration Unit Operations Pilot Plant
- Hot Filtration Educational Unit Operations Pilot Plant Laboratory System
- Shell and Tube Heat Exchanger Heat Transfer Coefficient Determination Educational Pilot Plant
- Rising and Falling Film Evaporation Educational Unit Operations Pilot Plant
People Also Ask
- When is ε-NTU preferred over LMTD in pilot plants? Predict heat exchanger performance without iteration.
- How to Verify Air-Side Heat Transfer Coefficient with a Pilot Plant? Practical Lab Guide
- How does cascade control achieve superior disturbance rejection in heat transfer pilot plants?
- How can a heat transfer pilot plant demonstrate waste heat recovery? Learn to optimize industrial thermal systems.
- How does transitioning to a multi-shell heat exchanger affect required area? Optimize pilot plant design.