To accurately model a fluidized-bed reactor in a chemical engineering pilot plant, you must think beyond a single stirred tank—you must decompose it into three distinct spatial zones. These zones are the Entry Zone near the distributor plate, the Fluidized Bed Zone forming the main reaction volume, and the Freeboard Zone above the bed surface. Each region governs different physical and chemical phenomena, and only by treating them separately can students and researchers correctly predict overall conversion, heat transfer, and scale-up behavior.
A fluidized-bed reactor’s performance is not uniform; it is the integrated result of three zones. The entry zone shapes initial bubble dynamics, the bed zone is where mass-transfer-limited reaction occurs between bubbles and emulsion, and the freeboard zone captures the fate of entrained particles. Teaching these as discrete, interacting systems is the foundation of sound pilot-plant analysis.
Why Zonal Analysis is Non-Negotiable
The core mistake in pilot-plant education is treating a fluidized bed as a well-mixed black box. In reality, local hydrodynamics vary dramatically with height. Breaking the reactor into the three zones defined in the primary reference forces you to confront the specific transport phenomena that limit performance at each stage.
The Danger of a Single-Zone Assumption
A single, average mass-transfer coefficient cannot capture the behavior of a reacting gas that first encounters freshly distributed particles and then evolves through a fully developed bubbling region. Ignoring the entry and freeboard zones leads to systematic errors in kinetic parameter estimation and flawed scale-up rules.
Building a Predictive Mental Model
When a student or researcher can mentally walk from the distributor to the bed surface and into the freeboard, they can anticipate how changes in gas velocity, particle size, or bed height will propagate. This zonal framework turns a complex multiphase reactor into a logical sequence of unit operations, each with its own driving forces and resistances.
Deconstructing the Three Essential Zones
The primary reference identifies three zones that must be modeled and analyzed. Here, we expand on what makes each one unique and what that means for your pilot-plant work.
Zone 1: The Entry Zone – Where Bubbles Are Born
Located directly above the gas distributor, this zone is where fresh reactant gas first contacts the bed particles. Gas bubbles are in their early stages of development here, and their size, frequency, and coalescence behavior are set by the distributor design and the initial fluidization quality.
- Why it matters: The reaction in the entry zone often proceeds under rapidly changing gas-solid contact patterns. If the distributor creates large, fast-rising bubbles, the bypassing of reactant starts immediately, reducing the efficiency of the entire bed.
- Pilot-plant lever: You can directly influence this zone by selecting a distributor plate that matches your particle size distribution. Supplementary references highlight that fine particles (50–100 µm) minimize bubble size; this effect is most pronounced in the entry region where bubbles first form.
Zone 2: The Fluidized Bed Zone – The Mass-Transfer Battleground
This is the main body of the bed, where the bulk of the reaction occurs. The chemical conversion here is generally controlled by mass transfer between the bubble phase and the interstitial (emulsion) phase. Reactant must diffuse from bubbles, through a cloud, and into the dense emulsion where catalyst particles reside.
- Why it matters: In a teaching pilot plant, this zone is where the classic two-phase models (bubble and emulsion) are directly tested. The overall rate you measure is often limited not by intrinsic kinetics but by how quickly gas molecules can shuttle between phases.
- Key insight for analysis: Bed height in this zone sets the total contact time. However, because bubbles grow and coalesce as they rise, the mass-transfer coefficient is height-dependent. A taller bed does not simply give linearly more conversion; you must account for changing bubble properties within this zone.
Zone 3: The Freeboard Zone – The Reaction That Doesn’t Stop
The region above the dense bed surface where particles are thrown up by erupting bubbles and then fall back is the freeboard. Entrained particles continue to interact with the gas before returning to the bed or being carried out of the reactor entirely.
- Why it matters: Neglecting the freeboard is a classic error, especially for fast reactions or when using fragile catalysts. Reaction continues on entrained solids, and the temperature profile in this zone can alter the gas composition before it exits. Additionally, particle attrition from collisions in the freeboard can generate fines that are permanently lost.
- Practical focus: In a pilot plant, measuring the solids holdup profile in the freeboard teaches the balance between bed inventory stability and elutriation losses. Supplementary references underline that high mechanical strength is necessary to prevent particle attrition, a problem that manifests most visibly in this zone.
Understanding the Trade-offs and Limitations
While the three-zone model is essential, it introduces complexities that must be managed honestly in a research or teaching setting.
The Risk of Over-Partitioning in Measurement
Isolating each zone in a small pilot plant can be difficult. Physical probes inserted to sample the entry zone may disturb bubble formation. Sampling ports in the freeboard often measure an average of what is still reacting and what is simply escaping. Students must learn that the boundaries are not sharp; they are regions of transition.
Simplicity vs. Accuracy in Educational Models
For teaching, you often simplify each zone with a dedicated sub-model (e.g., a grid-zone model for the entry, a Kunii-Levenspiel model for the bed, and an entrainment correlation for the freeboard). The trade-off is that linking these sub-models requires iterative coupling of boundary conditions. The deeper need is to grasp the coupling, not to memorize a single equation.
When a Moving Bed Complicates the Picture
The supplementary references note that for solids prone to agglomeration or when high solids conversion is critical, a moving-bed reactor might be considered. In that case, the distinct three-zone breakdown shifts. The entry and bed zones become more plug-flow-like, and the freeboard concept changes dramatically because gross solids carryover is intentionally minimized. This contrast helps you appreciate why the fluidized-bed zonal analysis is so specific to well-fluidized, bubbling systems.
Applying This to Your Pilot-Plant Analysis
The three zones are not just a classification exercise; they are a direct map for your experimental and modeling decisions.
- If your primary focus is teaching reactor engineering fundamentals: Design an experiment where students measure the axial pressure profile and gas composition at multiple points, forcing them to identify the boundaries of each zone themselves and explain the shift in controlling mechanisms.
- If your primary focus is scale-up kinetic studies: Avoid using only an exit-conversion measurement. Instead, sample gas within the fluidized bed zone and compare it to the exit to isolate the freeboard contribution, ensuring your intrinsic kinetics are not contaminated by post-bed reactions.
- If your primary focus is minimizing catalyst loss: Concentrate your analysis on the freeboard zone. Measure the entrainment flux and relate it directly to the bubbling intensity you created in the entry zone, as the two are hydraulically linked.
Mastering the three-zone decomposition transforms a fluidized-bed pilot plant from a mysterious vessel into a transparent, engineerable sequence of contact stages.
Summary Table:
| Zone | Location & Description | Key Phenomena & Design Focus |
|---|---|---|
| 1. Entry Zone | Directly above the distributor plate | Initial bubble formation, gas distribution, and initial gas-solid contact patterns. |
| 2. Fluidized Bed Zone | Main reaction volume (dense bed) | Mass transfer between bubble and emulsion phases; core chemical conversion. |
| 3. Freeboard Zone | Region above the dense bed surface | Continued reaction of entrained solids, particle elutriation, and attrition. |
Take Your Chemical Engineering Lab to the Next Level
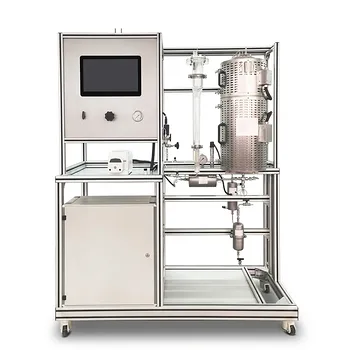
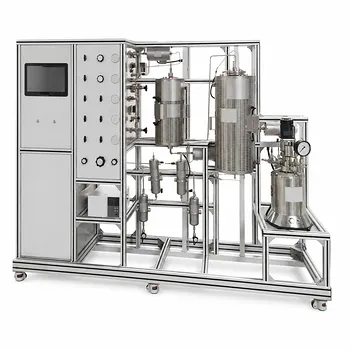
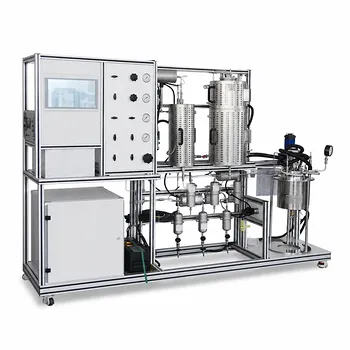
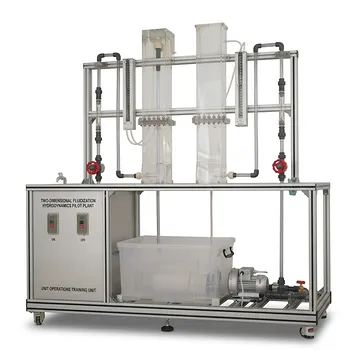
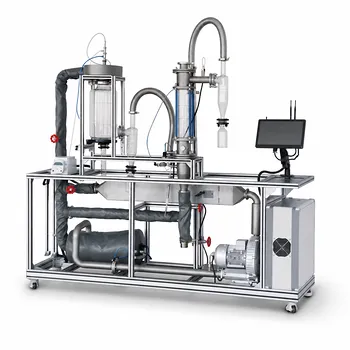
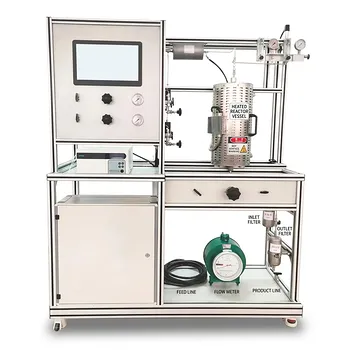
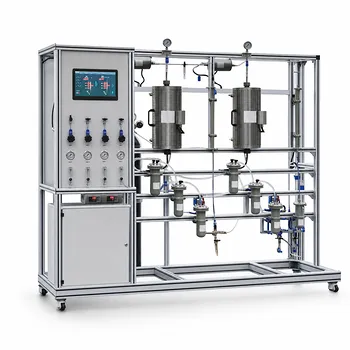
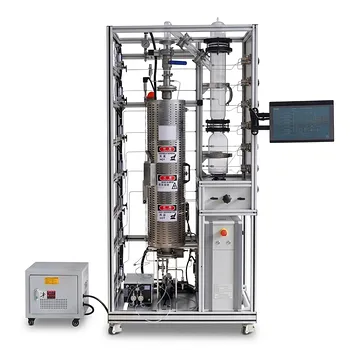
Teaching complex multiphase reactor dynamics requires reliable, industrial-grade equipment. LABPARK offers premium Educational and Vocational Unit Operations Pilot Plants tailored for chemical engineering, bioprocess & biotech, and environmental & water treatment.
Designed specifically for universities, research institutes, and enterprises, our pilot plants enable students and researchers to safely and accurately analyze mass transfer, fluidization, and reaction kinetics.
Ready to enhance your curriculum or research capabilities? Contact us today to discuss your custom pilot plant needs!
Related Products
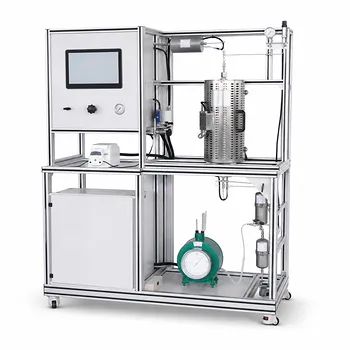
- Fluidized Bed Gas Solid Catalytic Reaction Educational Pilot Plant
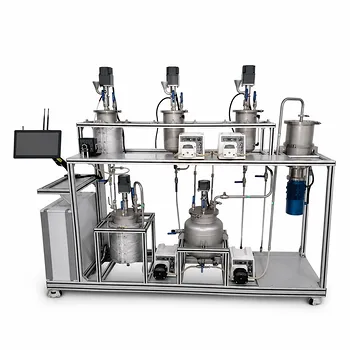
- Multi-Reactor Educational Pilot Plant for Reaction Engineering Unit Operations
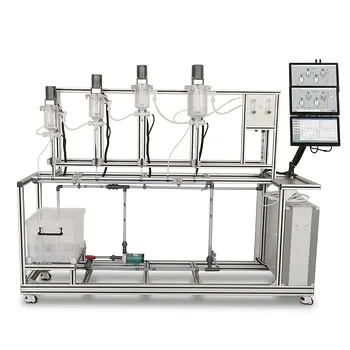
- Multi Functional Catalytic Reaction and Reactor Evaluation Educational Unit Operations Pilot Plant
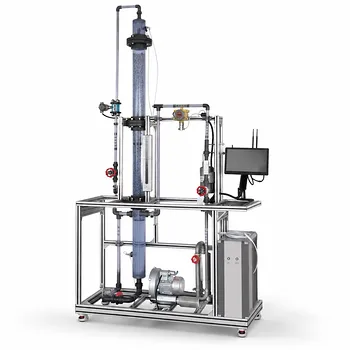
- Two-Dimensional Fluidization Hydrodynamics Educational Pilot Plant for Unit Operations Training
- Multi-Functional Drying Educational Unit Operations Pilot Plant
People Also Ask
- Why is the bed height-to-diameter ratio (L/dt) critical? Fluidized bed pilot plant selection guide.
- How do dimensionless numbers guide heat transfer in pilot plants? Optimize Scale-Up
- How is the minimum fluidization velocity (U_mf) determined and utilized? A Unit Operations Guide
- Fixed-Bed vs. Fluidized-Bed Reactor: How to Choose the Right Pilot Plant for Gas-Solid Catalytic Reactions
- How to determine catalyst pore radius & porosity? Optimize your chemical engineering pilot plant.