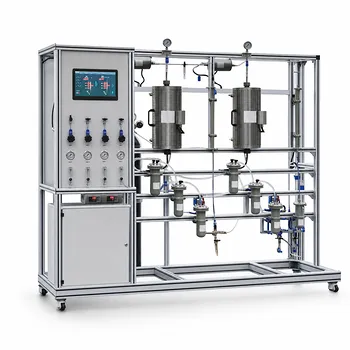
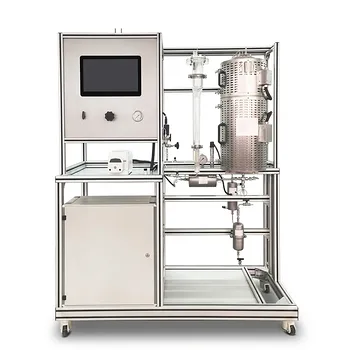
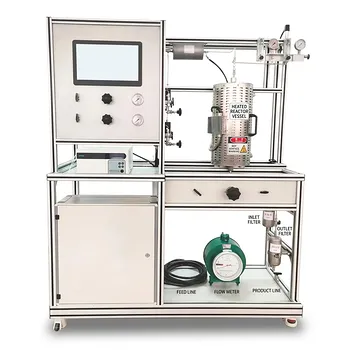
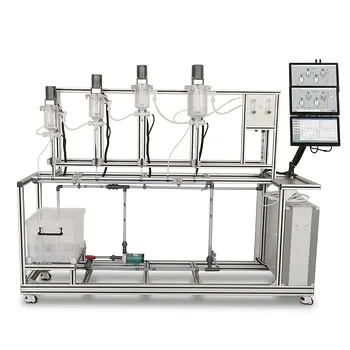
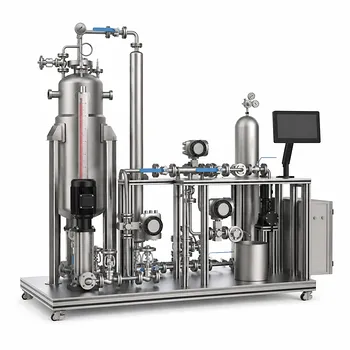
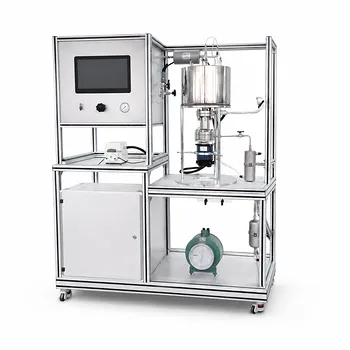
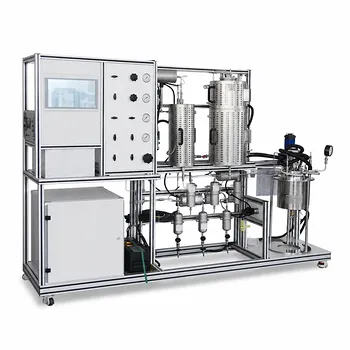
The definitive bedside test for external mass transfer limitations in a gas-liquid slurry pilot plant is a simple agitation speed experiment—but your lab-scale equipment can lie to you. You increase the stirrer speed while holding every other operating condition constant and watch the reaction rate. If the rate climbs with rpm, external mass transfer is slowing you down. If it stays flat, resistance is negligible. The critical caveat is that pilot-scale reactors often run at low Reynolds numbers, where transport coefficients barely budge when you change agitation. That insensitivity can create a dangerously false negative: you conclude no mass transfer limitation exists when, in reality, the system is already in a stagnant hydrodynamic regime that your mechanical adjustments cannot escape.
The standard test—incrementing agitation speed to detect a rising reaction rate—is correct in principle, but laboratory-scale units inherently operate in a low-energy zone where the link between stirrer speed and mass transfer coefficient is weak. Relying on this test alone risks missing a rate-limiting resistance that would become obvious at industrial scale. You must interpret results with a deep understanding of hydrodynamics, use complementary diagnostics, and never forget that “no change” does not automatically mean “no problem.”
How the Agitation Test Works
The Principle: Decoupling Transport and Kinetics
External mass transfer describes how fast a reactant moves from the bulk gas or liquid to the catalyst surface. In a three-phase slurry reactor, there are usually two external film resistances: gas-to-liquid and liquid-to-solid.
If one of these steps is the bottleneck, the overall rate is dictated by convection and interfacial area—both of which increase with agitation. A chemical kinetics-controlled reaction, in contrast, cares only about surface chemistry, temperature, and concentration; it ignores stirrer speed.
Running the Experiment
Operators train on a straightforward protocol:
- Fix temperature, pressure, catalyst loading, and feed concentrations.
- Start at a low stirrer speed (e.g., 200 rpm) and measure the steady-state conversion or intrinsic reaction rate.
- Step up the speed to, say, 400, 600, 800, and 1000 rpm, allowing enough time for the system to reach equilibrium at each point.
- Plot reaction rate versus rpm.
A flat line means external mass transfer is not rate-limiting under those conditions. A positive slope signals that convective transport still affects the apparent kinetics.
Why the Test Matches Plant Training Goals
In unit operations pilot plants, this experiment is a hands-on way to teach the transition between reaction regimes. Students see firsthand that stirring controls the gas-liquid interfacial area and the liquid-solid mass transfer coefficient (k_{SL}), and they learn to distinguish physical transport from chemical speed. This directly prepares them to troubleshoot real reactors where selectivity, yield, or productivity suffers from poor mixing.
The Hidden Limitation of Laboratory-Scale Equipment
Low Reynolds Number Insensitivity
Industrial slurry reactors operate at turbulent intensities that make mass transfer coefficients a strong function of power input. Lab- and pilot-scale vessels, constrained by small diameters and moderate agitation, often sit in a transitional or weakly turbulent regime.
At low Reynolds numbers, the mass transfer coefficient’s dependence on stirrer speed becomes very flat. The system is already in a regime where increasing rpm does little to thin the boundary layer or recirculate bubbles more effectively. Consequently, you might observe a constant reaction rate even if external mass transfer is still limiting the reaction—because your agitation simply cannot push the system into a fully kinetic-controlled state.
This creates a profound pedagogical and operational trap: students learn the “no change, no limitation” rule of thumb and then apply it unwittingly to a scale where the rule breaks down.
The Danger of a False Negative
When you incorrectly rule out mass transfer resistance, you might chase phantom kinetic effects: blaming catalyst deactivation, hypothesizing complex reaction networks, or adjusting temperature profiles when the real culprit is poor gas-liquid or liquid-solid transport.
For bioprocess training, where oxygen transfer to cells or enzymes is often the limiting step, this misdiagnosis could embed a misunderstanding that carries over to later industrial work. The pilot plant’s physical constraints become a silent teacher that can reinforce wrong conclusions.
Interpreting the Agitation Test Correctly
Use Complementary Diagnostics
To avoid being misled, train operators to combine the agitation test with other methods:
- Measure (k_L a) independently: In gas-liquid systems, determine the volumetric mass transfer coefficient under inert conditions (e.g., using the dynamic oxygen method) at various agitation speeds. If (k_L a) plateaus while the reaction rate also remains constant, you have stronger evidence that transport is not rate-limiting.
- Calculate the Hatta number: In fast gas-liquid reactions, the Hatta number ((Ha)) compares the maximum reaction rate inside the liquid film to the physical mass transfer rate. A high (Ha) ((>3)) indicates that reaction occurs predominantly in the film and can be sensitive to interfacial area, even if the bulk-phase agitation test appears flat.
- Vary linear velocity instead of stirrer speed: In packed bed or continuous column setups, increase the fluid velocity while holding residence time constant (by lengthening the bed). If conversion doesn’t change, external mass transfer is negligible; if it does, you’ve identified a resistance that the stirrer-speed method might miss.
Verify that You Have Achieved Complete Suspension
In slurry reactors with solid catalyst, the agitator must fully suspend the particles before you can interpret rate data. If solids remain partially settled at low speed, an apparent rate increase with rpm may simply reflect better catalyst utilization, not a true mass transfer limitation. Train operators to find the just-suspension speed (Njs) visually or with a loaded torque meter, and then run the rate test above that threshold.
Beware of Thermal Gradients
A non-isothermal reactor can mask or mimic mass transfer effects. When you increase agitation, you also enhance heat transfer. An apparent rate change may come from a temperature shift, not from improved mass transport. Insist on isothermal operation—or at least measure the bed or liquid temperature at multiple points—before trusting the rpm-rate curve.
Understanding the Trade-offs
The Value of Known Interfacial Area Reactors
Falling film reactors and packed columns provide a constant, known interfacial area. In these systems, you can directly calculate the mass transfer coefficient from first principles and see that the reaction rate remains constant even when gas flow rate changes, confirming kinetic control. This bypasses the Reynolds number uncertainty of stirred tanks. However, the trade-off is limited industrial relevance for slurry processes—these reactors don’t mimic the chaotic hydrodynamics of a catalytic slurry bubble column.
Complexity of Consecutive Reactions
For selectivity-sensitive chemistries, a flat agitation-rate curve does not guarantee freedom from mass transfer influence. In consecutive reaction networks (e.g., chlorination to a mono-substituted product followed by further reaction), poor liquid-phase mass transfer can trap the intermediate and drive selectivity down, even when the overall conversion isn’t significantly altered by stirring. Training modules must emphasize that selectivity, not just rate, can be the hidden victim of external mass transfer.
Pilot Scale as a Learning Tool, Not a Perfect Model
The very limitation—low Re insensitivity—becomes a powerful teaching moment if you frame it correctly. It forces students to confront the scale-up problem: what you see in a 2-liter stirred autoclave will not directly extrapolate to a 2,000-liter reactor. Use the pilot plant’s weakness to introduce concepts like dimensionless analysis, dynamic similarity, and the challenges of maintaining mixing intensity at scale.
How to Train Operators for Reliable Assessment
- Always run the agitation sweep from low to high rpm and back again to check for hysteresis, which could indicate gas-phase holdup changes or particle suspension hysterics.
- Calculate the Reynolds number for the impeller and note where your operating range falls on the power number curve. If you are in a laminar or transitional regime, treat a flat reaction rate with skepticism.
- Perform independent mass transfer experiments using a non-reactive tracer (e.g., sodium sulfite oxidation for (k_L a)) under the same conditions, and compare the trend with the reaction rate trend. Disagreement is a red flag.
- Incorporate at least one test with a deliberately varied particle size if solid catalyst is present. If smaller particles (higher external surface area) increase the rate at constant catalyst mass, external liquid-solid mass transfer is indeed a limitation—even if the agitation test was inconclusive.
- Document the entire procedure and its limitations in training manuals so that new engineers internalize the “always question a flat line” mindset.
The agitation test remains the frontline tool for detecting external mass transfer control in training-scale slurry reactors. But to wield it like a real expert, you must understand the hydrodynamic blind spot of small equipment. A constant rate tells you only that your current mixing cannot improve transport further—not that transport resistance is absent. By layering independent measurements, scrutinizing the flow regime, and framing the lab’s limitations as a mirror to industrial reality, you’ll turn a potential false negative into a foundation for genuine reaction engineering intuition.
Summary Table:
| Aspect | Standard Agitation Test | Lab-Scale Limitation | Diagnostic Best Practices |
|---|---|---|---|
| Mechanism | Step up RPM to see if reaction rate increases | Low Reynolds number makes transport coefficient ($k_L a$) flat | Pair with dynamic oxygen method or inert tracer tests |
| Data Indicator | Slope = mass transfer control; Flat = kinetic control | Flat line may be a false negative due to low-energy regime | Calculate Hatta number ($Ha$) & verify complete suspension ($N_{js}$) |
| Focus | Decoupling physical transport from chemical speed | Constrained dynamics mask true rate-limiting steps | Vary linear velocity or use known interfacial area reactors |
Bridge the Gap Between Theory and Scale-Up with LABPARK
Are you looking to provide hands-on experience in diagnosing complex reaction kinetics and hydrodynamics? LABPARK provides premium Educational and Vocational Unit Operations Pilot Plants in chemical engineering, bioprocess & biotech, and environmental & water treatment for universities, research institutes, and enterprises.
Our pilot plants are engineered to help students and researchers accurately analyze mass transfer, master dimensionless scale-up, and avoid common laboratory diagnostic pitfalls.
Ready to elevate your engineering lab? Contact us today to explore our custom pilot plant solutions!
Related Products
- Fixed-Bed Chemical Reaction and Gas Dust Tar Removal Unit Operations Pilot Plant
- Fluidized Bed Gas Solid Catalytic Reaction Educational Pilot Plant
- Fixed Bed Gas Solid Catalytic Reaction Educational Pilot Plant
- Micro-Scale Gas-Solid Catalytic Reaction Educational Pilot Plant
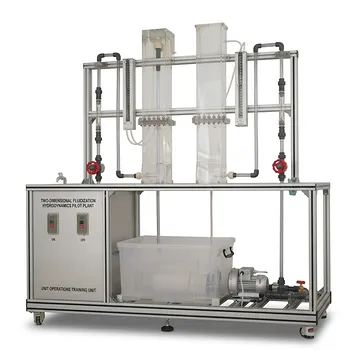
- Two-Dimensional Fluidization Hydrodynamics Educational Pilot Plant for Unit Operations Training
People Also Ask
- When to transition from PID to adaptive control in pilot plants? Key process indicators.
- How do deviations in estimating latent heat impact pilot plant thermal systems? Avoid hardware mis-sizing.
- Why Compare Predicted and Experimental Excess Enthalpy? Key to Accurate Pilot Plant Scale-up
- Why are particle density, bulk density & voidage critical in pilot plants? Master Bed Fluid Dynamics
- How to study gasification in pilot plants? Compare exit gas composition & efficiency