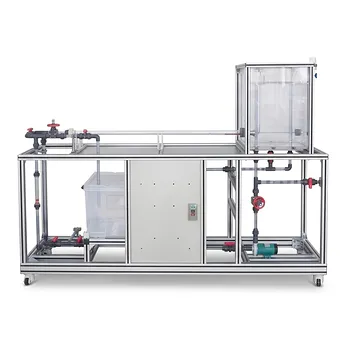
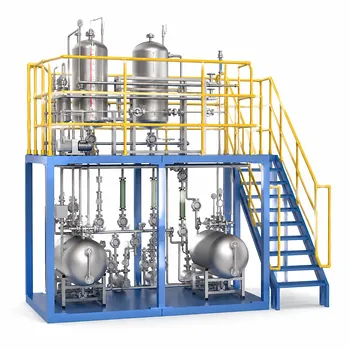
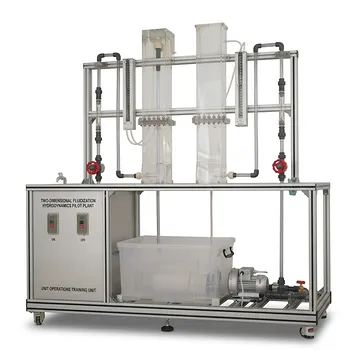
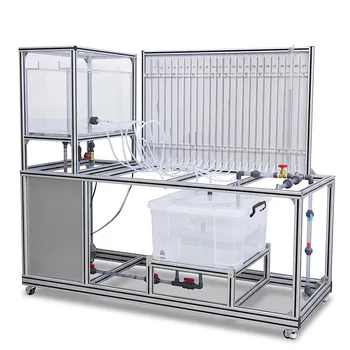
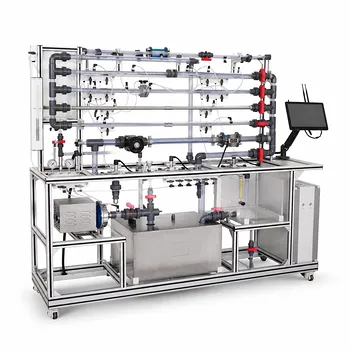
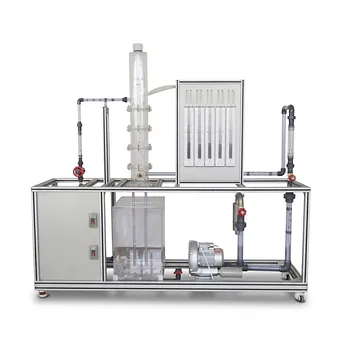
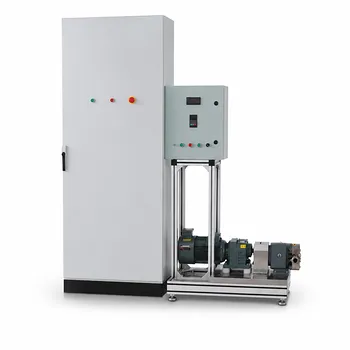
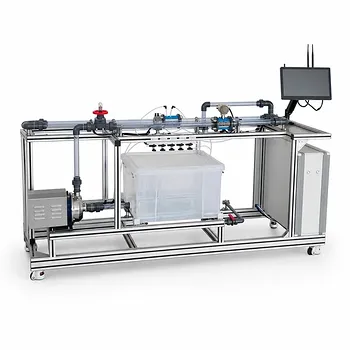
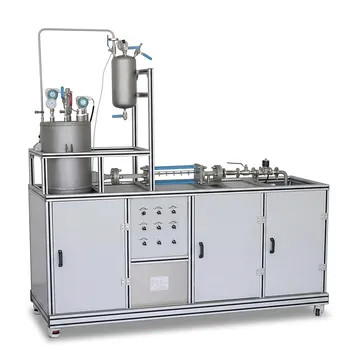
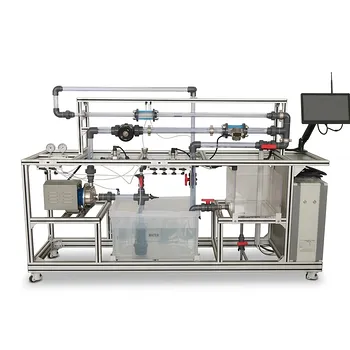
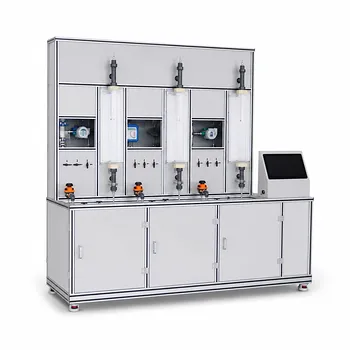
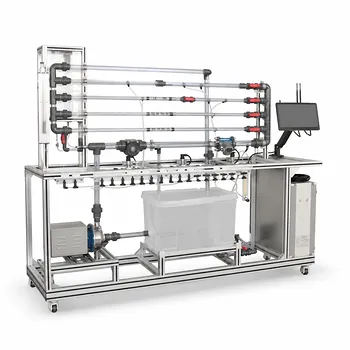
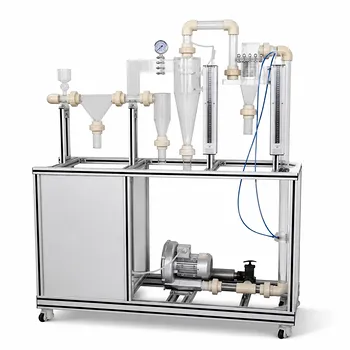
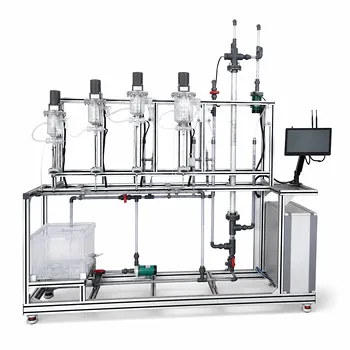
Forget theoretical diagrams—a fluid dynamics pilot plant makes the otherwise abstract Hydraulic Grade Line (HGL) and Energy Grade Line (EGL) physically visible. It does this through a series of vertical manometer tubes tapped along a variable-cross-section duct. The liquid level in each tube directly reveals the local piezometric head, and the line connecting these levels is the HGL. The EGL sits above this line by a distance equal to the velocity head ((v^2/2g)). As the fluid moves through changes in pipe diameter and overcomes friction, both lines shift in a way that instantly communicates the energy trade-offs and losses happening inside the flow.
The HGL is the line you can actually see in the manometers; the EGL is its invisible companion that shows the fluid’s total energy budget. On a pilot plant, the vertical gap between them demonstrates how pressure and velocity trade places, while their gradual downward slope reveals that friction is constantly consuming useful energy—a visual narrative no textbook can match.
How Pilot Plants Turn Abstract Gradients into Tangible Markers
The Manometer Array: A Direct Window into Local Head
Each manometer tube acts as a piezometer—a pressure tap open to the atmosphere. The height to which the liquid climbs inside the tube equals the piezometric head at that point, i.e., the sum of the elevation head ((Z)) and the pressure head ((P/\rho g)).
When you connect the fluid levels across all the tubes, you trace the Hydraulic Grade Line. If the duct is horizontal, any drop in a tube’s level immediately signals a drop in static pressure. If the duct changes elevation, the HGL naturally follows that profile, making the influence of gravity on pressure instantly clear.
From HGL to EGL: Adding the Invisible Velocity Component
The Energy Grade Line represents total mechanical energy per unit weight: EGL = HGL + (v^2/2g). The pilot plant doesn’t show this line directly—it must be imagined or plotted a fixed distance above each manometer’s free surface.
Where the pipe diameter is uniform, velocity is constant, so the vertical gap between HGL and EGL stays identical at every station. But at a constriction, the fluid speeds up. The velocity head jumps, the gap suddenly widens, and the HGL may dip dramatically—a stark, physical demonstration of Bernoulli’s principle in action.
Why Both Lines Slope Downward: Visualizing Friction Loss
No real fluid flows without resistance. Friction continuously converts mechanical energy into heat, and this head loss ((h_L)) forces the EGL to slope downward in the direction of flow.
Since the HGL is the EGL minus the velocity head, it must also decline. In a long, straight pilot-plant section, you’ll see a clear, steady drop in the manometer levels. This visual slope translates directly to the energy price the fluid pays just to keep moving—a lesson no differential equation can convey as intuitively.
Reading the Visual Cues: What the Pilot Plant Reveals About the System
Fluid dynamics rigs often feature clear piping, multi-tube manometers, and even differential pressure sensors. These elements let students and engineers spot real-world phenomena instantly.
A sudden, step-like drop in the HGL across a valve or fitting marks a localized energy loss. When the duct abruptly enlarges, the fluid slows, and the gap between the lines collapses as kinetic energy transforms back into pressure. Conversely, a sharp contraction widens the gap and can pull the HGL dangerously close to the pipe’s physical elevation—a clear early warning of cavitation risk.
Understanding the Limitations of the Visual Representation
No demonstration tool is perfect. A pilot plant simplifies reality in ways you must acknowledge.
Manometers only sample discrete points, so the HGL you draw is an interpolated curve. Capillary effects in narrow tubes can skew readings slightly. The apparatus assumes steady, incompressible flow; introducing air bubbles or dealing with two-phase mixtures would scramble the neat gradient picture. And, of course, real industrial piping isn’t transparent or lined with piezometers. Extrapolating these crisp visuals to a buried, opaque pipeline demands careful judgment.
How to Apply These Visual Insights to Your Project
Different practical goals call for different ways of reading the HGL–EGL story.
- If your primary focus is diagnosing energy losses: Follow the slope of the EGL. The steeper the descent over a stretch of pipe, the higher the friction or the more severe a local disturbance—pinpoint fittings that are eating more energy than they should.
- If your primary focus is understanding flow rate or measurement: The vertical distance between HGL and EGL equals (v^2/2g). A venturi or orifice in a clear pilot section makes that gap expand and contract visibly, letting you immediately calculate speed—and thus flow rate—right from the manometer boards.
- If your primary focus is designing a piping system safely: Watch where the HGL intersects the pipe’s physical profile. If the HGL dips below the pipe crown, pressure becomes negative—a direct invitation to cavitation and damaging water hammer. The pilot plant lets you see that threshold before it becomes a full-scale failure.
Ultimately, these demonstration plants give you a language of lines and spaces that turns fluid energy from a dry equation into an intuitive, visual story you can read at a glance.
Summary Table:
| Feature | Hydraulic Grade Line (HGL) | Energy Grade Line (EGL) |
|---|---|---|
| Formula | $Z + P/\rho g$ (Elevation + Pressure Head) | $HGL + v^2/2g$ (Total Mechanical Energy) |
| Visibility | Directly visible via liquid level in manometers | Imagined/calculated by adding velocity head |
| Gap to EGL | Varies with velocity ($v^2/2g$) | Remains constant if pipe diameter is uniform |
| Friction Effect | Slopes downward in direction of flow | Slopes downward due to continuous head loss |
Bring Fluid Mechanics to Life with LABPARK
Are you looking to bridge the gap between abstract equations and real-world engineering applications? LABPARK provides state-of-the-art Educational and Vocational Unit Operations Pilot Plants in chemical engineering, bioprocess & biotech, and environmental & water treatment.
We empower universities, research institutes, and enterprises to enhance learning outcomes and research capabilities with transparent, high-precision demonstration rigs.
Ready to upgrade your laboratory? Contact us today to find the perfect pilot plant solution for your institution!
Related Products
- Fluid Reynolds Number Demonstration Educational Unit Operations Pilot Plant
- Fluid Transport and Piping Dynamics Practical Training Unit Operations Pilot Plant
- Two-Dimensional Fluidization Hydrodynamics Educational Pilot Plant for Unit Operations Training
- Bernoulli Equation Demonstration Unit Operations Pilot Plant
- Comprehensive Fluid Mechanics Educational Unit Operations Pilot Plant
People Also Ask
- How to use Reynolds number to demonstrate flow transition? Visual Lab Guide
- How does nozzle geometry affect energy efficiency and jet performance in fluid mechanics laboratory demonstration units?
- How do educational pilot plants help visualize Reynolds numbers? Master laminar & turbulent flow.
- What characterizes the transition from a laminar to a turbulent boundary layer? Effects on pilot equipment
- How is total hydrodynamic drag calculated for creeping flow past a spherical particle? See the 1:2 pressure-to-shear split