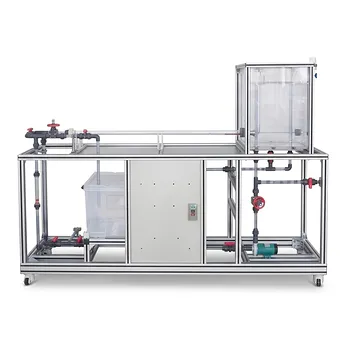
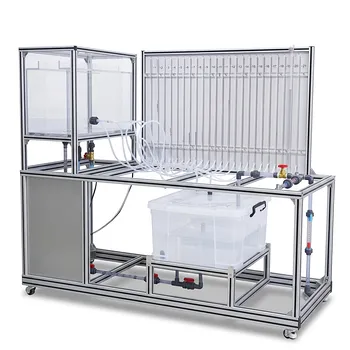
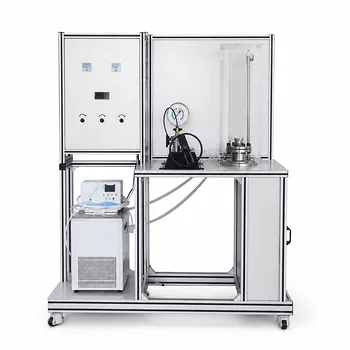
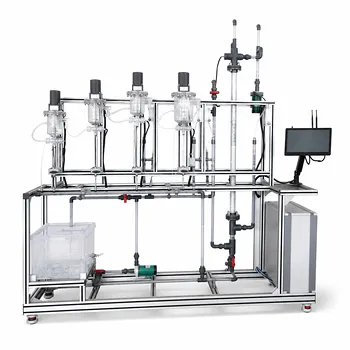
The most powerful demonstration isn't just calculating a number—it's watching that number come to life. In chemical engineering unit operations training equipment, instructors use the Reynolds number (Re) by having students calculate it from a measured flow rate in a transparent pipe section while simultaneously injecting a dye filament. They visually witness the exact moment the dye transitions from a stable, unbroken line (laminar flow at Re ≤ 2000) to a chaotic, dispersed cloud (turbulent flow at Re ≥ 4000), creating an unforgettable link between the dimensionless equation and physical reality.
The core pedagogical challenge is transforming the Reynolds number from an abstract formula into a tangible, visual event. The most effective solution is a two-pronged approach: students must quantitatively predict the flow regime using the $Re = \frac{du\rho}{\mu}$ calculation, and then immediately validate their prediction by injecting dye into a glass test section and observing the filament's behavior. This direct correlation between calculation and observation forges a deep, intuitive understanding of fluid dynamics.
Building the Foundational Principle
The demonstration must first establish the "why" before the "what." The Reynolds number is not an arbitrary value but a fundamental ratio of forces.
Deconstructing the Reynolds Number
The formula $Re = \frac{du\rho}{\mu}$ describes the ratio of inertial forces (represented by density $\rho$, velocity $u$, and diameter $d$) to viscous forces (represented by dynamic viscosity $\mu$). High inertial forces tend to destabilize the flow, creating chaotic eddies. High viscous forces act as a damping mechanism, keeping the fluid layers moving smoothly in parallel.
The three distinct regimes provide a clear, predictive framework. When $Re \le 2000$, viscous forces dominate, enforcing a stable, laminar regime. When $Re \ge 4000$, inertial forces overwhelm viscous damping, creating a chaotic, turbulent regime. The region $2000 < Re < 4000$ is a sensitive transition zone where the flow can unpredictably switch between states based on local disturbances in the system.
The Visual Tool: Dye Injection as a Diagnostic
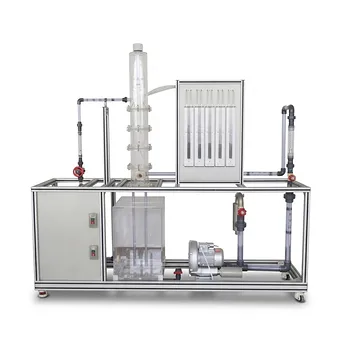
A unit operations pilot plant with a glass or clear acrylic test section and a dye injector transforms a theoretical calculation into a diagnostic tool. The dye filament acts as a direct visual probe of the flow’s stability.
By starting at a very low flow rate ($Re < 2000$), the injected dye forms a single, razor-sharp coherent line that traces the streamline without mixing. As the student slowly opens a control valve to increase velocity, they are directly increasing the Reynolds number. The moment the dye line begins to waver and then abruptly bursts into a cloud of color marks the visual threshold of the turbulent transition, which can be directly compared to the concurrently calculated Re.
Designing the Core Lab Exercise
A truly effective demonstration moves beyond a passive observation to an active investigation. The exercise should be structured to let students discover the relationship themselves.
Correlating Calculation with Observation
The lab procedure is a simple but powerful loop. Students first adjust a control valve to set a steady volumetric flow rate. They then record this rate, calculate the average velocity and the corresponding Reynolds number, and lastly observe the dye filament's behavior.
By methodically stepping through this loop across a range of flow rates—from a pristine laminar line, through the intermittent bursts of the transition zone, to a completely mixed turbulent cloud—students build a personal, experiential dataset. This hands-on process cements the meaning of the critical $Re$ values of 2000 and 4000 far more effectively than a textbook reading.
Observing the Entry Length
The pilot plant also provides a powerful demonstration of flow development. When a fluid enters a pipe, the velocity profile doesn't form instantly; it develops over a distance. For laminar flow, this entry length ($x_0$) is defined by the relationship $x_0/d = 0.057 Re$.
This concept becomes visible in the test section. By increasing the flow rate while maintaining a laminar regime (e.g., going from Re=500 to Re=1500), students can observe that the dye filament takes a visibly longer distance to stabilize. This shows that the entry length is not fixed but is a direct function of the flow parameters, providing a clear visual of boundary layer growth.
Why the Regime Shift Matters
A core part of the deep need is answering "why does this matter?" The transition isn't just a visual curiosity; it fundamentally alters the energy and efficiency characteristics of any unit operation.
The Drastic Change in Energy Loss
The transition to turbulence causes a sudden and dramatic increase in flow resistance. In a laminar flow, the pressure drop is linearly proportional to velocity. In turbulent flow, the pressure drop becomes roughly proportional to the square of velocity.
An instructor can connect this to a differential pressure sensor across the test section. Students will see that for a modest incremental increase in flow rate once turbulent, there is a massively disproportionate spike in pressure drop. This directly illustrates the core engineering trade-off: turbulence incurs a high pumping cost but is often necessary for process intensification.
The Impact on Velocity Profiles and Measurement
The flow regime dictates the velocity profile's shape, which is critical for accurate flow measurement with instruments like Pitot tubes. In laminar flow, the profile is a perfect parabola, with the centerline velocity being exactly double the average velocity ($u_{max} = 2u$).
In turbulent flow, intense radial mixing flattens this profile, making it much "blunter." The ratio of average to maximum velocity ($u/u_{max}$) is no longer a simple 0.5; it changes as a function of the Reynolds number. A pilot plant equipped with a point-velocity sensor lets instructors show that applying the wrong profile relationship will lead to significant errors in calculating the total volumetric flow rate.
Navigating the Challenges of a Lab Demonstration
Lab demonstrations are not perfect. Trust is built by acknowledging the common pitfalls where results can be misleading.
The Sensitivity of the Transition Zone
The $Re$ range of 2000 to 4000 is not a clean on/off switch. In this zone, the flow is inherently unstable and highly sensitive to external disturbances like vibrations from a nearby pump, a slight bump to the bench, or imperfections in the pipe inlet.
A student might observe turbulent bursts at $Re = 2100$, while a repeat of the experiment shows a stable laminar line. This is not a failure of the theory; it’s a core characteristic of the transition zone. Instructors should highlight these observations as a lesson in real-world engineering sensitivity, not an anomaly to be dismissed.
Maintaining a Steady Head
The visual demonstration relies on a smooth, stable dye filament. Small pressure fluctuations from an inconsistent water supply can cause the laminar dye line to pulse or feather at its edges prematurely, even before true turbulence is reached. For the most striking demonstration, using a constant-head tank to feed the test section, rather than a direct pump connection, will provide the steady, vibration-free flow needed to see a flawless laminar filament.
Making the Most of a Lab Session
The sequence of the demonstration should be tailored to the educational goal for that day—whether it's a first-time qualitative reveal or a deep quantitative dive.
- If your primary focus is a visceral, qualitative introduction to flow regimes: Begin with the dye injection technique. Have students slowly increase the flow from a dead stop and describe the exact moment of transition in their own words. Introduce the $Re$ calculation only after they have personally witnessed the three regimes.
- If your primary focus is a rigorous, quantitative lab on pipe friction: Use the Reynolds number calculation as the independent variable. Have students pre-calculate the flow rates needed to hit specific $Re$ values (e.g., 500, 2000, 4000, 10000), set them, and then measure the corresponding pressure drop. Plotting friction factor versus $Re$ will clearly show the Poiseuille and Blasius relationships.
- If your primary focus is on developing flow and measurement techniques: Structure the lab around the entry length and velocity profiles. Have students use a Pitot tube to map the velocity profile at an axial location within the developing region and again in the fully developed region, quantifying the difference and linking it back to the $x_0/d$ correlation.
The enduring lesson is this: the Reynolds number is the master key to a fluid system's entire behavior. By enabling students to predict it, see it, and measure its consequences, you transform them from passive observers into engineers who can truly control a process.
Summary Table:
| Flow Regime | Reynolds Number ($Re$) | Visual Dye Behavior | Pressure Drop Relationship | Velocity Profile ($u/u_{max}$) |
|---|---|---|---|---|
| Laminar | $\le 2000$ | Stable, unbroken filament | Proportional to velocity ($dp \propto u$) | Parabolic (0.5) |
| Transition | $2000 < Re < 4000$ | Intermittent wavering & bursts | Highly unstable and fluctuating | Unstable / changing |
| Turbulent | $\ge 4000$ | Rapid, chaotic dispersion | Proportional to velocity squared ($dp \propto u^2$) | Blunt / flat ($>0.5$) |
Bring Fluid Dynamics to Life in Your Lab
Looking to upgrade your engineering curriculum or research capabilities? LABPARK provides state-of-the-art Educational and Vocational Unit Operations Pilot Plants in chemical engineering, bioprocess & biotech, and environmental & water treatment.
Our custom-built pilot plants feature clear acrylic/glass test sections, precise dye injection systems, and integrated differential pressure sensors. This allows universities, research institutes, and enterprises to bridge the gap between mathematical theory and physical reality.
Empower your students and researchers with hands-on, visual learning. Contact LABPARK today to request a quote or custom design consultation.
Related Products
- Fluid Reynolds Number Demonstration Educational Unit Operations Pilot Plant
- Fluid Friction Resistance Determination Educational Unit Operations Pilot Plant
- Bernoulli Equation Demonstration Unit Operations Pilot Plant
- Carbon Dioxide PVT Curve Determination Educational Unit Operations Pilot Plant
- Residence Time Distribution and Reactor Flow Characteristics Determination Educational Pilot Plant
People Also Ask
- How does nozzle geometry affect energy efficiency and jet performance in fluid mechanics laboratory demonstration units?
- How do educational pilot plants help visualize Reynolds numbers? Master laminar & turbulent flow.
- How to demonstrate rapid vs slow valve closure? Clear water hammer transient experiments for engineering labs.
- What is the difference between static and stagnation pressure? Master Pilot Plant Flow Measurement
- How does friction factor differ in laminar vs turbulent flow? Lab Experiment Guide