The critical temperature controls are simple but unforgiving. For both gravimetric and volumetric phosphate estimation in water-formed deposits, the solution must be warmed to approximately 45°C before adding the ammonium molybdate reagent, and the temperature must not exceed 50°C at any point during precipitation. Once the reagent is added, no further heating is allowed. Violating these limits contaminates the yellow precipitate with excess molybdenum trioxide (MoO₃), driving your results falsely high.
The window for error-free precipitation is narrow: you aim for a stable 45°C plateau, never crossing the 50°C ceiling, and you cease all heating the moment the molybdate reagent enters the solution. This single thermal discipline keeps the stoichiometry of ammonium phosphomolybdate pure and your phosphate numbers trustworthy.
Why Temperature Control is the Silent Error Multiplier
The ammonium phosphomolybdate precipitation at the heart of this analysis is exquisitely sensitive to thermal conditions. A small overshoot in temperature doesn’t just distort the crystal structure—it chemically alters the composition of the solid you weigh or titrate, introducing a systematic positive bias that can make a clean deposit look fouled or mask real scaling threats.
The Mechanism of Contamination
When the solution temperature climbs above 50°C, excess molybdic anhydride (MoO₃) begins to co-precipitate with the yellow ammonium phosphomolybdate complex. This is not a simple adsorption; the overheated solution drives the molybdate reagent to form and incorporate MoO₃ directly into the solid mass.
You end up weighing or titrating a precipitate that is heavier and richer in molybdenum than the true stoichiometric compound. The extra mass is interpreted as more phosphate, producing a positive error that can easily push recovery rates well above 100%.
The “No Heat After Reagent” Rule
Even if you impeccably hold the solution at 45°C before dosing the reagent, applying heat after the molybdate is added triggers the same contamination. The precipitate becomes coated or intergrown with MoO₃, again inflating the apparent phosphate content.
This is why the protocol demands that all temperature adjustments happen before the reagent is introduced. Once the molybdate hits the solution, you rely on the already‑established thermal environment to complete the precipitation without external energy input.
The Add‑On Danger: Molybdenum Blue and Incomplete Precipitation
Temperature isn’t the only controllable variable, but it synergizes disastrously with other interferents. Water‑formed deposits often contain organic matter or reducing substances. If these aren’t destroyed, they react with the molybdate to produce soluble “molybdenum blue”—a deep‑blue complex that ties up molybdenum and prevents complete phosphate precipitation.
Oxidize Before You Warm
The safeguard is to pre‑treat the sample with potassium permanganate (or an equivalent oxidizer) until all reducing agents are consumed. This step must happen before you bring the solution to the 45°C target. If you skip oxidation, you’ll get low phosphate recovery regardless of perfect temperature control—and the two errors can compound, making troubleshooting a nightmare.
Understanding the Trade‑offs
Precision in this method demands a trade‑off between speed and purity.
- Rapid precipitation attempts often tempt analysts to heat the solution above 50°C to speed up crystal formation. The immediate visual result looks fine, but the hidden MoO₃ contamination silently invalidates the data.
- Over‑cautious cooling—keeping the solution at room temperature—leads to slow, incomplete precipitation and low results.
- Balancing act: The 45°C setpoint is selected because it gives the ammonium phosphomolybdate crystals enough kinetic energy to form quantitatively within a reasonable time, while staying far enough below the 50°C threshold to avoid MoO₃ co‑precipitation. It’s the saddle point between incomplete recovery and gross contamination.
Making the Right Choice for Your Deposit Analysis
Your exact protocol will depend on what you value most—speed, ruggedness, or ultimate accuracy—but the thermal boundaries remain non‑negotiable.
- If your primary focus is absolute accuracy: Pre‑oxidize the sample, carefully heat the solution to exactly 45°C, add the molybdate reagent, and then physically remove the heat source. Monitor the temperature with a calibrated thermometer and never let it drift above 50°C during the digestion or precipitation.
- If your primary focus is fast turnaround in a pilot‑plant lab: Automate the heating step with a controlled water bath or hot plate set to 45°C. Train everyone that once the reagent goes in, the beaker must be removed from the heat immediately. Any shortcut that applies even gentle warming after addition will produce biased scaling assessments that cascade into poor operational decisions.
- If your primary focus is troubleshooting suspect data: Re‑measure the temperature profile of your procedure. A single exceedance of 50°C for a few seconds is enough to cause measurable MoO₃ contamination. Pair this check with a redox verification to ensure no molybdenum blue interference is stealing phosphate from your precipitate.
The discipline boils down to this: treat 45°C as your target, 50°C as an inviolable red line, and the addition of molybdate as the moment you stop all heating. When you get that sequence right, your phosphate numbers will reflect the true condition of the deposit—not a thermal artifact.
Summary Table:
| Parameter | Control Limit | Critical Action | Risk of Violation |
|---|---|---|---|
| Pre-heating Temp | ~45°C | Warm solution before adding reagent | Slow, incomplete precipitation |
| Max Temp Ceiling | 50°C | Never exceed this limit | MoO₃ co-precipitation (falsely high results) |
| Post-Reagent Heating | Zero | Stop all heating after adding molybdate | Rapid MoO₃ contamination of precipitate |
| Sample Pre-treatment | Oxidation | Pre-oxidize with KMnO₄ before heating | Molybdenum blue formation (low recovery) |
Elevate Your Chemical & Environmental Engineering Training with LABPARK
Precise process control—whether in analytical chemistry or pilot-scale operations—is the key to accurate results. LABPARK provides state-of-the-art Educational and Vocational Unit Operations Pilot Plants in chemical engineering, bioprocess & biotech, and environmental & water treatment.
We help universities, research institutes, and enterprises bridge the gap between theory and hands-on operational discipline.
Ready to upgrade your lab's training capabilities? Contact LABPARK today to find the perfect pilot plant solution for your institution.
Related Products
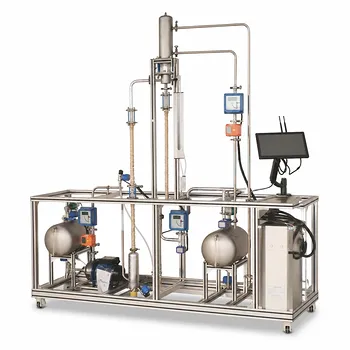
- Centrifugal Pump Performance and Orifice Flowmeter Calibration Educational Pilot Plant
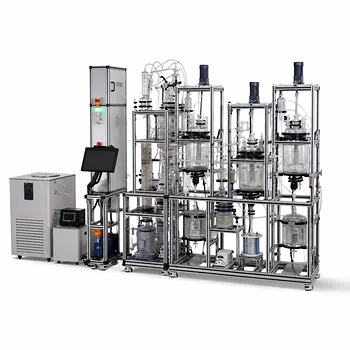
- Electrolyte Distillation Purification and Formulation Educational Pilot Plant
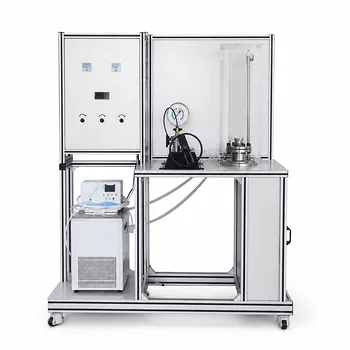
- Carbon Dioxide PVT Curve Determination Educational Unit Operations Pilot Plant
- Rising and Falling Film Evaporation Educational Unit Operations Pilot Plant
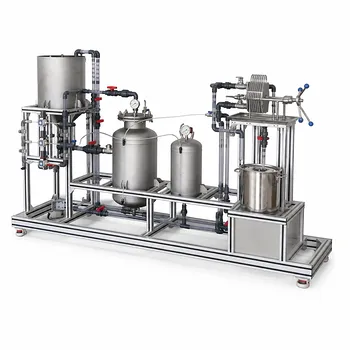
- Constant Pressure Filtration Educational Unit Operations Pilot Plant
People Also Ask
- What features should instructors look for in pump & flowmeter pilot plants? Key Selection Guide
- Why start a centrifugal pump with a closed outlet valve? Protect your pilot plant motors.
- How to update chemometric calibration models in pilot plants? Best practices for process engineers.
- How can cavitation and slurry erosion be studied and mitigated using fluid transport and centrifugal pump pilot plants?
- How do pilot plants demonstrate siphon pressure variations? Visualizing Bernoulli's Energy Balance