The standard procedure is a quantitative transfer that treats every last drop as precious. It begins with a leak test, involves dissolving solids externally and cooling to 20°C, uses a glass rod to guide the solution into the flask without touching the ground joint, and requires exhaustive rinsing of the beaker and rod to capture every molecule. The final steps are a swirling pre-mix and a precise meniscus adjustment to the calibration line, all because a volumetric flask is calibrated to contain (TC)—not to deliver.
The fundamental truth: a volumetric flask is a precision containment vessel, not a pouring device. The entire multi-step ritual—cooling, glass rod guidance, repeated rinsing, and meniscus adjustment—exists to eliminate thermal expansion errors and ensure total quantitative transfer into the flask, leaving no solute behind on any surface.
The Step-by-Step Transfer Procedure
Leak Testing: The First Critical Check
Before any reagent preparation, verify the flask’s integrity. Fill the flask completely with water, seal it, invert it, and hold for 2 minutes.
Check for any visible wetness around the stopper. Then rotate the stopper 180° and repeat the inversion.
This double-check ensures the ground glass joint will seal perfectly during the final mixing, preventing loss of your precisely prepared standard.
Dissolving and Cooling: Respect the 20°C Calibration
Never directly weigh a solid into the volumetric flask. Instead, dissolve the measured mass in a clean beaker using a reasonable volume of solvent.
This step is critical because volumetric glassware is calibrated at 20°C. An exothermic dissolution or a hot solution poured into the flask will cause thermal expansion, making the final volume inaccurate once it cools.
Allow the solution in the beaker to passively reach room temperature before any transfer. Chemical engineering unit operations demand this level of thermal discipline for reagent integrity.
The Glass Rod Transfer: Quantitative Without Contamination
Insert a clean glass rod into the neck of the volumetric flask, holding it carefully so it never touches the ground glass joint. Touching the joint can transfer contaminant or create micro-scratches that ruin the seal.
Lean the lip of the beaker against this rod, creating a controlled pathway. Pour the room-temperature solution slowly, letting it run down the rod and directly into the flask body.
This technique avoids splashing against the flask neck and prevents any liquid from bypassing the interior wall, which would lead to volume error.
Rinsing: Leaving No Solute Behind
Any solute residue left in the beaker or on the glass rod is a direct source of error. Rinse both the beaker and the rod three to five times with your solvent, typically distilled or deionized water.
Use a wash bottle to direct the rinsing liquid over all internal surfaces. Transfer every rinse portion quantitatively into the volumetric flask.
This exhaustive rinsing is what transforms a simple pour into a true quantitative transfer, guaranteeing that your final flask contains all of the weighed solute.
Premixing and Final Meniscus Adjustment
Once all rinses are transferred, fill the flask to roughly two-thirds of its total volume. Seal it and swirl the contents horizontally to achieve a homogeneous pre-mix.
This prevents local concentration gradients from affecting the final volume adjustment. Then, carefully add solvent until the bottom of the liquid’s meniscus exactly touches the calibration line.
Read the meniscus at eye level, against a light background if necessary. Over-shooting demands starting over, as the flask is a fixed-volume standard.
Understanding the Trade-offs and Common Pitfalls
The Iron Rule: To Contain, Not To Deliver
Volumetric flasks are etched with TC (to contain). This means the flask holds that precise volume when filled to the mark, but if you pour the solution out, a thin film of liquid remains adhered to the inner walls.
You cannot use the flask to measure and then dispense a known volume into another vessel—that is the role of "to deliver" glassware like pipettes. Attempting to do so will introduce a significant, uncontrolled negative bias in your unit operations.
Thermal Sensitivity and Storage Mistakes
Never heat a volumetric flask on a hot plate or in an oven. The thermal stress can permanently distort the calibrated volume, and the ground glass joint may shatter.
Also, do not use the flask for long-term storage of strong alkalis or other aggressive solutions. These can etch the glass, slowly changing the internal volume and ruining the calibration.
For chemical engineering pilot plants where reagents might sit, transfer the prepared standard into a proper storage bottle immediately after mixing. The volumetric flask is a preparation instrument, not a storage vessel.
Making the Right Choice for Your Pilot Plant SOPs
Different operational goals will emphasize different aspects of this procedure. Adapt your standard operating procedures accordingly.
- If your primary focus is maximum analytical accuracy: Implement the full 5-cycle rinse of beaker and rod, double-check the 20°C equilibration with a thermometer, and adopt a leak test as a mandatory first step before every single standard preparation.
- If your primary focus is technician training and error-proofing: Create a visual stop-point checklist that explicitly forbids touching the ground joint, requires a passive cooling station, and mandates meniscus reading at eye level with the mark.
- If your primary focus is scaling up pilot plant reagent batches: Recognize that the constraints stay the same; a larger Class A volumetric flask still requires cooling to 20°C and cannot be heated to dissolve solutes faster, so plan for the dissolution and cooling time in your workflow.
- If your primary focus is traceability and compliance: Document the specific flask’s serial number, verify its TC calibration against a certified standard temperature, and archive the rinse water source as part of the batch record.
This transfer protocol is not a tedious ritual; it is the only way to guarantee that the number on the label matches the concentration inside the reaction vessel.
Summary Table:
| Step | Key Action | Why It Matters |
|---|---|---|
| 1. Leak Testing | Seal, invert, and check stopper for 2 minutes | Prevents sample loss during final mixing |
| 2. Dissolving & Cooling | Dissolve in beaker, cool to 20°C calibration temp | Prevents thermal expansion volume errors |
| 3. Glass Rod Transfer | Guide liquid down rod without touching the joint | Avoids splashing and ground joint contamination |
| 4. Rinsing | Rinse beaker and rod 3 to 5 times into the flask | Ensures complete quantitative solute transfer |
| 5. Adjustment & Mix | Dilute to eye-level meniscus and swirl to mix | Achieves exact "To Contain" (TC) target volume |
Elevate Your Lab's Precision with LABPARK
Mastering manual transfer techniques is essential, but having the right educational infrastructure is what truly empowers future engineers. LABPARK provides industry-grade Educational and Vocational Unit Operations Pilot Plants across chemical engineering, bioprocess & biotech, and environmental & water treatment.
We help universities, research institutes, and enterprises bridge the gap between theoretical chemistry and practical scale-up.
Ready to upgrade your facility with advanced pilot plants? Contact us today to discuss your custom laboratory and training requirements!
Related Products
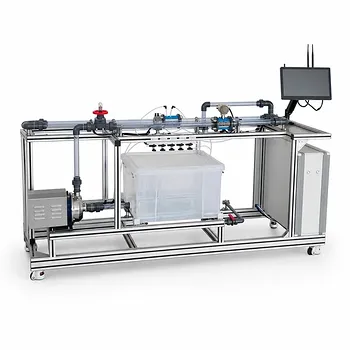
- Orifice and Venturi Flowmeter Calibration Educational Pilot Plant for Fluid Mechanics Laboratory
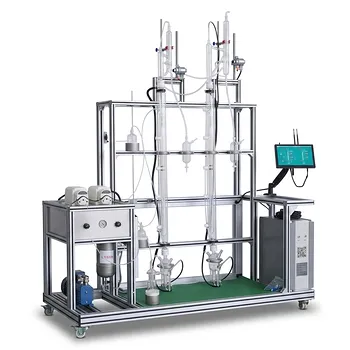
- Multi-Functional Special Distillation Educational Pilot Plant
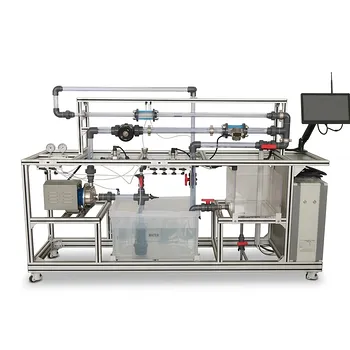
- Two Phase Flow Pattern Velocity Resistance Measurement Educational Pilot Plant
- Centrifugal Pump Performance and Orifice Flowmeter Calibration Educational Pilot Plant
- Continuous Batch Extractive Distillation Educational Pilot Plant
People Also Ask
- What is the difference between static and stagnation pressure? Master Pilot Plant Flow Measurement
- How is the hydrodynamic entrance length estimated for high-Re channel flows? Design accurate pilot-plant measurements
- How do pilot plants demonstrate siphon pressure variations? Visualizing Bernoulli's Energy Balance
- How do velocity profiles and flow rates differ in Newtonian and power-law fluids? A Pilot Plant Guide
- How does high-frequency pressure oscillation affect velocity distribution and boundary layer behavior? Discover Stokes-layer effects