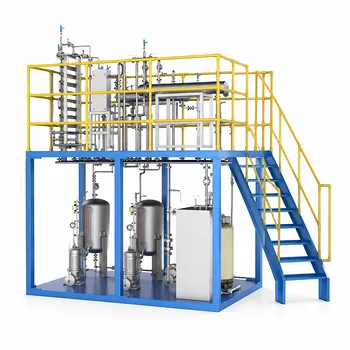
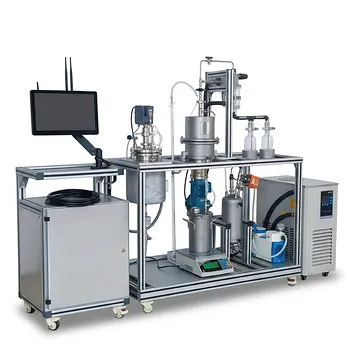
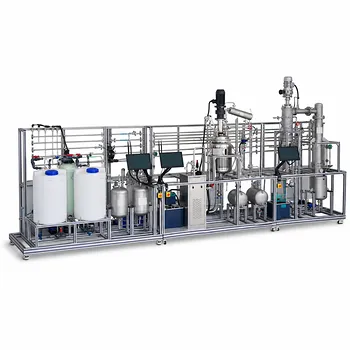
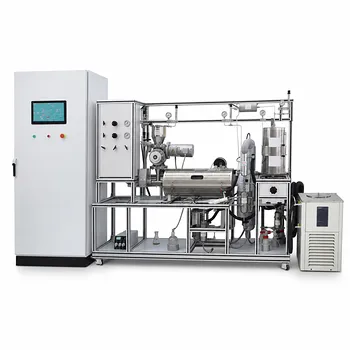
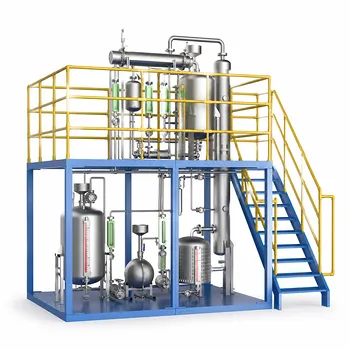
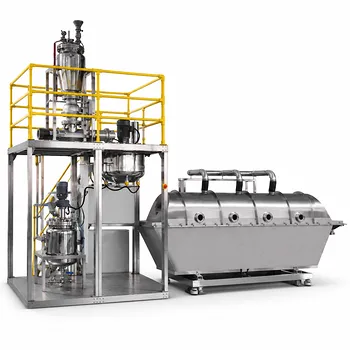
A methodical, multi-stage process is the only way to reliably commission process analytics and control systems in a vocational unit operations pilot plant. The essential steps begin with a comprehensive physical and visual inspection, securing of hardware, and connection of utilities and signal I/O, followed by rigorous safety checks. Once the analyzer is energized, you must repeat internal diagnostics and factory acceptance tests, then simulate process monitoring with representative samples while the analyzer and DCS are running to resolve glitches, verify measurement methods, and train operators.
Commissioning in a vocational setting is the bridge between a static instrument and a dynamic teaching tool. The core sequence—physical check-out, safety verification, diagnostic repeat, and live simulation—not only guarantees functional integrity but also transforms the moment into a hands-on training opportunity that builds operator confidence before the first experimental run.
The Commissioning Sequence: From Hardware Check to Simulated Run
Step 1: Pre-Energization Visual and Physical Inspection
Begin with a visual inspection of all analyzer components, cabling, and mounting hardware. Look for shipping damage, loose connections, and any signs of contamination.
Next, physically secure the analyzer and its sample conditioning system to eliminate vibration or shifting during operation. Confirm that insertion probes are at the correct depth and location within the piping, as documented in the P&IDs.
Step 2: Utility and Signal Connection with Safety Checks
Connect all utilities—power, instrument air, cooling water, and purge gases—according to the design specifications.
Simultaneously, land the signal I/O lines between the analyzer, the control system (DCS/PLC), and any local indicators. Verify that every loop is tagged correctly and that hazardous-area ratings are respected.
Conduct a safety walkthrough that includes checking for proper isolation, emergency stops, and ventilation. This step is non-negotiable; it protects both the equipment and the students or operators who will work in the plant.
Step 3: Energize and Repeat Factory Diagnostics
Once the analyzer is energized, run the built‑in diagnostics to confirm the hardware is healthy.
Then repeat the Factory Acceptance Tests (FAT) on-site. This acts as a site verification that the instrument survived transport and still meets its original performance specifications—a practical equivalent of a Site Acceptance Test (SAT). Any deviation from the FAT baseline must be investigated immediately.
Step 4: Simulated Process Run with Representative Samples
The final and most decisive commissioning step is a live simulation with representative process samples.
Run the analyzer and the DCS together exactly as they would operate during an experiment, but use well-characterized test fluids that mimic the physical state, concentration, and temperature of the real process.
During this simulation, resolve minor glitches, fine-tune communication delays, and verify measurement accuracy by comparing analyzer readings to known reference values.
In a vocational plant, this is also the moment to train operators and students on system startup, normal operation, and common troubleshooting scenarios.
Integrating Analytics with the Control System
Verifying Signal Integrity and Loop Performance
Every signal—whether 4–20 mA, digital fieldbus, or discrete alarm—must be forced and observed both at the transmitter and on the DCS display.
Validate that control loops respond correctly (e.g., a temperature reading triggers the expected agitation or heating output) and that trend data is being logged properly.
Check the communication protocol settings (baud rate, device address, data mapping) because a single mismatched parameter can render the entire measurement invisible to the control strategy.
Aligning Mechanical Constraints with Process Reality
The commissioning stage also validates the mechanical integration decided during engineering. Confirm that the sensor’s insertion depth, wetted materials, and pressure/temperature ratings match the actual process conditions seen during the simulation.
Pay particular attention to start‑up and shutdown transients—slugs of condensate, cavitation, or thermal shock can easily damage a probe that works perfectly at steady state. Document how the system behaves during these cycles.
The Vocational Edge: Turning Commissioning into a Teaching Moment
Operator Training as a Commissioning Deliverable
Unlike a production plant, a vocational pilot plant exists to build human competence. Treat the final simulated run as a structured training exercise.
Have students observe the diagnostic screens, witness the effect of a sensor fault, and learn why a specific sample point was chosen. This transforms abstract control theory into tangible cause‑and‑effect relationships.
Document every step with a dedicated commissioning log that stops being a bureaucratic file and becomes a learning resource for the next cohort of trainees.
Process Engineer’s Walkthrough and Documentation
The process engineer’s role during commissioning is to close the loop between design intent and operational reality. They should walk the lines with P&IDs in hand, verifying that every monitoring point serves a clear purpose and that safety devices are properly interlocked.
This walkthrough also confirms that the analyzer is measuring what it should—for example, that a pH probe is not dead‑legged behind a closed valve—and that the sample is representative of the process stream under all anticipated conditions.
Understanding the Trade‑offs and Common Pitfalls
Rushing the simulation. Skipping or curtailing the representative‑sample run to save time is the single most common mistake. Without it, hidden communication faults or sampling dead zones remain undiscovered until the first real experiment, wasting precious data and student time.
Over‑reliance on factory settings. An analyzer’s default calibration or diagnostic pass may not reflect performance in your specific process fluid matrix. Commissioning must include a method verification with real‑world samples, otherwise the readings are untrustworthy.
Ignoring the human factor. A perfectly commissioned system that nobody knows how to operate is a failure in a vocational context. If you treat training as an afterthought, you lose the educational value and increase the risk of student errors that could damage the equipment.
Neglecting documentation. Without as‑built instrument settings, loop checkout records, and simulation results, the intelligence gained during commissioning evaporates. Future maintenance and successive student groups must start from scratch, which erodes safety and efficiency.
Making Commissioning Work for Your Goal
Your commissioning approach should adapt based on what you value most in the vocational pilot plant.
- If your primary focus is operator and student safety: Make the pre‑startup safety review and hazardous‑area verification the gating steps. No system should see power until all safety interlocks and isolation procedures have been physically demonstrated.
- If your primary focus is student learning and hands‑on experience: Turn every vibration check, loop test, and diagnostic screen into a teachable moment. Embed students in the simulated run and require them to write their own commissioning observations.
- If your primary focus is generating reliable data for research or coursework: Insist on repeating the FAT, validating with traceable reference samples, and performing a full‑scale simulation that includes start‑up and shut‑down transients to catch measurement artefacts.
No matter the emphasis, remember that a well‑commissioned analyzer is a teaching asset that keeps giving—it makes processes visible, equips students with real‑world skills, and builds a culture where safety and data quality are instinctive rather than imposed.
Summary Table:
| Commissioning Step | Key Actions | Focus & Objective |
|---|---|---|
| 1. Pre-Energization | Visual check, secure hardware, verify probe depth | Prevent physical damage & vibration |
| 2. Connections & Safety | Connect utilities/IO, check ISO/E-stops/ventilation | Ensure loop integrity & operator safety |
| 3. Energizing | Run diagnostics, repeat Factory Acceptance Tests (FAT) | Verify instrument survival post-transport |
| 4. Simulated Run | Run with representative samples, train operators | Resolve communication glitches & train students |
Build a Safe, High-Performance Training Environment with LABPARK
Ready to elevate your practical training? LABPARK provides state-of-the-art Educational and Vocational Unit Operations Pilot Plants across chemical engineering, bioprocess & biotech, and environmental & water treatment. Designed specifically for universities, research institutes, and enterprises, our systems ensure seamless integration of process analytics to build real-world competencies safely.
Let us help you design, commission, and optimize your pilot plant. Contact LABPARK today to discuss your project requirements!
Related Products
- Three-Tube Heat Transfer Educational Pilot Plant for Unit Operations Training
- Multi-Functional Drying Educational Unit Operations Pilot Plant
- Multi-Reactor Educational Pilot Plant for Reaction Engineering Unit Operations
- Carbon Dioxide Hydrogen Methanol Synthesis Educational Unit Operations Pilot Plant
- Multi Functional Membrane Crystallization Educational Unit Operations Pilot Plant
People Also Ask
- When is ε-NTU preferred over LMTD in pilot plants? Predict heat exchanger performance without iteration.
- What engineering trade-offs must students analyze in a heat transfer pilot plant? Balance performance & cost.
- How does cascade control achieve superior disturbance rejection in heat transfer pilot plants?
- Why is emissivity critical in heat transfer pilot plants? Bridge the Gap Between Theory & Industrial Design
- How to configure heat transfer pilot plants for pinch analysis? Teach energy recovery.