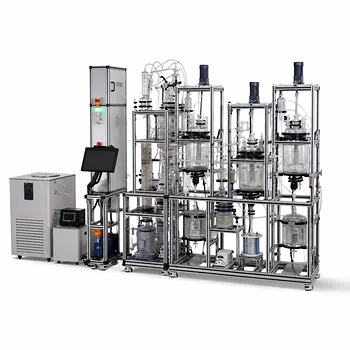
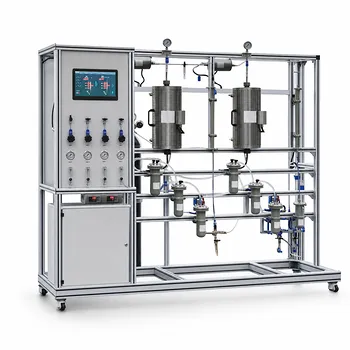
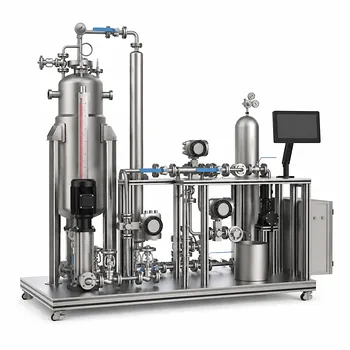
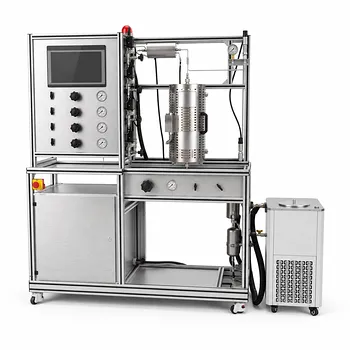
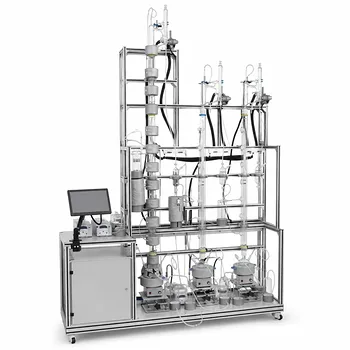
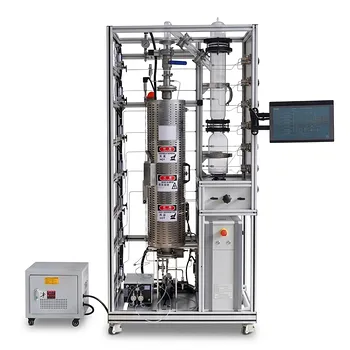
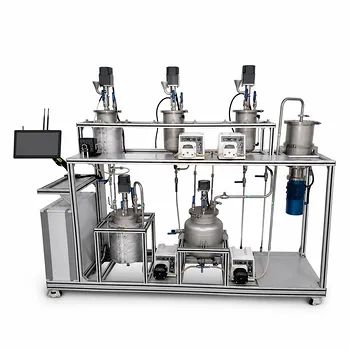
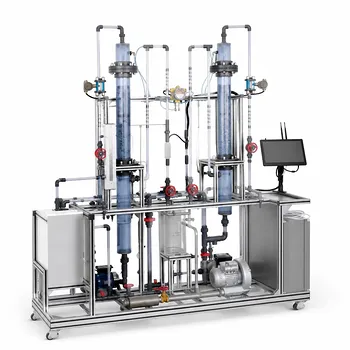
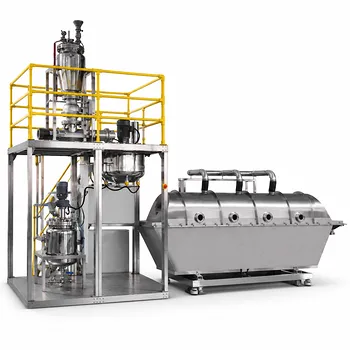
Systematic hazard identification for pilot plants starts with a layered approach: maintain a detailed chemical inventory, analyze processes for deviations, inspect equipment for failure, verify storage compatibility, and map ignition and toxic release points. This five-step core strategy, drawn from primary safety protocols, must be deepened with structured techniques like HAZOP studies, process hazards checklists, and the five-step risk assessment framework to capture subtle risks in university labs where students often operate unfamiliar equipment. The goal is to move beyond a one-time list and embed a continual, questioning mindset that connects classroom theory with real-world process safety.
While the final controls – PPE, training, emergency stops – are vital, they depend entirely on what you first identify. The biggest blind spot in a university pilot plant is assuming a standard procedure already covers all hazards. A systematic identification process forces the team to examine chemical properties, process parameters, equipment condition, storage, and energy sources as interconnected elements, not isolated items.
Building the Foundation: The Five Core Identification Steps
The primary reference distills hazard identification into a clear, repeatable sequence. These steps are not optional checks; they are an integrated scan of the pilot plant's chemical, physical, and operational landscape. Each step must be documented and revisited whenever a new experiment, chemical, or equipment modification is introduced.
Step 1: Maintain a Current and Detailed Chemical Inventory
Begin by listing every substance that enters the lab – reactants, solvents, catalysts, cleaning agents, and waste intermediates. This inventory must be more than names and quantities. Review each chemical's Material Safety Data Sheet (MSDS) to capture physical and toxicological properties: flash point, auto-ignition temperature, corrosivity, acute toxicity, and incompatibilities. In a university setting, where multiple research groups may share a pilot hall, an out-of-date inventory is a common failure point. Assign ownership and a weekly update cycle.
Step 2: Analyze Chemical Processes for Deviations, Leaks, and Unexpected Reactions
Map the intended process flow, then deliberately ask what could go wrong. Use guide words from HAZOP methodology to stimulate thinking: What if the temperature is too high? What if the flow rate stops? What if a catalyst is added in reverse order? The primary reference emphasizes equipment issues and unexpected reactions; this step formalizes that analysis. For a bioprocess pilot plant, this means considering contamination, pH excursions, or runaway exotherms from microbial activity. Link the chemical inventory data directly to this step – a flammable solvent near a potential leak point becomes a release hazard only when both are analyzed together.
Step 3: Inspect All Machinery for Corrosion, Wear, and Latent Failure
Pilot plant equipment in university labs often sees intermittent use and is maintained by rotating students. Schedule physical inspections that look beyond surface cleanliness. Check piping, seals, gaskets, pressure vessels, and rotating parts for corrosion, cracks, or fatigue. A small leak in a steam line or a corroded flange can escalate a minor upset into a major release. Documentation of past failures – even minor ones – helps predict future trouble spots. Pair visual inspection with logs of vibration analysis or ultrasonic thickness measurements when available.
Step 4: Evaluate Storage Facilities for Chemical Compatibility and Containment
Chemicals stored in adjoining cabinets, shared solvent rooms, or under benches create hazards that are invisible during normal operations. Apply compatibility matrices drawn from the chemical inventory. Segregate oxidizers from flammables, acids from bases, and ensure secondary containment trays are intact. This step also includes assessing the condition of containers – rusted drums, cracked glass bottles, or degraded plastic carboys can breach without warning. In a pilot plant, storage is often a temporary staging area for feed or product; its risk changes daily.
Step 5: Identify Ignition Sources and Toxic Release Points
Walk the entire unit and its support systems. Look for hot surfaces, electrical equipment, static buildup points, open flames, and mechanical sparks. Cross-reference these with areas where flammable vapors could accumulate – near ventilation hoods, sumps, or sampling ports. Simultaneously, mark points where toxic gases, vapors, or dusts might be released during normal operation, maintenance, or foreseeable upsets (e.g., sampling, filter change-outs). This dual scan ties the chemical hazards to practical exposure scenarios, making the risk concrete for students.
Scaling Up the Depth: Structured Methods for Complex Pilot Plants
The five core steps provide a baseline. When a pilot plant involves novel reactions, elevated pressures, or high-hazard materials, layered systematic techniques from the supplementary references become essential. They inject rigor and traceability into the identification process.
HAZOP Studies for Unit Operations Nodes
Break the pilot plant's process flow into distinct nodes – a reactor, a distillation column, a feed line, a specific operating instruction. For each node, apply standard guide words (No, More, Less, Reverse, As Well As) to critical parameters: temperature, pressure, flow, pH, level, agitation, concentration, viscosity, and phase state. For a university distillation column, you might ask “Less flow” – what happens if the reflux pump fails? “More temperature” – could the reboiler cause thermal degradation or overpressure? This structured brainstorming, when facilitated with both a process expert and a safety officer, generates a list of potential deviations and their immediate causes. It directly fulfills step 2 of the core framework, but with far greater resolution.
Process Hazards Checklist as a Pre-Operational Gate
A comprehensive checklist acts as a memory aid and verification tool before any hot commissioning. The supplementary references outline a checklist that reviews: SOP clarity; operator training records; critical equipment integrity (pressure relief devices, valves); process control and safety instrumented system test results; alarm and interlock validation. While checklists alone can become a tick-box exercise, when integrated with HAZOP findings they ensure that every identified hazard has a corresponding control that is confirmed functional. For an educational pilot plant, this checklist can be transformed into a pre-lab team briefing document, building shared safety awareness.
The Five-Step Risk Assessment Framework (with Identification at the Core)
The full risk management cycle – identification, analysis, evaluation, control, reporting – gives context to why identification must be systematic. The five-step approach from the supplementary references begins with risk identification targeting reagents, reactions, procedures, equipment, and waste. It then quantifies probability and severity (analysis), and judges acceptability (evaluation). In a university lab, this framework helps prioritize: a low-probability but catastrophic runaway reaction demands more controls than a high-probability minor spill. By linking identification directly to analysis and decision-making, the process avoids generating a long hazard list with no follow-through.
Understanding the Trade-offs and Limitations
No single method will catch every hazard, and applying all techniques simultaneously can overwhelm a small academic team. Recognize the inherent trade-offs.
Time and Expertise Constraints. A full HAZOP requires trained facilitators and several hours per node. For a short teaching experiment, a lean version – using a simplified checklist and the five core steps – may be more practical. However, oversimplifying risks missing subtle interactions, especially in reaction engineering or bioprocess setups with living cultures.
Complacency from Familiarity. Checklists and standard operating procedures can breed a false sense of security. If students mechanically tick boxes without understanding the “what if” questions, the identification becomes performative. Regular tabletop drills and encouraging “what could go wrong?” discussions during pre-lab meetings counteract this.
Dynamic Research Environments. A pilot plant used for successive research projects may change chemicals, configurations, and operators every semester. A static hazard analysis goes stale quickly. The identification process must be treated as a living document, revisited at each setup change – not just annually.
Overlooking Human Factors. The supplementary references mention training, fatigue, and emergency preparedness. While these are often viewed as control measures, they also feed back into hazard identification. A tired student is more likely to misread a pressure gauge or bypass an interlock. Excluding human error scenarios from the identification steps leaves a critical gap. Include “what if an operator takes the wrong action?” as a default guide word.
Making the Right Choice for Your Lab’s Mission
Your systematic hazard identification approach must match the complexity of the pilot plant, the novelty of the process, and the experience level of the team. Tailor the depth, not the discipline.
- If your primary focus is a standard teaching experiment with well-known chemistry: Employ the five core steps rigorously, backed by a concise pre-operational checklist. A simplified HAZOP on the most hazardous node (e.g., the reactor) provides a valuable learning moment without excessive time commitment.
- If your primary focus is exploratory research with novel reagents or extreme conditions: Adopt a full HAZOP study dividing the process into nodes, and couple it with a detailed process hazards checklist. Engage a safety professional to facilitate – this is not the place for student-led guesswork.
- If your primary focus is a multi-user pilot hall with frequent changeovers: Institutionalize the five core steps as a mandatory gate before each new campaign. Maintain a shared digital chemical inventory and a living HAZOP log that captures previously identified deviations, so teams build on past knowledge rather than starting from zero.
Hazard identification is the only phase where an error of omission can remain entirely hidden until it triggers an unwanted event. By layering the simple, visual inventory-and-inspection steps with structured deviation analysis, you transform safety from a paperwork exercise into a rigorous, intellectual core of pilot plant operation.
Summary Table:
| Step | Core Focus | Key Actions |
|---|---|---|
| 1. Chemical Inventory | Material Properties | Maintain detailed MSDS records and track chemical compatibility. |
| 2. Deviation Analysis | Process Upsets | Apply HAZOP guide words to analyze potential leaks and runaway reactions. |
| 3. Equipment Inspection | Physical Integrity | Inspect piping, seals, and vessels for corrosion, wear, and fatigue. |
| 4. Storage Evaluation | Safe Containment | Segregate incompatible chemicals and verify secondary containment. |
| 5. Source Mapping | Exposure & Ignition | Map potential ignition sources and toxic gas release points. |
Build a Safer Academic and Research Environment with LABPARK
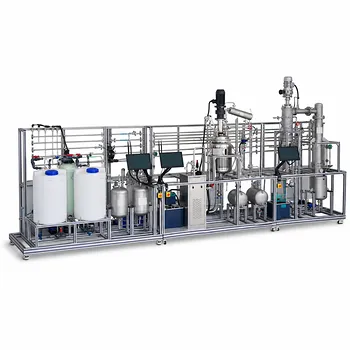
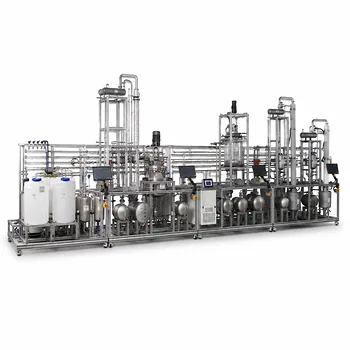
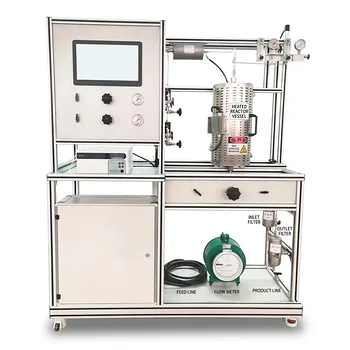
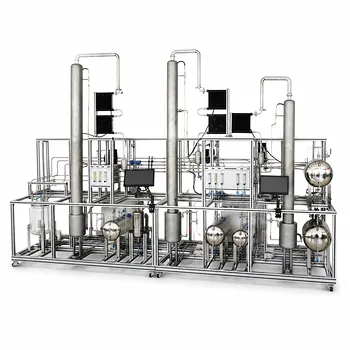
Process safety starts with inherently safe equipment design. LABPARK provides high-quality Educational and Vocational Unit Operations Pilot Plants in chemical engineering, bioprocess & biotech, and environmental & water treatment. Engineered specifically for universities, research institutes, and enterprises, our systems integrate robust safety features, transparent process controls, and reliable fail-safes to protect your students and researchers.
Ready to upgrade your lab with industry-grade, safe pilot plant solutions? Contact our engineering team today to discuss your project requirements!
Related Products
- Natural Product Extraction Unit Operations Training Pilot Plant
- Ethyl Acetate Synthesis Unit Operations Pilot Plant for Practical Training
- Fixed Bed Gas Solid Catalytic Reaction Educational Pilot Plant
- Multi-Modal Distillation Unit Operations Training Pilot Plant
- Multi-Reactor Educational Pilot Plant for Reaction Engineering Unit Operations
People Also Ask
- How to Demo Solubility Sensitivity in SFE Pilot Plants? Practical Thermodynamics
- How do pilot plants differentiate physical vs chemical extraction? Enhance Chemical Engineering Training
- How are HTU and NTU applied to determine extraction column height? Guide to Pilot Plant Scaling
- How do fluid transport principles apply to pilot plant configuration? Optimize your unit operations.
- What are the limitations of acentric factor models? Avoid pilot plant errors with polar fluids.