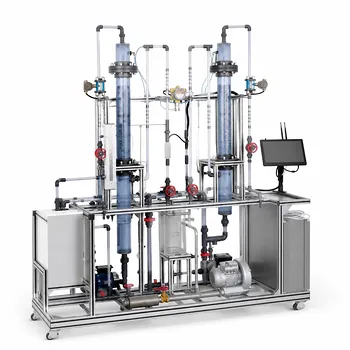
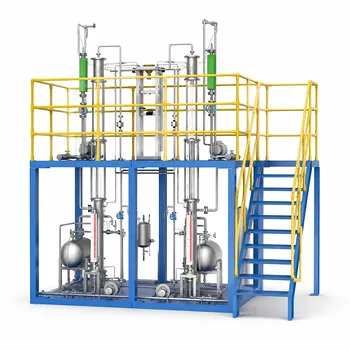
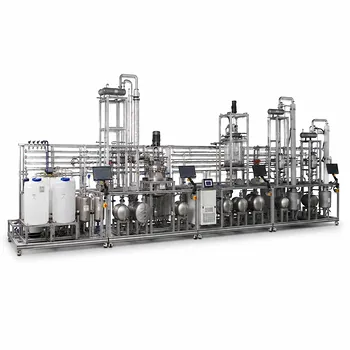
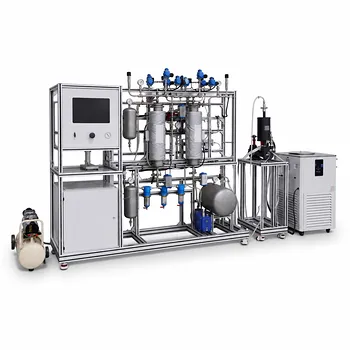
Verifying tray hydraulics isn’t a one-time calculation—it’s a structured, five-step safety net. For a trayed distillation pilot plant, the key verification steps are: (1) determining the operating elasticity by calculating maximum and minimum flow rates; (2) sizing the column diameter to operate at 80–85% of the flooding velocity; (3) defining the detailed tray geometry—downcomer area, active area, and hole area; (4) checking for weeping and evaluating tray pressure drop; and (5) confirming that liquid entrainment (mist carryover) stays below an entrainment fraction of 0.1. This sequential validation maps the boundaries of safe operation so that your pilot column never drifts into a hydraulic failure.
Core Takeaway
The real goal is to lock in a stable operating window between flooding and weeping. By systematically verifying flow elasticity, diameter based on flooding limits, tray geometry, pressure drop, and entrainment, you turn hydraulic theory into a reliable, teachable pilot-plant reality—one where flooding and weeping are observed only when you intentionally push the limits.
Why Hydraulic Verification Is the Foundation of Pilot-Plant Reliability
A trayed column looks static, but inside it is a dynamic balance of liquid and vapor. Skipping hydraulic checks turns a learning tool into a troubleshooting nightmare.
The primary reference distills this into a five‑step sequence. Each step builds on the one before it, and skipping a step can mask a critical weakness.
Step 1: Calculate Operating Elasticity
Operating elasticity is the turndown ratio—the spread between the maximum and minimum vapor/liquid loads that the column can handle.
In a pilot plant, feed rates often vary intentionally to study mass transfer. Defining these limits up front prevents you from asking a tray to work in a region where it simply cannot.
Without this step, you risk operating into weeping at low loads or flooding at high loads without knowing where those boundaries sit.
Step 2: Size the Column Diameter Using the Flooding Limit
Column diameter is not chosen by guesswork—it is governed by flooding. The standard practice is to target 80% to 85% of the flooding velocity.
This margin keeps you safely below the point where liquid fills the entire column cross-section, while still providing good vapor–liquid contact.
In a pilot-scale unit, even a few millimeters of diameter error can shift the entire hydraulic profile. Process simulators help here, providing a first-cut diameter, which is then fine-tuned with tray-specific hydraulic calculations.
Step 3: Define the Tray Geometry Explicitly
Once the diameter is known, the tray geometry comes into focus. You must specify three critical areas:
- Downcomer area – too small, and liquid backs up, causing premature flooding.
- Active (bubbling) area – where the actual mass transfer happens; it must accommodate the designed vapor load.
- Hole area – for sieve trays, this dictates vapor velocity through the perforations and directly affects weeping and pressure drop.
A common mistake is to use generic “rule-of-thumb” areas without checking them against the actual pilot-plant duties.
Step 4: Check for Weeping and Evaluate Pressure Drop
Weeping happens when vapor velocity is too low to support the liquid on the tray, allowing liquid to drip through the holes. This kills stage efficiency.
At the same time, tray pressure drop must be monitored. The total tray pressure drop (h_t) (in mm of liquid) is:
[ h_t = h_d + (h_w + h_{ow}) + h_r ]
- (h_d): dry tray pressure drop.
- (h_w + h_{ow}): liquid head (weir height plus crest over weir).
- (h_r): residual head (bubble formation, aeration).
From this, pressure in Pascals is (\Delta p_t = 9.81 \times 10^{-3} , h_t , \rho_L).
In a pilot plant, connecting a differential pressure transmitter across a tray section allows students and researchers to observe the transition from normal operation to the steep pressure‑drop rise that signals incipient flooding.
Step 5: Verify Liquid Entrainment Is Below the 0.1 Limit
High vapor velocities carry liquid droplets to the tray above—entrainment. This effectively destroys the concentration profile you worked so hard to create.
The design criterion is to keep the entrainment fraction below 0.1 (less than 10% of the liquid is carried upward). Checking this often involves empirical correlations that account for the flooding percentage and the tray spacing.
When the entrainment check fails, the fix is not to pray—it’s to increase tray spacing or reduce the vapor load. In an educational pilot plant, entrainment can be demonstrated visually by adding a sight glass above the froth zone, but hydraulically it must remain a controlled, not an operational, phenomenon.
Understanding the Trade-offs: Flexibility vs. Efficiency vs. Stability
Every hydraulic choice you make is a compromise. Acknowledging these trade-offs is what separates a textbook design from a pilot plant that actually works.
Elasticity vs. Peak Efficiency
A wide turndown ratio (high elasticity) often requires a smaller hole area, which increases dry tray pressure drop at design rates. You gain operational flexibility but sacrifice some energy efficiency.
Low Pressure Drop vs. Weeping Resistance
Reducing hole area or adding more holes lowers dry pressure drop but makes the tray more prone to weeping at low loads. In a pilot plant used for variable studies, finding the sweet spot means knowing your minimum expected vapor rate before finalizing the hole size.
Downcomer Area vs. Active Area
Allocating more area to downcomers prevents backup flooding but shrinks the bubbling area, which can push vapor velocities higher and increase entrainment. It’s a constrained optimization that must be re-evaluated for each pilot-scale duty.
Default Tray Spacing vs. Accessibility
Simulators often default to 610 mm (2 ft) tray spacing. That works hydraulically but can make a pilot column tall and harder to instrument or access for education. Reducing spacing is possible but demands a stricter entrainment and downcomer backup check.
Making the Right Choice for Your Pilot Plant Goal
How you weight these verification steps depends on what your pilot plant is meant to achieve. Use these objective guides to steer your focus.
- If your primary focus is educational demonstration of hydraulic phenomena: Emphasize steps 4 and 5—install differential pressure measurement and sight glasses to visually confirm weeping, pressure drop, and entrainment transitions. A slightly oversized downcomer and conservative tray spacing make those demonstrations safer.
- If your primary focus is generating scale‑up data for a production column: Anchor everything on steps 1 and 2. Nail the elasticity range and diameter at 80–85% flood, then iterate geometry until weeping and entrainment are just within limits, so that your pilot performance mirrors the expected industrial hydraulics.
- If your primary focus is maximizing separation efficiency in a fixed-diameter column: Concentrate on step 3—carefully adjust hole area and weir height to minimize weeping while keeping pressure drop low. Use the entrainment check to confirm that the efficiency gains aren’t eroded by excessive mist carryover.
- If your primary focus is troubleshooting an existing column that floods or weeps prematurely: Return to step 1 and recalculate the real elasticity. Often, the actual minimum or maximum flow exceeds the design limits. Then walk through pressure drop and downcomer backup using observed data to find the bottleneck.
When you verify tray hydraulics comprehensively, you transform a collection of metal plates into a predictable, safe, and instructive pilot‑scale distillation system.
Summary Table:
| Step | Verification Stage | Target Criterion / Formula |
|---|---|---|
| 1 | Operating Elasticity | Calculate turndown ratio (max/min flow rates) |
| 2 | Column Diameter | Target 80% to 85% of flooding velocity |
| 3 | Tray Geometry | Specify downcomer, active, and hole areas |
| 4 | Weeping & Pressure Drop | Monitor $h_t = h_d + (h_w + h_{ow}) + h_r$ to avoid weeping |
| 5 | Liquid Entrainment | Maintain entrainment fraction below 0.1 |
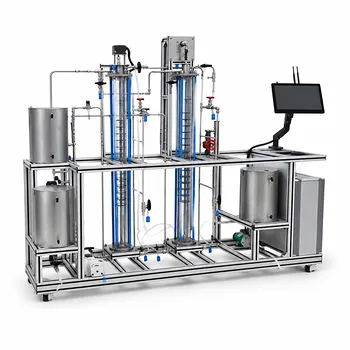
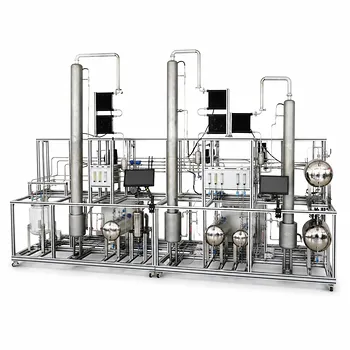
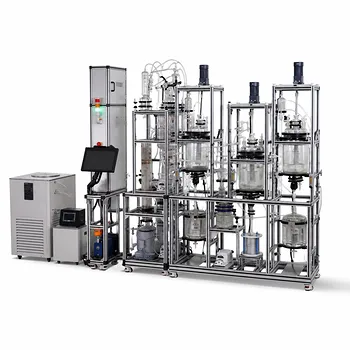
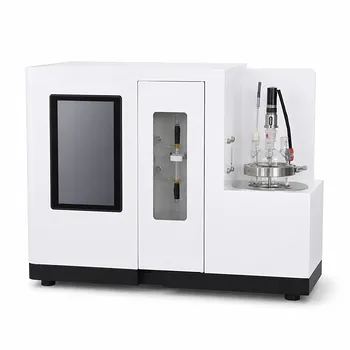
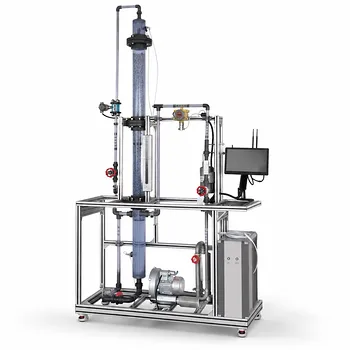
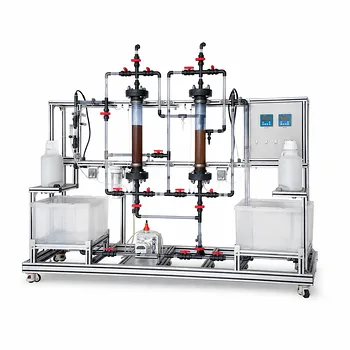
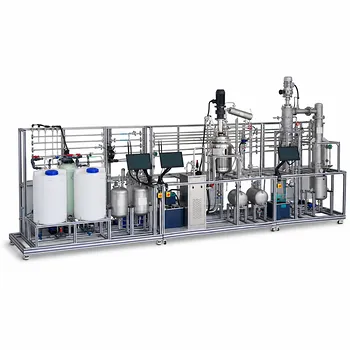
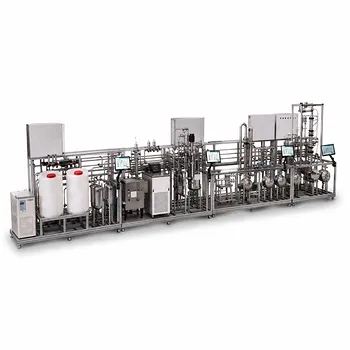
Are you looking to equip your laboratory with reliable, highly educational distillation systems? LABPARK provides premium Educational and Vocational Unit Operations Pilot Plants in chemical engineering, bioprocess & biotech, and environmental & water treatment for universities, research institutes, and enterprises. Our pilot plants make complex concepts like tray hydraulics, weeping, and column flooding visible and easy to study.
Ready to elevate your engineering training and research? Contact LABPARK today to find the perfect pilot plant solution for your facility!
Related Products
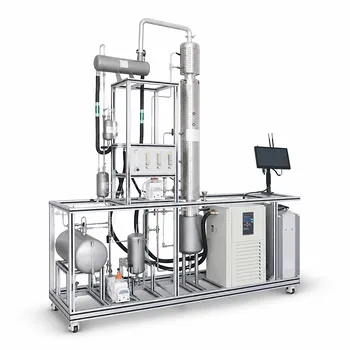
- Continuous Sieve-Plate Distillation Pilot Plant for Unit Operations Laboratory Education
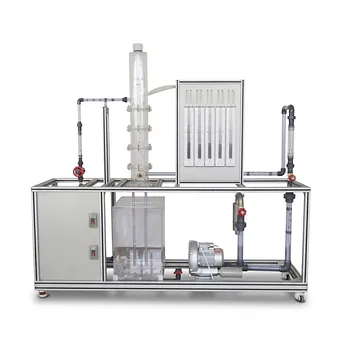
- Plate Column Hydrodynamics Tray Demonstration Educational Pilot Plant
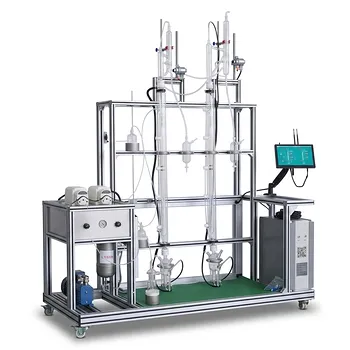
- Multi-Functional Special Distillation Educational Pilot Plant
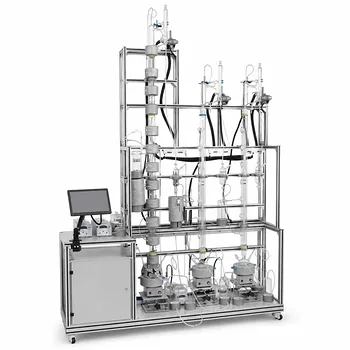
- Continuous Batch Extractive Distillation Educational Pilot Plant
- Multi-Modal Distillation Unit Operations Training Pilot Plant
People Also Ask
- How do distillation pilot plants validate VLE data? Achieve reliable solvent separation scale-up.
- Why is vacuum operation capability an essential feature for a distillation unit operations pilot plant? Unlock Efficiency
- How to select the right activity coefficient model (Wilson, NRTL, UNIQUAC) for distillation pilot plants?
- Why is condensate subcooling critical in pilot plants? Expert Design & Control Guide
- Why is the column performance diagram critical? Optimize distillation pilot plant safety & efficiency.