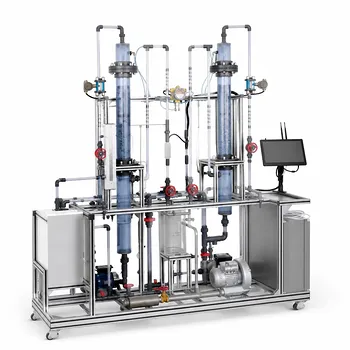
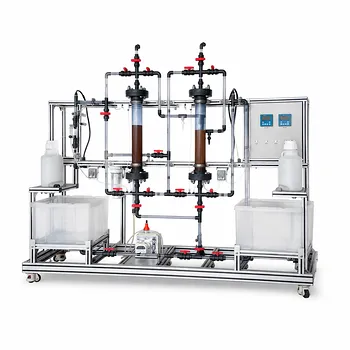
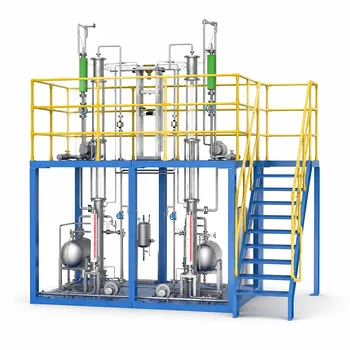
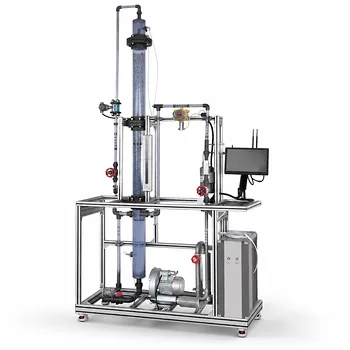
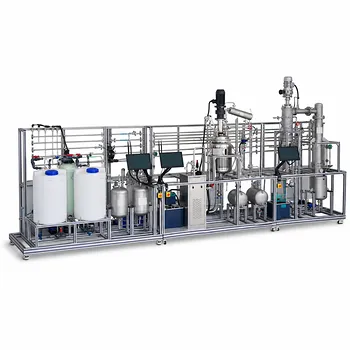
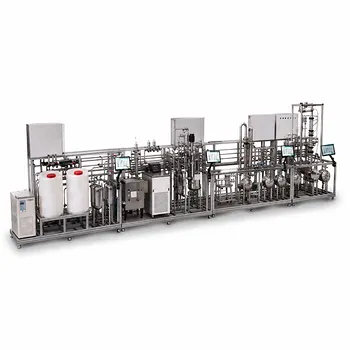
The single most critical limit for safe operation is 90% of tray flood. In the design and operation of a distillation column pilot plant, the maximum recommended tray flood percentage is 90%. Exceeding this threshold dramatically increases the risk of jet flooding, severe liquid entrainment, and a collapse of separation efficiency. If the flood reaches 110% or higher, complete operational failure is virtually guaranteed.
In a distillation pilot plant, the tray flood percentage must not exceed 90% to maintain safe, stable, and efficient mass transfer. Crossing this line triggers a cascade of hydraulic failures—jet flooding, entrainment, and downcomer backup—that destroy separation performance and can physically overwhelm the column.
The Critical Threshold: 90% Tray Flood
The 90% figure is not arbitrary. It represents the upper boundary of a stable operating window established through good engineering practice for pilot-scale distillation.
Why Flooding Happens at the Tray Level
Flooding occurs when the vapor and liquid traffic inside the column overwhelms the mechanical capacity of the trays.
Two primary mechanisms drive this failure:
- Entrainment Flooding (Jet Flood): High vapor velocities carry liquid droplets upward to the tray above. This liquid recycle increases the plate pressure drop and the liquid holdup, which in turn chokes the vapor flow.
- Downcomer Flooding: Excessive liquid rates or insufficient downcomer area prevent the clear liquid from draining fast enough. Liquid accumulates, backs up into the tray above, and eventually fills the entire inter-tray space.
Both mechanisms become highly probable once the flood percentage pushes past 90%.
What Happens When You Cross the Line
At >90% jet flood, separation efficiency plummets. The tower begins to operate as a poorly mixed, heavily entrained system. Key consequences include:
- Sharply reduced plate efficiency due to backmixing and loss of counter-current contact.
- Erratic pressure drop, making process control difficult and unpredictable.
- Physical vibration and noise as liquid slugs move violently from tray to tray.
Additionally, the downcomer percent flood must stay between 20% and 90%. If downcomer loading exceeds 90%, tray flooding is imminent. If it falls below 20%, vapor blowthrough on the downcomer side becomes a serious risk, bypassing liquid holdup and destroying tray performance.
The Point of No Return: 110% and Beyond
At 110% flood, the column transitions from “at risk” to “failed.” The hydraulic gradient is so severe that:
- Liquid cannot descend, and vapor cannot ascend in a controlled manner.
- The differential pressure spikes to the point where the column internals may physically lift or damage.
- Separation ceases entirely; the column is simply moving slugs of mixed phases.
For a pilot plant—often used for process development, scale-up data, or student learning—this failure mode wastes expensive chemicals and time, and can damage sensitive instrumentation.
The Physics of Flooding and Its Implications for Pilot Plant Design
Pilot columns are not immune to flooding just because they are small. In fact, the same vapor-liquid equilibrium and hydraulic principles govern them, and their often lower tray spacing can make them more sensitive.
How Tray Spacing Dictates Your Flood Limit
Tray spacing is the single most powerful design lever for controlling jet flood. A standard spacing of 24 inches is recommended for most systems. Larger spacings (up to 48 inches) can be considered if calculations show a high jet flood risk.
Why? The allowable vapor capacity parameter ($K_{SB}$), which sets the maximum flood vapor velocity, increases directly with tray spacing. For example, a 24-inch spacing yields a significantly higher $K_{SB}$ than a 12-inch spacing. Thus, increasing tray spacing allows the column to handle more vapor before entrainment flooding starts—without changing the tray geometry itself.
Pilot plants often have fixed internals, so this relationship is crucial during the design phase. Once the column is built, operators are stuck with the spacing they have.
The Flood Percentage Calculation
The tray flood percentage is rooted in a comparison of the actual vapor load to the maximum capacity. While the primary reference doesn’t provide the exact equation, it’s typically derived from:
$$ \text{Flood %} = \frac{V_{LOAD}}{A_A \times CAFO \times SF} \times 100 $$
- $V_{LOAD}$: Actual vapor flow rate.
- $A_A$: Active tray area (the region where vapor and liquid interact).
- $CAFO$: Tray capacity factor, a function of tray spacing, fluid properties, and plate geometry.
- $SF$: Safety factor (often 0.8–0.9) to derate the theoretical flood point.
This formula makes it clear: to reduce flood percentage, you must either reduce vapor/liquid traffic or increase the active area and capacity factor—the latter being a design change.
Understanding the Trade-offs
The 90% rule is the ceiling, but operating far below it comes with its own risks. A pilot plant must navigate a golden mean.
- Too high (>90%): Column flooding, degraded separation, potential equipment damage.
- Too low (downcomer <20%): Liquid seal on the downcomer may be lost. Vapor blows through the downcomer, bypassing the tray active area entirely and eliminating proper staging.
- For packed columns (for comparison): Pressure drop monitoring is used. The flood point is approximately 1.5–2.0 inches of water per foot of packing. Operation is kept below 1.5 in/ft, and above 0.05 in/ft to avoid severe liquid channeling.
Thus, the design and operating philosophy is about finding a stable point well within the 20-90% downcomer range and keeping the overall tray flood at or below 90%.
Design Strategies to Stay Within the Safe Zone
If you’re designing a new pilot-scale tray column, or troubleshooting an existing one, focus on these levers:
- Increase tray active area ($A_A$) and downcomer area: More room for liquid and vapor to pass without interference.
- Select appropriate tray spacing: Start with 24 inches. If jet flood is high, go larger.
- Apply a conservative safety factor: Design for a flood percentage well below 90% at the maximum expected throughput to allow operational flexibility.
- Verify surface tension corrections: The capacity factor $K_{SB}$ must be corrected for actual liquid surface tension, which can shift the flood point significantly in pilot systems with different chemical systems.
For an operational column that is already built and flooding, the only immediate corrective actions are to reduce the vapor and liquid flow rates—lowering $V_{LOAD}$ and liquid feed—until the flood percentage drops below 90%.
Making the Right Choice for Your Goal
Your approach to the 90% limit depends on your primary objective for the pilot plant.
- If your primary focus is generating reliable scale-up data: Keep tray flood well below 90% (e.g., 70–80% maximum test point) to ensure every data point is collected under stable, high-efficiency conditions. Flood risks corrupt your results with mass transfer uncertainty.
- If your primary focus is educational demonstration: Operate deliberately at a moderate flood (60–80%) where students can see stable operation, then briefly increase to demonstrate audible and visual flooding signs before returning to safe conditions. This teaches the limit without prolonged stress on the equipment.
- If your primary focus is pushing throughput limits for process intensification studies: Ensure your column has sufficient tray spacing and downcomer area, then systematically test up to 90% flood—but never design a sustained process above this threshold. Use the data to inform the design of a larger column, not to run the pilot at the edge continuously.
You now understand that the 90% flood limit is not a conservative suggestion—it is the boundary between controlled mass transfer and chaotic hydraulic failure. Respect that boundary, and your pilot column will serve as a reliable foundation for scale-up, research, or education.
Summary Table:
| Flood % Range | Operational Status | Key Implications / Risks |
|---|---|---|
| < 20% (Downcomer) | High Risk | Vapor blowthrough, loss of liquid seal, and bypass of tray active area |
| 20% - 90% | Safe / Stable | Optimal mass transfer, stable pressure drop, and high separation efficiency |
| 90% - 100% | Critical / Flooding | Jet flooding, liquid entrainment, erratic pressure drops, and poor efficiency |
| ≥ 110% | Complete Failure | Severe pressure spikes, physical damage to internals, and zero separation |
Optimize Your Process Engineering Lab with LABPARK
Building or upgrading your distillation systems? LABPARK provides state-of-the-art Educational and Vocational Unit Operations Pilot Plants in chemical engineering, bioprocess & biotech, and environmental & water treatment. We help universities, research institutes, and enterprises design safe, robust, and highly efficient systems that avoid operational hazards like column flooding.
Contact our pilot plant experts today to customize the ideal training or research setup for your facility!
Related Products
- Continuous Sieve-Plate Distillation Pilot Plant for Unit Operations Laboratory Education
- Multi-Functional Special Distillation Educational Pilot Plant
- Multi-Modal Distillation Unit Operations Training Pilot Plant
- Continuous Batch Extractive Distillation Educational Pilot Plant
- Dual-Mode Rectification Pilot Plant for Practical Training Unit Operations
People Also Ask
- What are the primary reflux ratio control strategies? Master Distillation Unit Operations
- How to select the right activity coefficient model (Wilson, NRTL, UNIQUAC) for distillation pilot plants?
- How does catalyst water concentration affect distillation pilot plant design? Key separation train choices.
- Why is vacuum operation capability an essential feature for a distillation unit operations pilot plant? Unlock Efficiency
- How can real-time carbon number prediction improve distillation pilot plants? Optimize control.