The most insidious errors in titration often occur before a single drop is dispensed. Three common operational mistakes in burette and pipette handling can systematically compromise your data: failing to pre-rinse the glassware with the solution being measured, leaving an air bubble lodged in the burette tip, and allowing a hanging droplet to remain on the tip after the titration. Each of these silently alters the true volume delivered, turning a precise analytical technique into a source of unreliable concentration calculations.
The foundation of accurate titration lies not in the complex chemistry, but in the disciplined handling of glassware. Even a perfectly calibrated burette becomes a random number generator if it dilutes your titrant, hides an air pocket, or adds an extra droplet to the final reading. Eliminating these simple procedural errors is the single highest-leverage action you can take to ensure reproducible results.
The Hidden Source of Titration Inaccuracy
These errors don’t announce themselves with alarms—they creep in through routine oversight. Their impact isn’t a failed experiment, but a dangerously plausible yet wrong answer. Understanding exactly how they corrupt your data is the first step toward bulletproof technique.
Failing to Pre-Rinse: The Dilution Trap
A clean burette or pipette is not a dry one—it’s one whose inner walls are coated with a thin film of water from the last wash. When you fill it directly with your standard solution or titrant, that residual water immediately dilutes the first few milliliters you dispense.
For a burette, the diluted solution alters the effective concentration of your titrant, shifting every equivalence point by an unpredictable amount. For a pipette, you transfer a slightly diluted aliquot into your flask, meaning your analyte’s amount is no longer what you think it is. Every subsequent calculation becomes an exercise in compounding error.
Air Bubbles in the Burette Tip: A Silent Volume Thief
A small bubble trapped just behind the stopcock is nearly invisible but devastating. As you titrate, the bubble can compress or be expelled along with the titrant, causing the volume reading to drop without that volume actually reaching the analyte.
You end up recording a phantom delivery—the burette scale says you dispensed, say, 0.50 mL more than you truly did. That translates directly into an overestimated concentration of your unknown, an error that no amount of careful endpoint detection can correct.
The Hanging Droplet: The Final Step’s Betrayal
After the endpoint is reached, the liquid that clings to the outer tip of the burette does not belong to the delivered volume. If you take a reading while that droplet is still attached, you’ve counted it as part of the titrant that left the burette. But it never entered the flask.
This tiny extra volume—often 0.02–0.04 mL—can be the difference between a tight triplicate and a scatter of results that forces a re-run. The error is especially critical when you’re working with small total titrant volumes.
Preventing Errors with a Rigorous Workflow
Each of these errors has a simple, almost mechanical fix. The challenge is turning these fixes into an unbreakable habit before you even pick up the glassware.
The Triple-Rinse Protocol
Pre-rinse the burette and pipette three times with small portions of the solution you’re about to measure. After emptying the rinse, a thin film of the target solution now coats the glass, so when you fill it for real there’s no dilution from residual water.
For a burette, add about 5–10 mL of solution, rotate to wet all inner walls, and drain completely through the tip. Repeat. For a pipette, draw up a small volume, tip and roll the pipette horizontally to coat the interior, then discard. Three rinses is the sweet spot—it’s enough to achieve equilibrium without wasting excessive reagent.
Clearing the Burette Tip
Before recording your initial reading, fill the burette slightly above the zero mark and then open the stopcock wide for a fraction of a second. The rapid flow sweeps any air bubble out of the tip and replaces it with a solid column of solution.
After this flush, top up the burette and carefully lower the meniscus to exactly 0.00 mL (or just below). Take a moment to visually inspect the tip against a light source; the liquid should be perfectly continuous with no tell-tale gap.
The Discipline of the Final Touch
After reaching the endpoint and closing the stopcock, wait 10–15 seconds for the liquid film on the inner walls to drain. Then, touch the tip lightly against the inner wall of the flask just above the liquid level.
This contact breaks the droplet by surface tension transfer, ensuring that the last clinging volume is added to the flask—exactly where it’s accounted for in your delivered volume. Only after the droplet is gone should you read the final burette level. This simple act turns a potential random error into a systematic, repeatable step.
Understanding the Trade-offs and Hidden Pitfalls
These preventive steps are not cost-free in terms of time or materials, and they require a conscious choice to resist the natural urge to rush.
Time vs. reproducibility. Every rinse and waiting period adds minutes to your workflow. In a high-throughput teaching lab or pilot plant, the pressure to move fast is real. But skipping these steps guarantees you’ll lose far more time repeating unreliable titrations—or worse, trusting faulty data.
Reagent waste. Pre-rinsing consumes extra solution. For expensive titrants, this can feel wasteful. The trade-off is clear: use a few milliliters for rinsing, or risk invalidating the entire batch of results and wasting the analyte, the time, and the remaining reagent anyway.
Complacency trap. Experienced operators can become so confident in their technique that they skip the visual bubble check or forgo the triple rinse “just this once.” The error is stochastic—sometimes you get away with it, reinforcing the bad habit until a critical result drifts out of spec unnoticed.
The parallax pitfall. While not mentioned in the primary reference, it’s worth noting that even perfect droplet removal is useless if you read the meniscus from an angle. Align your eye horizontally with the bottom of the meniscus and use a burette reading card or black strip for contrast. This isn’t a handling error per se, but it’s the final link in the chain of accuracy.
Making the Right Choice for Your Lab’s Standard Operating Procedure
The fix for these errors isn’t a new piece of equipment—it’s a mindset shift and a documented routine. Tailor your emphasis based on your role.
- If your primary focus is training new students: Embed the triple-rinse and bubble-clearing steps into their very first lab session as non-negotiable muscle memory. Use a dye solution in a demonstration to make dilution and droplet errors vividly visible before they touch a real sample.
- If your primary focus is pilot plant quality control: Convert these practices into checklist items in your SOP, and pair them with simple verification steps (e.g., tick boxes for “bubble expelled,” “triple rinse complete”) that an operator signs off on before data is accepted.
- If your primary focus is developing automated titration systems: Design the instrument’s priming and rinse cycles to mimic these manual best practices—a rapid flush to clear bubbles and a pre-rinse step that conditions the fluid path with the titrant.
Mastery of titration is not about the chemistry alone; it’s about respecting the glassware as a precision instrument. By eliminating these three everyday errors, you transform your burette and pipette from a source of noise into a foundation of trustworthy data.
Summary Table:
| Common Error | Impact on Titration Data | Prevention & Best Practice |
|---|---|---|
| Failing to Pre-Rinse | Dilutes the titrant/analyte, causing systematic concentration errors | Triple-rinse glassware with the target solution before measurement |
| Air Bubble in Tip | Causes phantom volume delivery, overestimating consumption | Flush the stopcock rapidly and inspect the tip before zeroing |
| Hanging Droplet | Artificially increases recorded volume without reacting | Touch the tip to the inner wall of the flask before taking the reading |
Elevate Your Laboratory Training with LABPARK
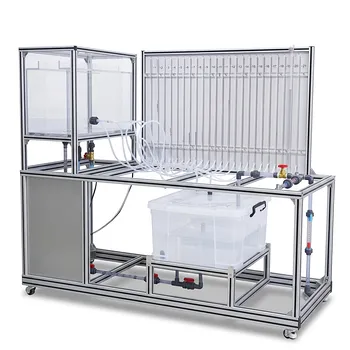
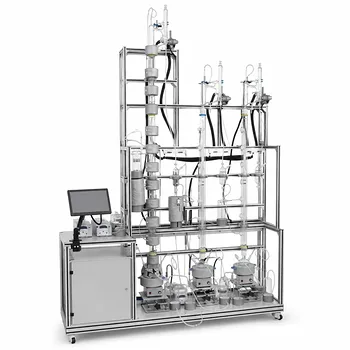
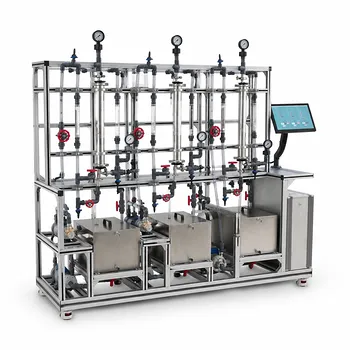
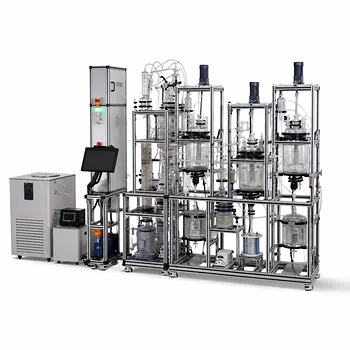
Building flawless operational habits starts with training on the right equipment. LABPARK provides high-quality Educational and Vocational Unit Operations Pilot Plants in chemical engineering, bioprocess & biotech, and environmental & water treatment. Designed for universities, research institutes, and enterprises, our solutions ensure students and researchers master practical skills on industry-grade systems.
Ready to upgrade your laboratory training capabilities? Contact LABPARK today to explore our custom pilot plant solutions and request a quote!
Related Products
- Bernoulli Equation Demonstration Unit Operations Pilot Plant
- Continuous Batch Extractive Distillation Educational Pilot Plant
- Orifice and Venturi Flowmeter Calibration Educational Pilot Plant for Fluid Mechanics Laboratory
- Centrifugal Pump Performance and Orifice Flowmeter Calibration Educational Pilot Plant
- Two Phase Flow Pattern Velocity Resistance Measurement Educational Pilot Plant
People Also Ask
- How does nozzle geometry affect energy efficiency and jet performance in fluid mechanics laboratory demonstration units?
- How is the Bernoulli equation applied in fluid mechanics training plants? Visualize energy conservation rules.
- How to demonstrate rapid vs slow valve closure? Clear water hammer transient experiments for engineering labs.
- How does friction factor differ in laminar vs turbulent flow? Lab Experiment Guide
- How do pilot plants teach U-tube manometers? Master Differential Pressure Calculations