The decay ratio is the quantitative yardstick instructors use to judge control stability on pilot plants—it’s the straight-line math behind a curvy oscillation. By introducing a step disturbance (like a sudden setpoint change) and measuring two successive peak amplitudes on the recovering curve, the decay ratio B/B' tells you exactly how quickly the oscillation is dying out. For chemical engineering educational units, a ratio between 4:1 and 10:1 signals a healthy control loop: the process variable returns to setpoint rapidly, without dangerously large overshoots or prolonged instabilities, letting students visually and numerically confirm a “good” tune.
The core insight: Instead of relying on gut feel, instructors should guide students to apply a structured disturbance, capture the oscillatory response, compute the decay ratio from successive peaks, and verify it falls within the 4:1–10:1 window. This single parameter transforms a subjective observation of “looks stable” into a teachable, repeatable metric that connects textbook theory to real hardware.
Moving Beyond Guesswork: Why the Decay Ratio Matters in Education
The real challenge in teaching process control isn’t just explaining PID knobs—it’s showing students how to know when a loop is “good enough.” The decay ratio solves that by making stability visible and measurable.
A Universal Stability Language
In any pilot plant, a disturbance sends the controlled variable (like temperature in a heat exchanger or level in a reactor) into a transient oscillation. The pattern that follows falls into one of three categories: decay oscillation (amplitudes shrink), constant amplitude oscillation (amplitudes stay the same), or divergent oscillation (amplitudes grow). Only decay oscillation represents a safe, stable operating state. The decay ratio turns that qualitative observation into a number: the ratio of the second peak to the first peak in a decaying waveform. When students calculate B/B', they’re directly quantifying how aggressively the controller brings the process back to the setpoint.
From Trial-and-Error to Systematic Tuning
Traditional empirical tuning leans on an operator’s intuition to tweak proportional band and integral time. That’s slow and inconsistent for students new to the plant. The decay curve method offers a step-by-step alternative: apply a step disturbance, record the response, measure the decay ratio and the period of oscillation, then plug those values into standard PID tuning formulas. This teaches students to move from guesswork to a repeatable procedure—exactly the skill they’ll need in industry.
Why 4:1 to 10:1 Is the Sweet Spot
The primary reference confirms that a decay ratio between 4:1 and 10:1 is ideal for educational demonstrations. A 4:1 ratio (second peak is one-quarter the first) yields a fast recovery with a clear oscillation, making it easy for students to identify peaks and understand the trade-off between speed and stability. At 10:1, the loop is more damped—still acceptable, but the oscillation is less dramatic to observe. Ratios outside this window are teachable failures: a ratio less than 4:1 (e.g., 2:1) means the oscillation is barely dying out, bordering on constant amplitude, while a ratio greater than 10:1 suggests overdamping that masks the dynamics students need to see. The range also guarantees the controlled variable doesn’t swing dangerously far from the setpoint, protecting the pilot plant from physical stress or unsafe conditions.
How to Measure It Correctly on a Pilot Plant
- Induce a clean disturbance: Manually change the setpoint by a small, sharp step (e.g., 5–10% of span) or briefly alter a load variable like feed flow. Avoid pulses or ramps that distort the oscillatory pattern.
- Capture the transient response: Use the plant’s data historian or a fast-sampling spreadsheet to record the process variable at a rate at least 10 times faster than the expected oscillation frequency.
- Identify the first two successive peaks: Pick the first clear overshoot peak (B) above or below the new steady-state line, then the very next peak in the same direction (B').
- Calculate the ratio: Decay Ratio = B / B' (or B':B, consistently—some textbooks use B:B' where B is first amplitude, B' is second; ensure students use the same convention so a 4:1 ratio means the second peak is one-quarter of the first). Check that the value sits within 4:1–10:1.
- Use it for tuning: If the ratio is too low (too oscillatory), increase controller gain or decrease integral time. If too high (sluggish), reduce gain. The ratio gives a direct tuning direction.
Understanding the Trade-offs and Limitations
No single metric tells the whole story. The decay ratio is powerful, but instructors must also teach its blind spots.
- It ignores steady-state offset: A loop can have a perfect 4:1 decay and still settle away from the setpoint if integral action is too weak. Students must be taught to check the final steady value separately.
- Measurement noise on small pilot plants: Small-bore tubing, electrical interference, or low-cost sensors can create noisy signals that produce false peaks. Filtering may be necessary, but it introduces lag that alters the apparent decay ratio. Instructors should show how to distinguish noise from true peaks by looking at the overall trend.
- It assumes a second-order-like response: The classic interpretation of decay ratio works best for loops that behave like a second-order underdamped system. Complex pilot plants (e.g., a reactor with a long dead time and a heat integration loop) can produce multi-modal oscillations where a single decay ratio is misleading. Acknowledge this and teach students to recognize when the response shape calls for more advanced methods.
- The educational sweet spot isn’t always industrial best practice: Industry often prefers a slightly overdamped or critically damped response (decay ratio approaching infinity) to minimize oscillations near constraints. The 4:1 target is a pedagogical tool—it makes oscillations clear and measurable. Make that distinction explicit so students don’t blindly carry the 4:1 rule into all careers.
- Human interpretation of peaks: Two students might select slightly different “peaks” on a noisy trace. Encourage digital tools or clear marking of inflection points. A tolerance of ±10% on the ratio is practical in a teaching lab.
- It’s not a substitute for safety analysis: A loop with a safe decay ratio can still exceed high-high alarms if the initial overshoot is too large. Always complement decay-ratio evaluation with a check of the maximum peak deviation relative to plant safety limits.
Making the Right Choice for Your Lab Curriculum
The decay ratio isn’t just a stability check—it’s a teaching philosophy. How you frame it depends on your educational goals.
- If your primary focus is teaching fundamental stability concepts: Make decay ratio measurement the center of a standalone lab. Have students apply a disturbance, compute the ratio, and then manually tune until they achieve a 4:1 response. Emphasize the connection between the numerical result and the visual “feel” of the oscillation.
- If your primary focus is safe operation and quick demonstration: Pre-tune the controllers to a moderate decay ratio (8:1 or 10:1) that is inherently safe and quick to settle. Use it to show a stable loop, then deliberately detune to produce constant-amplitude or divergent oscillations for comparison—always under supervision and with hard safety limits programmed in.
- If your primary focus is bridging to industry-standard tuning: Pair decay ratio measurement with the calculation of PID parameters using transition time and overshoot. Show how the same decay response gives you IMC or Ziegler-Nichols style numbers, and then discuss why a plant engineer might choose a more conservative tune.
- If your primary focus is reinforcing cross-curriculum skills (data analysis, programming): Incorporate real-time recording software and ask students to automate the decay ratio calculation from a CSV export. This deepens their quantitative skills and highlights how measurement reliability affects control decisions.
Start with the surface question, then teach the underlying logic: a stable loop is a measurable loop, and the decay ratio is the simplest ruler you can hand a student.
Summary Table:
| Decay Ratio Range | Control Behavior | Educational Implication |
|---|---|---|
| < 4:1 (e.g., 2:1) | Under-damped / High oscillation | Bordering instability; risks physical stress to the plant. |
| 4:1 to 10:1 | Optimal decay | The educational sweet spot; clear oscillations for PID tuning. |
| > 10:1 | Overdamped / Sluggish | Damped response; masks dynamics that students need to observe. |
Enhance Your Control Engineering Lab with LABPARK
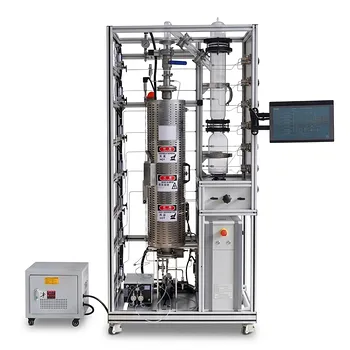
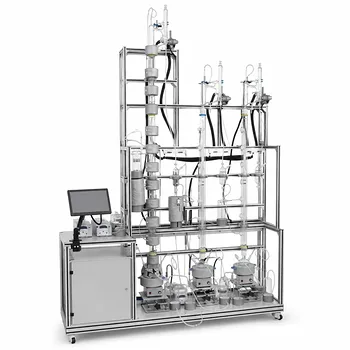
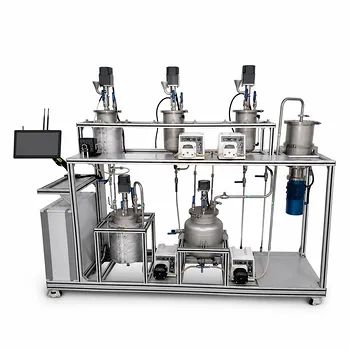
Provide your students with real-world troubleshooting and PID tuning experience. LABPARK provides state-of-the-art Educational and Vocational Unit Operations Pilot Plants in chemical engineering, bioprocess & biotech, and environmental & water treatment. Designed for universities, research institutes, and enterprises, our pilot plants make complex dynamics visual, repeatable, and safe.
Ready to upgrade your laboratory curriculum? Contact us today to find the perfect educational pilot plant for your program!
Related Products
- Multi-Reactor Educational Pilot Plant for Reaction Engineering Unit Operations
- Fixed Bed Gas Solid Catalytic Reaction Educational Pilot Plant
- Carbon Dioxide Hydrogen Methanol Synthesis Educational Unit Operations Pilot Plant
- Multi-Functional Special Distillation Educational Pilot Plant
- Fixed-Bed Chemical Reaction and Gas Dust Tar Removal Unit Operations Pilot Plant
People Also Ask
- How do educational unit operations pilot plants address safety and waste management when scaling up?
- How do educational unit operations pilot plants bridge theory and design? Bridge the Engineering Gap
- Why Compare Predicted and Experimental Excess Enthalpy? Key to Accurate Pilot Plant Scale-up
- How to study gasification in pilot plants? Compare exit gas composition & efficiency
- Why Use PTFE & Hastelloy in Chemical Pilot Plants? Prevent Corrosion & Ensure Safety