Valve density and arrangement on a pilot-scale tray are not guesswork—they are calculated with precision. Researchers determine the number of valves by linking the rising gas flow rate to the valve’s opening velocity, targeting a specific kinetic factor ((F_o)). They then position the valves on an equilateral or isosceles triangular pitch (typically 75 to 125 mm) over the bubbling zone. This systematic approach guarantees uniform gas distribution, eliminates dry spots, and yields fluid dynamics data that is both reproducible and meaningful.
The heart of the method lies in marrying two design decisions: valve count is driven by a target (F_o) (9–12 for standard F1 valves), while arrangement uses triangular pitches to enforce hydraulic uniformity. Together, they turn a tray into a controlled laboratory for mass transfer research.
Why Valve Density is the Cornerstone of Fluid Dynamics
The total number of valves on a tray directly governs how the gas interacts with the liquid. Getting this number wrong undermines every measurement taken on a pilot column.
How Gas Flow Rate Dictates Valve Count
The calculation starts with the column’s design gas flow rate.
Each valve needs a specific minimum opening velocity to lift fully and create stable bubbling.
By dividing the total volumetric gas flow by the flow that one fully open valve can handle, you obtain the required number of valves.
The Kinetic Factor ((F_o)) as the Performance Compass
The valve kinetic factor (F_o = u \sqrt{\rho_g}) (where (u) is the gas velocity through the valve orifice and (\rho_g) is the gas density) serves as the practical target.
For standard F1-type heavy valves, experimental evidence shows that an (F_o) range of 9 to 12 coincides with all valves just reaching their fully open position.
Operating in this window secures optimal flexibility and low pressure drop, which are essential for a pilot column that must handle varying loads during student experiments.
Valve Arrangement and the Art of Uniform Distribution
Having the right number of valves is useless if they are poorly placed. The geometric pattern ensures every part of the bubbling area works equally hard.
Triangular Pitches and the Battle Against Dry Spots
Valves are arranged in equilateral or isosceles triangular patterns across the tray’s bubbling zone.
The pitch—the center‑to‑center distance between adjacent valves—is selected between 75 and 125 mm.
This spacing creates overlapping bubbling regions that eliminate stagnant liquid areas, known as dry spots, which would destroy mass transfer efficiency.
Why a Uniform Bubbling Zone Matters for Research
A perfectly distributed gas flow prevents bypasses, where gas shorts through a few valves while others remain idle.
For a researcher, this uniformity means the measured tray efficiency and pressure drop are truly representative of the design, not an artifact of poor layout.
In pilot studies aimed at scale‑up, such reliable base data is non‑negotiable.
Understanding the Trade‑offs
No single valve arrangement is perfect for every situation. Informed researchers weigh the following compromises.
Pressure Drop vs. Flexibility
Pushing (F_o) above the 9–12 sweet spot forces valves to open more violently, raising dry tray pressure drop and risking premature entrainment in columns with tight tray spacing.
Operating below this range leaves some valves only partially open, which creates uneven bubbling, weeping, and poor turndown capability.
Pilot columns with 200–300 mm tray spacing (common in 0.3–0.5 m diameter towers) rely on this (F_o) window to balance capacity with stable operation.
Pitch Density and Visual Access
A tighter pitch packs more valves into the tray, potentially improving contact but crowding the deck.
In educational pilot plants where visual observation and cleaning access are critical, a pitch near the upper end of the 75–125 mm range leaves enough room for viewports and inspection.
Cramming valves too close together can block a camera’s line of sight, hiding the very fluid dynamics the students are meant to study.
The Trap of Copying Industrial Designs
Industrial trays often use denser patterns or different valve types (e.g., light valves) to maximize capacity.
Applying those directly to a small‑diameter pilot column ignores the disproportionate wall effects and liquid distribution challenges at lower diameters.
Researchers must re‑derive the valve count for their specific gas rate and targeted (F_o) instead of scaling down a refinery design.
Making the Right Choice for Your Pilot Column
Your measurement goals should drive the final density and pattern. Use these guidelines to tailor the design.
- If your primary focus is data reproducibility: Adhere strictly to the proven (F_o) 9–12 range and a triangular pitch of 75–125 mm with standard F1 valves. This aligns your column with decades of published performance data.
- If your primary focus is maximizing operating flexibility: Select a valve count at the lower end of the (F_o) range (closer to 9). This keeps valves just fully open at the design point and provides a wider turndown ratio without weeping.
- If your primary focus is educational visualization: Choose a pitch near 125 mm and ensure the 200–300 mm tray spacing places the bubbling zone directly in line with viewports. The slightly wider spacing makes individual bubble streams visible, turning the column into a teaching tool.
By grounding both density and arrangement in the valve kinetic factor and a disciplined triangular layout, you transform a simple tray into a precise probe of two‑phase flow.
Summary Table:
| Parameter | Target / Pattern | Impact on Fluid Dynamics |
|---|---|---|
| Kinetic Factor ($F_o$) | 9 – 12 (F1 valves) | Ensures valves fully open, prevents weeping, and lowers pressure drop |
| Valve Pitch | 75 – 125 mm (Triangular) | Eliminates dry spots and ensures uniform gas-liquid contact |
| Tray Spacing | 200 – 300 mm | Balances column capacity and allows clear visualization |
Elevate Your Chemical Engineering Lab with LABPARK
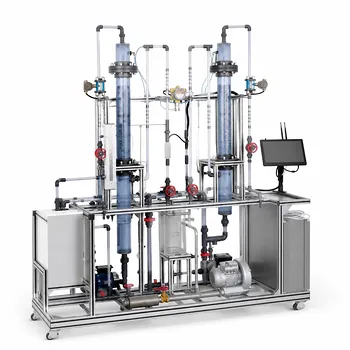
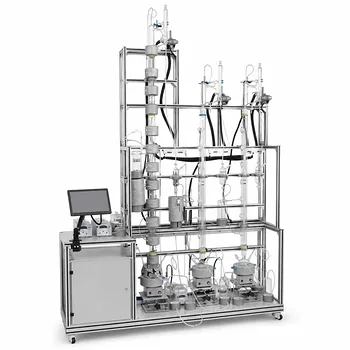
Are you looking to provide students and researchers with highly accurate, reproducible fluid dynamics data? LABPARK designs and manufactures premium Educational and Vocational Unit Operations Pilot Plants specializing in chemical engineering, bioprocess & biotech, and environmental & water treatment. Built specifically for universities, research institutes, and enterprises, our pilot columns feature optimized tray configurations and clear viewports for visual analysis.
Take the guesswork out of fluid dynamics—contact us today to customize your pilot plant!
Related Products
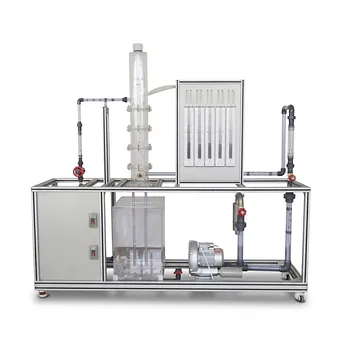
- Plate Column Hydrodynamics Tray Demonstration Educational Pilot Plant
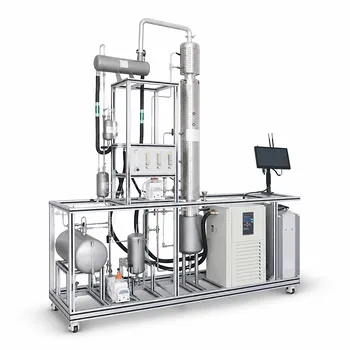
- Continuous Sieve-Plate Distillation Pilot Plant for Unit Operations Laboratory Education
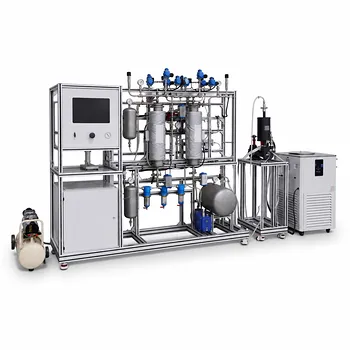
- Bench Scale Dual Column Gas Separation and Capture Educational Pilot Plant
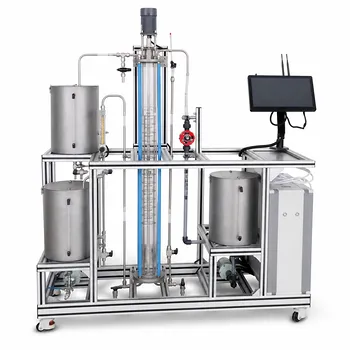
- Educational Rotary Disc Liquid-Liquid Extraction Pilot Plant
- Absorption and Desorption Educational Unit Operations Pilot Plant
People Also Ask
- How to update chemometric calibration models in pilot plants? Best practices for process engineers.
- Why is continuous measurement preferred over manual sampling in pilot plants? Get real-time kinetic insights.
- Why is Peng-Robinson preferred over SRK? Enhance thermodynamic modeling in educational pilot plants.
- What is the downcomer clearance in plate columns? Key Design Rules for Pilot Plants
- What safety requirements must educational pilot plants meet? Ensure Lab Safety