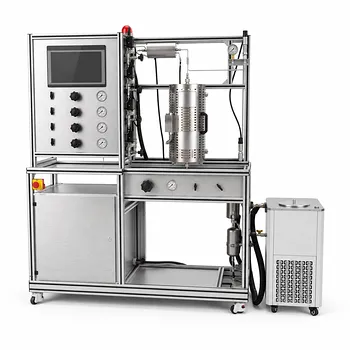
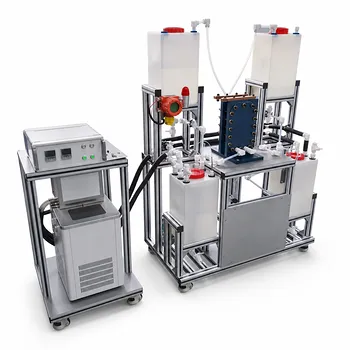
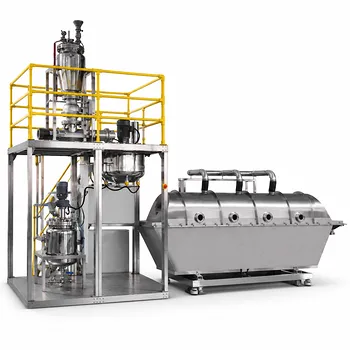
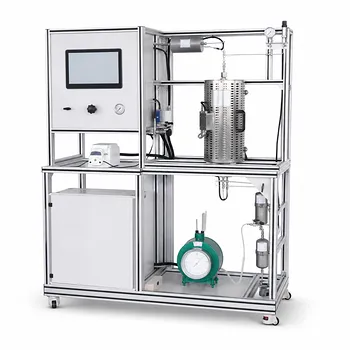
By carefully engineering a small-scale wall assembly with interchangeable layers and strategic temperature sensors, a unit operations pilot plant transforms abstract thermal resistance formulas into a tangible, measurable reality. You can directly observe the fundamental difference: in a series arrangement, the same amount of heat flows through each layer and the temperature drops add up, while in a parallel configuration the total heat flow splits among multiple paths that all experience the same temperature difference.
The key difference: Under steady-state conditions, a series composite wall forces a constant heat flow through a cumulative resistance, producing a stepped temperature profile that mirrors each layer’s individual resistance. A parallel wall, on the other hand, provides several independent pathways for heat—each subjected to the identical overall driving temperature difference—so the total thermal conductance is the simple sum of the individual conductances. A pilot plant makes both behaviors measurable, turning equations into physical intuition.
How a Pilot Plant Brings Thermal Resistance to Life
Constructing Physical Models of Series and Parallel Walls
A pilot plant wall can be built as a stack of removable slabs (series) or as a set of adjacent, insulation-separated blocks bridging a hot and a cold plate (parallel). In series, the layers are placed face-to-face so heat flows consecutively through material 1, then material 2, then material 3. In parallel, each block stands independently between the same two temperature‑controlled plates, sharing only the boundary surfaces.
According to the primary conduction theory, the overall thermal resistance (R) for series layers is simply the sum of the individual resistances: [ R_{\text{series}} = R_1 + R_2 + R_3 = \frac{x_1}{k_1 A_1} + \frac{x_2}{k_2 A_2} + \frac{x_3}{k_3 A_3} ] and the heat flow (Q) stays the same through every layer ((Q = Q_1 = Q_2 = Q_3)). For parallel layers, the total conductance is the reciprocal sum: [ \frac{1}{R_{\text{parallel}}} = \frac{1}{R_1} + \frac{1}{R_2} + \frac{1}{R_3} = \frac{k_1 A_1}{x_1} + \frac{k_2 A_2}{x_2} + \frac{k_3 A_3}{x_3} ] and each path operates under the identical overall temperature difference.
Instrumenting the Wall for Precision Measurement
Embedded thermocouples at every layer interface are non‑negotiable. In a series stack, place sensors on both faces of each slab; in a parallel setup, measure the common hot‑plate and cold‑plate temperatures, plus one sensor inside each distinct block. Heat flux meters or accurate power measurement on the heater strip let you determine the total heat input.
A pilot plant also offers controlled boundary temperatures—typically an electric heater on one side and a cooling loop on the other. Once the system stabilizes, you can record the steady‑state temperature profile. This is the phase where the temperature at any point no longer changes over time, and heat input matches heat output, exactly as described for the continuous operation of heat exchangers in supplementary references.
Designing a Robust Experimental Protocol
Reaching and Maintaining Steady‑State Conditions
True steady‑state is essential for comparing theory and experiment. During start‑up, temperatures drift until a dynamic balance is achieved. Monitor key sensors until readings flatten—typically 30–90 minutes depending on wall thickness and material diffusivity. Avoid taking data during transient phases, where the temperature field is still changing; those periods actually demonstrate unsteady‑state conduction useful for other lessons.
Once steady‑state is confirmed, record temperatures and heat flow over a sufficient interval to average out minor fluctuations. This is the only way to extract meaningful resistance values.
Collecting Data to Validate the Formulas
For a series wall, verify that the measured heat flow is the same across all layers. The total temperature drop should partition according to each layer’s calculated resistance: [ \Delta T_{\text{layer}} = Q \times R_{\text{layer}} ] For a parallel wall, confirm that all blocks share the same overall (\Delta T). Then measure the total heat flow (Q_{\text{total}}). The effective overall resistance is (R_{\text{eff}} = \Delta T / Q_{\text{total}}). Compare this to the predicted (R_{\text{parallel}}) from the conductance summation.
A pilot plant lets you test sensitivity: replace a layer with a different material or change its thickness, and immediately see how the temperature profile shifts in series or how total heat flow increases in parallel when a highly conductive path is added.
Understanding the Limitations and Pitfalls
Contact Resistance and Edge Losses
Real assemblies rarely achieve perfect thermal contact between layers. Contact resistance—tiny air gaps or surface roughness—adds an unintended insulation effect that can bias series measurements upward. A pilot plant must include a calibration step (e.g., measuring a single homogeneous slab) to quantify and subtract this extra resistance. Heat losses to the surroundings are another enemy of one‑dimensional purity. Thick side insulation and a guard heater around the main heater can minimise edge effects, but never eliminate them completely.
Misinterpreting Steady‑State Across Parallel Paths
The parallel formula assumes perfectly isothermal boundary plates. In practice, if the hot plate is not extremely conductive, the temperature under one block can differ slightly from another. This creates lateral heat spreading and smears the neat constant‑(\Delta T) assumption. Using a thick copper or aluminium plate as the base, and verifying temperature uniformity with multiple surface sensors, restores the ideal case.
Trade‑offs of a Pilot Plant for Conduction Studies
A pilot plant offers unmatched flexibility—you can mix and match materials, adjust clamping pressure, and even introduce intentional defects. However, this flexibility comes at the cost of long stabilisation times and the need for careful calibration. The results are also sensitive to sensor placement errors. For purely quantitative formula verification, a simple benchtop guarded hot plate may suffice; the pilot plant shines when you need to demonstrate the physics dynamically and at scale.
Making the Right Choice for Your Goal
- If your primary focus is verifying conduction formulas: Begin with high‑conductivity boundary plates and well‑characterised materials (like Plexiglas, cork, or metal alloys). Measure interface temperatures accurately, compute experimental resistances, and then run first a series and then a parallel arrangement. Confirm that the experimental total resistance matches the theoretical prediction within the calibrated error margins.
- If your primary focus is teaching students about thermal resistance: Use visually distinct layers and colour‑coded thermocouple readouts. Demonstrate that changing the order of layers in series has no effect on total resistance, while adding a parallel path (even a thin metal shunt) dramatically increases overall heat flow.
- If your primary focus is designing a real industrial composite wall: Treat pilot‑plant data as a validation of the pure‑conduction model, then augment it with corrections for contact resistance, two‑dimensional edge effects, and temperature‑dependent conductivities. Use the pilot plant to test realistic clamping pressures and boundary temperatures that mimic the intended application.
A thoughtfully instrumented pilot plant does more than confirm equations—it builds a visceral understanding of how thermal resistance governs energy flow.
Summary Table:
| Configuration | Heat Flow (Q) | Total Resistance (R) | Temperature Profile |
|---|---|---|---|
| Series Wall | Constant through all layers ($Q = Q_1 = Q_2 = Q_3$) | Sum of individual resistances ($R_1 + R_2 + R_3$) | Stepped profile based on each layer's thermal resistance |
| Parallel Wall | Splits among independent pathways | Reciprocal sum of conductances ($1/R_1 + 1/R_2 + 1/R_3$) | Identical overall temperature difference across all paths |
Elevate Thermal Engineering Education with LABPARK
LABPARK provides state-of-the-art Educational and Vocational Unit Operations Pilot Plants in chemical engineering, bioprocess & biotech, and environmental & water treatment. Designed for universities, research institutes, and enterprises, our pilot plants make abstract thermal resistance and heat transfer concepts tangible and measurable.
Ready to enhance your lab's training and research capabilities? Contact LABPARK today to discover our customizable pilot plant solutions!
Related Products
- General Purpose Cosmetics Production Unit Operations Training Pilot Plant
- Multi Pump Fluid Transport Process Piping Unit Operations Training Pilot Plant
- Multi-Functional Drying Educational Unit Operations Pilot Plant
- Fixed-Bed Chemical Reaction and Gas Dust Tar Removal Unit Operations Pilot Plant
- 100L Continuous Loop Hydrogenation Educational Unit Operations Pilot Plant
People Also Ask
- How do deviations in estimating latent heat impact pilot plant thermal systems? Avoid hardware mis-sizing.
- Why is the chemical plant startup schedule crucial? De-risk scale-up with pilot plants.
- When to transition from PID to adaptive control in pilot plants? Key process indicators.
- Why Compare Predicted and Experimental Excess Enthalpy? Key to Accurate Pilot Plant Scale-up
- How to study gasification in pilot plants? Compare exit gas composition & efficiency