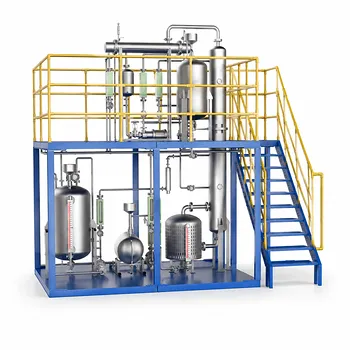
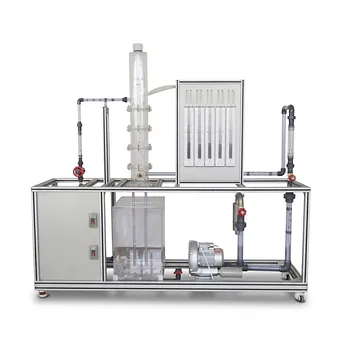
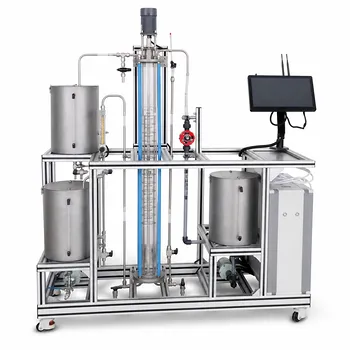
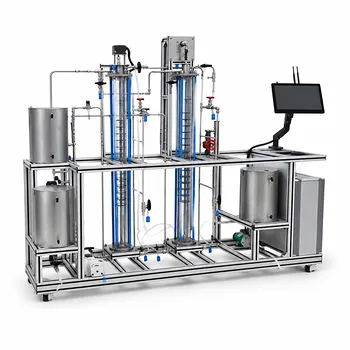
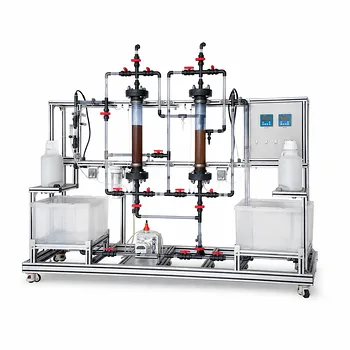
The safe operating window is not a single point but a defined aerodynamic area. It is experimentally determined and mapped by plotting a performance diagram, which charts gas load (or F-factor) against liquid load. This window is bounded by five distinct hydrodynamic limit lines that students can verify by observing real-time column behavior.
To determine a plate column’s safe operating window, you must translate theoretical hydraulic limits into a visual map. The primary task is to identify the five boundaries—entrainment flooding, downcomer flooding, weeping, and the maximum/minimum liquid loads—by gradually pushing the column to its physical limits and plotting the resulting pressure drop and visual observations. This transforms abstract equations into a practical, predictable operating envelope.
Defining the Boundaries of the Performance Diagram
The performance diagram is the essential tool for mapping safe operation. It visually represents the column's hydraulic capacity. The concept is straightforward: gas moves up, liquid moves down, and a stable zone exists only when these two phases cooperate. You identify this zone by systematically varying flows to find where cooperation breaks down.
1. The Upper Gas Limit: Entrainment Flooding
As gas velocity increases through the tray perforations, it can carry liquid droplets to the tray above. This is entrainment. When this carryover becomes excessive, the liquid recirculation load overwhelms the downcomers, causing a sharp pressure drop rise and loss of separation.
In a pilot plant, you can observe this directly through sight glasses. The liquid level on the tray rises, becomes aerated and chaotic, and the pressure drop across the column section spikes. This line defines the absolute maximum gas throughput.
2. The Upper Liquid Limit: Downcomer Flooding
Even with acceptable gas velocities, you can push too much liquid through the column. If the downcomers—the conduits for liquid to flow to the tray below—cannot drain the liquid fast enough, they back up. This is downcomer flooding.
The root cause is usually insufficient residence time. The downcomer must allow enough time (typically 3 to 5 seconds) for vapor to disengage from the liquid. Exceeding the maximum liquid load means the liquid backs up into the tray above, eventually filling the entire column. You identify this by observing a clear, non-aerated liquid level rising rapidly in the downcomer sight glass.
3. The Lower Gas Limit: The Weeping Point
If you fix the liquid load and steadily decrease the gas flow, the vapor pressure drop across the tray becomes too weak to hold the liquid on the tray deck. Liquid begins to leak, or weep, through the perforations instead of flowing across the weir.
This short-circuits the contact process. The liquid falls to the tray below without mixing with the vapor, causing a rapid drop in separation efficiency. The transition is clear: stable bubbling action gives way to random dripping. This defines the minimum gas kinetic energy required for stable operation.
4. The Lower Liquid Limit: Uniform Distribution
A certain minimum liquid flow is necessary not just for operation, but for physics to work in your favor. Too little liquid means insufficient head over the outlet weir.
The result is poor liquid distribution across the tray. Some sections of the tray are active, while others run dry, causing severe vapor bypassing. This line ensures the liquid level over the weir crest is high enough to create a uniform, flat hydraulic gradient, ensuring every perforation on the tray is active.
5. The Maximum Liquid Load: Residence Time
This is distinct from downcomer flooding but closely related. Even before the downcomer physically backs up, an excessive liquid rate can reduce the liquid's residence time on the tray itself. If the liquid races across the deck too quickly, the vapor-liquid contact time is too short for effective mass transfer. This boundary is set to ensure adequate stage efficiency, not just to avoid a hydraulic disaster.
Understanding the Trade-offs: The Cost of Elasticity
Every column has an operating elasticity, often called its turndown ratio—the maximum operational throughput divided by the minimum. A wide operating window is desirable but is a direct result of physical design choices that have their own costs.
Operating near the boundaries, while educational, comes at a steep price in performance. As you approach the weeping point, stage efficiency plummets. It’s a stable operation, but a poor one. Similarly, operating close to the entrainment flooding point gives high capacity, but the liquid back-mixing caused by carryover erodes your separation quality. The product purity will degrade well before you visually see the column flood.
A smaller tray spacing increases the risk of entrainment flooding, shifting that boundary downward. A smaller downcomer area shifts the downcomer flooding boundary to the left. Understanding these trade-offs helps you see the performance diagram not just as a safety checklist, but as a direct consequence of the column's physical geometry and internal design that you, as the researcher, have selected.
How to Translate This to Your Pilot Plant Work
Your goal as a student or researcher is not just to memorize these lines, but to generate them. The method is systematic and requires patience.
- Start at a Known Stable Point: Establish a steady-state separation with a moderate reflux ratio. Record your baseline gas and liquid loads, pressure drop, and a corroborating efficiency measurement (e.g., top and bottom compositions).
- Map the Flooding Limits: Hold the liquid load constant. Increase the gas flow in small increments, allowing the column to re-stabilize. The flooding point is the gas velocity where you observe a sudden, non-linear spike in differential pressure and a loss of bottom product level control. Repeat for several liquid loads.
- Map the Weeping Limits: From a stable condition, reduce the gas flow slowly. Use the sight glasses to observe the active tray deck. The weeping point is the gas velocity where the vapor dispersion collapses and you visually confirm liquid dripping from the perforations. Do this for multiple liquid loads.
- Connect the Points: Plot your data with the gas load (or F-factor) on the y-axis and the liquid load on the x-axis. Connecting your experimentally verified flooding points gives you the upper boundary. Connecting the weeping points gives you the lower boundary. The enclosed area is your safe, stable operating window for that specific system and column configuration.
Making the Right Choice for Your Experimental Goal
Your path around the performance diagram should be dictated by your research objective. The diagram is a map; the goal determines the route.
- If your primary focus is maximum throughput: Operate as close to the entrainment flooding line as possible without crossing it. You will sacrifice some separation efficiency due to incipient entrainment, but you will maximize production rate.
- If your primary focus is optimum separation purity: Operate in the center of the performance diagram, well clear of both weeping and flooding lines. This provides the most stable hydrodynamics, giving the vapor-liquid equilibrium the consistent environment it needs for sharp separation.
- If your primary focus is energy efficiency: There is a trade-off. Higher gas loads increase reboiler duty. A balance point often lies at a moderate gas load that minimizes weeping risk while avoiding the efficiency losses and higher pressure drops that occur near the flooding point.
- If your primary focus is educational demonstration: Deliberately induce the failure modes. Make the column weep first. Restabilize it, then induce entrainment flooding. This visceral observation of the boundary conditions teaches column hydrodynamics more effectively than any textbook.
Your pilot plant’s performance diagram is its unique fingerprint. Determining it transforms you from a passive operator into an expert diagnostician of the mass transfer process.
Summary Table:
| Boundary Limit | Main Cause / Key Observation | Operational Impact |
|---|---|---|
| Entrainment Flooding | High gas velocity carries liquid droplets upward | Pressure drop spikes; loss of separation |
| Downcomer Flooding | Liquid backup due to insufficient residence time | Liquid fills the column; complete failure |
| Weeping Point | Low vapor flow; liquid leaks through tray perforations | Low vapor-liquid contact; plummets efficiency |
| Lower Liquid Limit | Low liquid flow; insufficient head over outlet weir | Poor distribution; dry tray sections |
| Max Liquid Load | High liquid rate reduces tray contact time | Short contact time; reduced stage efficiency |
Elevate Practical Learning with LABPARK Pilot Plants
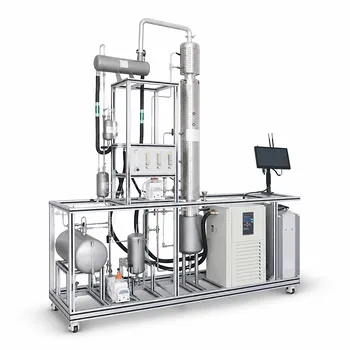
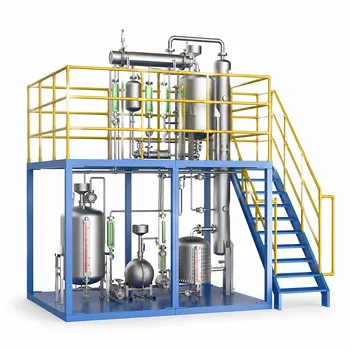
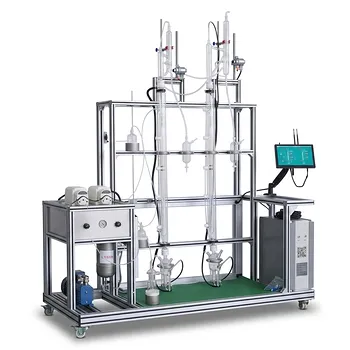
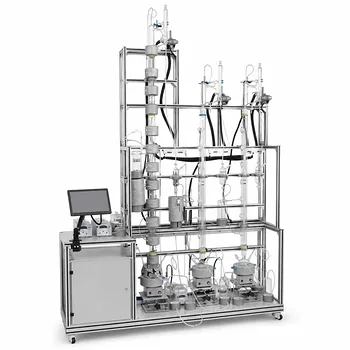
Ready to bring theoretical column hydrodynamics to life for your students and researchers? LABPARK designs and manufactures state-of-the-art Educational and Vocational Unit Operations Pilot Plants in chemical engineering, bioprocess & biotech, and environmental & water treatment.
Our systems enable universities, research institutes, and enterprises to safely map column performance diagrams and visualize critical limits like flooding and weeping in real time.
Contact LABPARK today to discuss your lab requirements and receive a tailored solution!
Related Products
- Continuous Sieve-Plate Distillation Pilot Plant for Unit Operations Laboratory Education
- Dual-Mode Rectification Pilot Plant for Practical Training Unit Operations
- Multi-Functional Special Distillation Educational Pilot Plant
- Continuous Batch Extractive Distillation Educational Pilot Plant
- Multi-Modal Distillation Unit Operations Training Pilot Plant
People Also Ask
- How do distillation pilot plants validate VLE data? Achieve reliable solvent separation scale-up.
- Why is condensate subcooling critical in pilot plants? Expert Design & Control Guide
- Why is the column performance diagram critical? Optimize distillation pilot plant safety & efficiency.
- What are the primary reflux ratio control strategies? Master Distillation Unit Operations
- How does catalyst water concentration affect distillation pilot plant design? Key separation train choices.