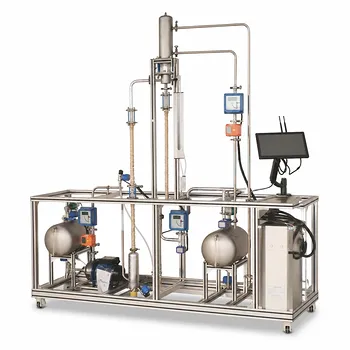
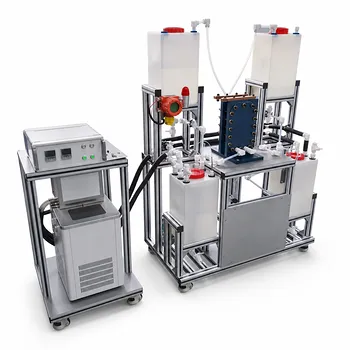
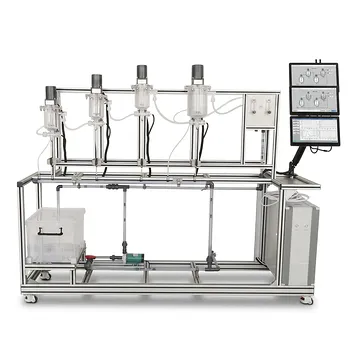
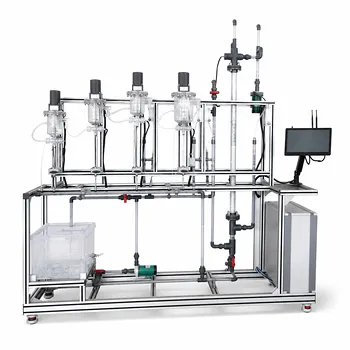
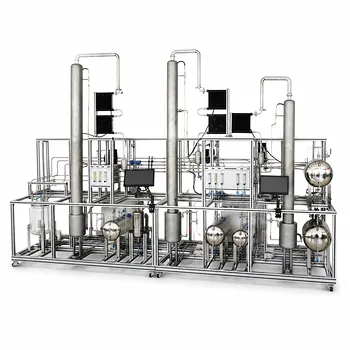
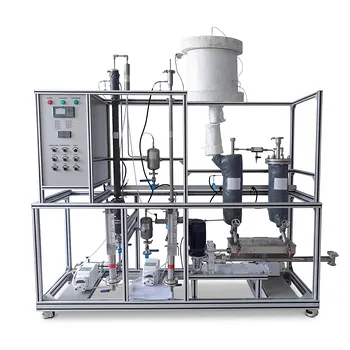
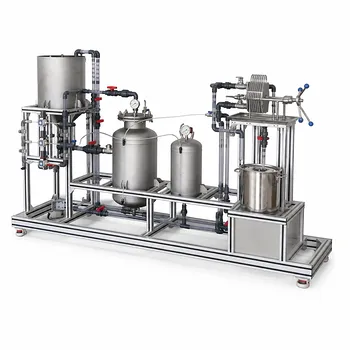
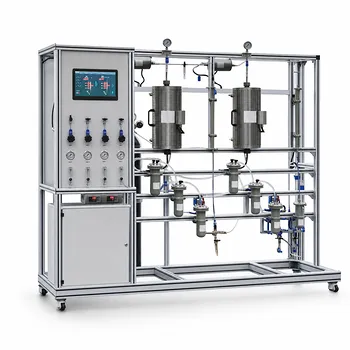
A physical flume transforms a textbook concept into a visceral, proven fact. By using educational pilot plants with interchangeable channel inserts, students can directly compare the flow performance of different cross-sections. They experimentally verify that for a given slope and cross-sectional area, the shape that minimizes the wetted perimeter—the “hydraulically most efficient” section—consistently achieves the greatest discharge.
To demonstrate the most efficient cross-section, you don’t need simulation alone. You need a flume with modular inserts. By systematically measuring flow depth, wetted perimeter, and velocity for rectangular and trapezoidal geometries, students observe that maximum discharge occurs exactly when a rectangle’s width is twice its depth, and that a half-hexagon trapezoid (30° side slope) provides the ultimate theoretical optimum. The pilot plant turns the abstract principle of maximizing hydraulic radius into a repeatable, hands-on experiment.
The Experimental Setup: How the Pilot Plant Enables Discovery
An educational open-channel flume is designed for flexibility. Its core teaching power lies in the ability to physically alter the channel shape while keeping all other variables—slope, roughness, and upstream head—strictly controlled.
Interchangeable Inserts Are the Key
The primary tool for demonstrating hydraulic efficiency is a set of precision-made channel inserts. These are solid forms that drop into the flume, instantly changing the cross-sectional geometry without altering the channel bed or walls.
For a rectangular experiment, you might have multiple inserts, each with the same cross-sectional area but different width-to-depth ratios. For a trapezoidal study, you use inserts with varying side slope angles. This approach isolates geometry as the single independent variable.
Measuring the Critical Parameters
With the insert in place and flow established, students take direct measurements. A point gauge or ultrasonic sensor records the steady-state water depth (y). The wetted perimeter (P) is calculated from the known insert dimensions and the water depth.
Simultaneously, a flow meter provides the discharge (Q). Using the continuity equation, students then compute the average velocity (V = Q/A) and the all-important hydraulic radius (R = A/P). This direct data collection transforms the theoretical relationship into a personal, observed truth.
Connecting Geometry to Performance
The pilot plant’s adjustable slope control allows students to run the experiment under uniform flow conditions, where the energy slope equals the bed slope. By recording the discharge achieved for each insert at a constant slope, they generate a clear performance curve.
The result is unmistakable: the cross-section with the largest hydraulic radius moves the most water, and that same section generated the smallest wetted perimeter for the given flow area. The link between form and function is no longer an equation on a board; it’s a set of numbers they generated themselves.
The Theoretical Foundation: Why These Shapes Win
A pilot plant demonstration is only as good as the theory it validates. The educational power comes from the moment when a student’s measured data aligns with the mathematical prediction.
The Core Principle: Minimize Wetted Perimeter
From the Manning or Chézy formulas, discharge for a given slope and roughness is proportional to R^(2/3) or R^(1/2). Since R = A/P, maximizing hydraulic efficiency simply means minimizing the frictional surface (P) for the water to flow past, while keeping the flow cross-section (A) constant.
The pilot plant makes this tangible. Students can calculate P for each insert and immediately see its inverse relationship with the measured velocity and discharge. Less wetted perimeter directly translates to less energy lost to boundary friction.
Rectangular Channel Optimization
Theoretically, the most efficient rectangular section satisfies the condition B = 2y, where B is the channel width and y is the flow depth. Under this geometry, the hydraulic radius becomes R = y/2.
In the lab, students test inserts with the same area but different aspect ratios. One insert is fabricated with B = 2y at the design flow depth. They discover that as they test inserts deviating from this ratio, the water depth rises to accommodate the same flow, and the calculated R drops exactly as predicted. The B = 2y shape consistently yields the highest velocity and the lowest required flow depth for the design discharge.
Trapezoidal Channel Optimization
For the most general and theoretically perfect shape, the half-hexagon takes the prize. This trapezoid has a side slope angle of 30° from the horizontal (meaning a 60° angle with the channel bed, giving a side slope z = 1/√3). It is the section that produces the absolute minimum wetted perimeter for any given area.
Using a pilot plant with adjustable side slope inserts, students can progress from a steep-sloped trapezoid to the optimal half-hexagon. They observe the wetted perimeter shrink and the discharge jump. The moment of realization—that this specific geometric shape is the global optimum for frictional open-channel flow—is a powerful learning outcome.
Conducting the Demonstration: A Step-by-Step Framework
To run a successful and illuminating lab session, structure the experiment to isolate variables and let the data tell the story.
Designing the Lab for Clear Comparisons
Select a family of inserts. For instance, four rectangular sections with identical area but B/y ratios of 1.0, 2.0, 3.0, and 4.0. Or, a set of trapezoids starting from a near-vertical wall and moving toward the 30° side slope.
Set and lock the flume bed slope and the inlet valve opening so that the total energy head is constant. This ensures that any difference in discharge is solely due to the channel’s ability to convey water with minimal frictional resistance.
Step-by-Step Verification Procedure
First, install the reference insert. Slowly open the flow control valve and establish steady, uniform flow. Record the flow rate (Q), water depth (y), and calculate the corresponding A, P, R, and V.
Now, power down the flow, swap to the next insert without changing the inlet valve position or slope, and restart the pump. Repeat all measurements. The measured Q will be highest for the geometry predicted to be most efficient.
Finally, have students compute the theoretical discharge using the Manning formula for each geometry, using a backsolved n value from the reference insert. The close agreement between the theoretical discharge curve and the measured data points confirms they’ve correctly identified the role of the wetted perimeter.
Understanding the Trade-offs and Practical Limitations
A pilot plant is an idealized environment. To build genuine expertise, acknowledge where the lab diverges from real-world engineering.
The Idealization of Uniform Roughness
In the lab, a smooth acrylic or metal insert provides a near-uniform roughness over the entire perimeter. In natural channels, the bed and banks often have drastically different roughness values (composite roughness). The purely geometric optimum of a half-hexagon may shift when the bank material is rougher than the bed, penalizing a shape with a large bank contribution to the wetted perimeter.
Scale Effects and Surface Tension
Small-scale educational flumes operate at low Reynolds numbers and small water depths. Surface tension can slightly distort the true water surface profile relative to a full-scale canal. The efficiency gains measured in the lab are qualitatively correct but should not be quantitatively extrapolated to massive civil works without caution.
The Dominance of Other Design Constraints
The most hydraulically efficient section is rarely the most constructable or stable. A half-hexagon trapezoid with sloping banks requires more land take and can be prone to slumping. The pilot plant demonstration primes students to ask the right follow-up question: “Why don’t we always build the mathematically best shape?” The answer introduces cost, geotechnical stability, and maintenance—a richer learning outcome.
Making the Right Choice for Your Educational Goal
The way you structure the experiment determines the depth of understanding your students will walk away with. Adapt the session to your primary teaching objective.
- If your primary focus is foundational understanding of hydraulic radius: Use only rectangular inserts with the same area. Have students manually calculate A, P, and R for each and plot the measured Q against R. The direct correlation is unforgettable.
- If your primary focus is experimental verification of the half-hexagon optimum: Provide a family of trapezoidal inserts, including one cut to the exact 30° side slope. Let students measure Q for each and discover the optimum themselves before revealing the theory.
- If your primary focus is engineering design thinking: After finding the most efficient shape, introduce a new constraint—like a flume insert with artificial “vegetation” on the banks—and challenge students to predict and test how the practical optimum shifts.
- If your primary focus is numerical skills and model validation: Have students compute the Manning n for each section from the data and then compare their experimental optimum against the classical closed-form solution, discussing sources of any discrepancies.
When a student can point to the flume and confidently explain that the water is moving faster not because it’s deeper, but because the channel wall is doing less to slow it down, the pilot plant has done its job perfectly.
Summary Table:
| Channel Shape | Optimal Geometric Condition | Hydraulic Radius ($R$) | Educational Focus |
|---|---|---|---|
| Rectangular | Width ($B$) = $2 \times$ Flow Depth ($y$) | $R = y/2$ | Demonstrating aspect ratio impact on flow rate |
| Trapezoidal | Half-Hexagon (30° side slope / $z = 1/\sqrt{3}$) | $R = y/2$ | Verifying global optimum for minimum wetted perimeter |
Bring Hands-On Hydraulics to Your Institution
Bridge the gap between textbook theory and physical reality with high-quality teaching equipment. LABPARK provides premium Educational and Vocational Unit Operations Pilot Plants in chemical engineering, bioprocess & biotech, and environmental & water treatment.
We design robust, modular flumes and pilot plants tailored for universities, research institutes, and enterprises to foster intuitive learning and verifiable scientific discovery.
Ready to elevate your laboratory capabilities? Contact LABPARK today to discuss your specific curriculum or research requirements!
Related Products
- Multi Pump Fluid Transport Process Piping Unit Operations Training Pilot Plant
- Plate Column Hydrodynamics Tray Demonstration Educational Pilot Plant
- 100L Continuous Loop Hydrogenation Educational Unit Operations Pilot Plant
- Multi-Functional Special Distillation Educational Pilot Plant
- Fluid Transport and Piping Dynamics Practical Training Unit Operations Pilot Plant
People Also Ask
- Why distinguish Newtonian & non-Newtonian fluids in pilot plants? Prevent design errors.
- Why is the chemical plant startup schedule crucial? De-risk scale-up with pilot plants.
- When to transition from PID to adaptive control in pilot plants? Key process indicators.
- How do deviations in estimating latent heat impact pilot plant thermal systems? Avoid hardware mis-sizing.
- Why Compare Predicted and Experimental Excess Enthalpy? Key to Accurate Pilot Plant Scale-up