The most sensitive tray is the one that shows the largest, most immediate temperature change when the column is disturbed—and you can pinpoint it through a simple, systematic step‑test on your pilot plant.
Rather than guessing, you apply a small, deliberate change to the column’s energy input or reflux, then record the temperature response at every tray. The tray whose temperature shifts the most and the fastest is your prime location for temperature control.
Finding the sensitive tray is about converting a practical experiment into a clear, numerical gain. By running a controlled disturbance, measuring the steady‑state or dynamic temperature shift on every tray, and comparing those values, you get a direct, data‑driven answer that cuts through theoretical ambiguity and directly improves your column’s stability.
Why the Sensitive Tray Holds the Key to Product Purity
The Composition–Temperature Connection
Distillation columns separate mixtures based on boiling‑point differences, so temperature directly reflects composition. Controlling temperature is therefore a fast, affordable proxy for controlling product purity. For a binary or pseudo‑binary system, each tray has a unique equilibrium temperature at a given operating pressure.
The Failure of the Obvious Points
At the very top of the column, the vapor is almost pure low‑boiler, so even large composition changes produce tiny temperature shifts. The same happens at the bottom with the high‑boiler. Relying on top or bottom temperature sensors gives you a delayed, insensitive signal that can let impurities slip through unnoticed. The sensitive tray sits in the steep part of the temperature profile, where the thermometer acts like a high‑gain amplifier for any disturbance. This is the deep need: understanding that the most informative measurement isn’t at the extremes, but where the column’s “thermal gradient” is sharpest.
Defining the Sensitive Tray with Precision
It’s a Matter of Gain, Not Location
In control terms, the sensitive tray is the measurement location with the highest static gain ($K_o$) and a small time constant ($T$) relative to typical disturbances like feed composition or heating medium pressure. The gain is simply the change in tray temperature divided by the size of the upset you introduced. A large gain means the controller can see a problem immediately and take strong corrective action before product quality is compromised.
How to Determine the Sensitive Tray in a Pilot Plant
The Step‑Test Experiment (Gold‑Standard Method)
- Stabilize the column at normal operating conditions (target reflux ratio, boil‑up rate, feed rate). Wait until all tray temperatures are steady.
- Choose a realistic disturbance—for example, a +3% change in reboiler heat input or a +2% change in reflux flow rate. Keep it small enough to avoid flooding or weeping, but large enough to produce a measurable signal.
- Introduce the step change and immediately start data‑logging from all tray thermocouples. A sampling interval of 1–5 seconds is usually sufficient for a bench‑scale column.
- Wait for the new steady state or, for a more dynamic analysis, record the first few minutes of the transient.
Calculating the Sensitive Tray from Your Data
- Steady‑state gain: For each tray $i$, calculate $\Delta T_i / \Delta U$, where $\Delta U$ is the size of your input step. The tray with the largest absolute gain is your primary sensitive tray.
- Dynamic scoring: If two trays show similar gains, the better choice is the one with the faster initial response (smaller time constant). You can approximate this by comparing the time it takes for each tray to reach 63% of its final temperature change.
- A practical rule: subtract the final temperature profile from the initial profile and plot the “delta‑T” curve. The peak of that curve tells you the tray number.
Verifying with Simulation (Before You Even Touch the Column)
Most pilot‑plant work is preceded by a process simulation (Aspen Plus, HYSYS, etc.). Before running a physical test:
- Model the column exactly with your tray efficiency data. Use an empirical correlation like O’Connell’s ($E_T = 0.49(\alpha \mu_L)^{-0.245}$) or, better, a calibrated two‑film method to get realistic tray behavior.
- Run a sensitivity analysis: perturb the reboiler duty or reflux by a small amount and plot the new temperature profile. The tray with the maximum $\Delta T$ in the simulation is an excellent first guess for your physical experiment.
- This saves trial‑and‑error time and guides where to place your most sensitive thermocouples.
Understanding the Trade‑offs and Hidden Pitfalls
When a Single Sensitive Tray Isn’t Enough
In columns with an awkward feed composition or highly non‑ideal mixtures, the temperature profile may have two steep sections—one in the rectifying section and one in the stripping section. A single temperature sensor might not capture both. In such cases, determine a rectifying sensitive tray and a stripping sensitive tray independently, using disturbances to reflux and reboiler duty respectively.
The Danger of Ignoring Dead Time
A tray with a huge gain but located far from the manipulated variable (e.g., a tray near the bottom when you’re adjusting reflux) may suffer from large dead time ($\tau_o$). This delay causes control oscillation. Always consider the closed‑loop dynamics—the sensitive tray that yields the tightest overall control is one that combines high gain with minimal dead time relative to your chosen handle (reflux flow, heat input, etc.).
Don’t Mistake Noise for Sensitivity
Lab‑scale columns often have small temperature differences and cheaper sensors, leading to signal noise. A tray that appears highly sensitive may just be capturing random fluctuations. Always repeat your step test two or three times and average the gain values. If the standard deviation of a tray’s gain is comparable to the mean gain, look for a more stable alternative just one or two trays away.
Weeping, Flooding, and Efficiency Drift
The sensitive tray you identify at a clean, optimal boil‑up rate may shift if the column begins to weep at low vapor loads or if tray efficiency drops. As the supplementary references note, valve trays and bubble cap trays behave differently at turndown. If your pilot plant run includes intentional flow rate swings, you may need to re‑evaluate the sensitive tray location at the lowest expected operating point to ensure the sensor remains effective across the full range.
Making the Right Choice for Your Goal
- If your primary focus is teaching fundamental control principles: Perform the step‑test manually with a single disturbance, plot the delta‑T profile, and let students discover the gain peak. It’s an invaluable demonstration of open‑loop dynamics and why sensor location matters.
- If your primary focus is achieving the tightest product purity control: Run tests with both reflux and reboiler disturbances, then select the tray that gives the highest gain with the shortest dead time when paired with the manipulated variable you intend to use (usually reflux flow, as its time constant is far smaller than that of reflux temperature).
- If your primary focus is research on non‑ideal mixtures or flexible operation: Use a process simulator first to screen for potential sensitive trays, verify with a physical step‑test, and document how the sensitive tray shifts under different feed compositions or boil‑up rates. This data is gold for designing robust, model‑predictive control strategies.
Once you have identified that one tray where temperature screams the moment something changes, you transform column control from a guesswork exercise into a precise, repeatable science.
Summary Table:
| Step | Method / Action | Key Objective / Output |
|---|---|---|
| 1. Stabilize Column | Run at target reflux & feed rates | Establish baseline steady-state temperatures |
| 2. Introduce Step Change | Adjust heat input (reboiler) or reflux | Create a controlled, measurable disturbance |
| 3. Data Logging | Record temperature changes on all trays | Capture transient and steady-state responses |
| 4. Analyze Data | Calculate gain ($\Delta T_i / \Delta U$) & response time | Identify tray with highest gain and minimal dead time |
| 5. Verify / Simulate | Run process simulation (e.g., Aspen HYSYS) | Validate physical results and optimize sensor placement |
Optimize Your Chemical Engineering Labs with LABPARK
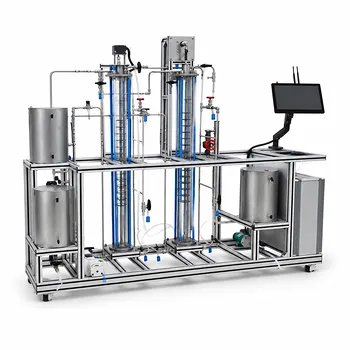
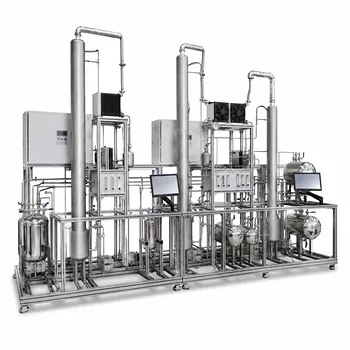
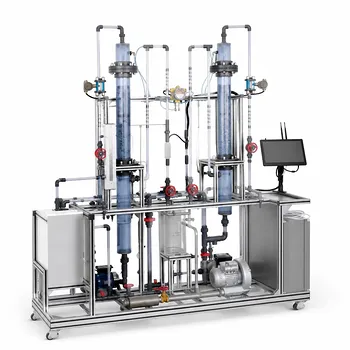
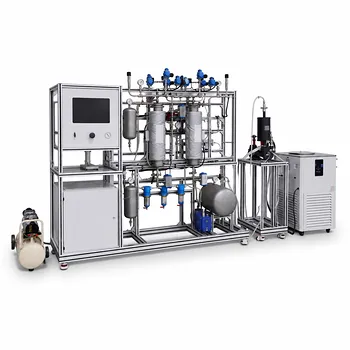
Looking to enhance hands-on learning and research precision? LABPARK provides state-of-the-art Educational and Vocational Unit Operations Pilot Plants in chemical engineering, bioprocess & biotech, and environmental & water treatment. Designed specifically for universities, research institutes, and enterprises, our pilot plants deliver reliable data and real-world industrial experience to students and researchers alike.
Contact LABPARK today to find the perfect pilot plant solution for your facility!
Related Products
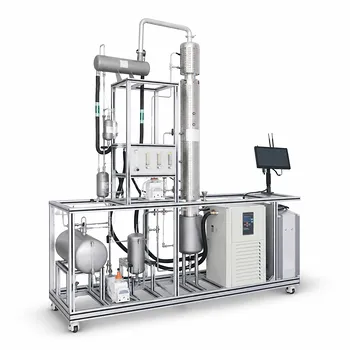
- Multi-Modal Distillation Unit Operations Training Pilot Plant
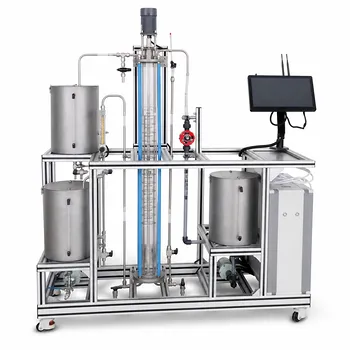
- Continuous Sieve-Plate Distillation Pilot Plant for Unit Operations Laboratory Education
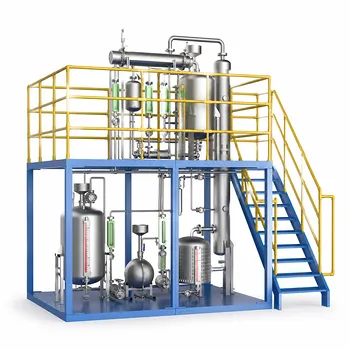
- Multi-Functional Special Distillation Educational Pilot Plant
- Educational Rotary Disc Liquid-Liquid Extraction Pilot Plant
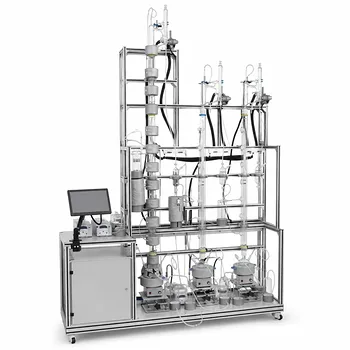
- Dual-Mode Rectification Pilot Plant for Practical Training Unit Operations
People Also Ask
- How can energy balance equations for condensers & reboilers be validated experimentally? Guide
- How does catalyst water concentration affect distillation pilot plant design? Key separation train choices.
- How can real-time carbon number prediction improve distillation pilot plants? Optimize control.
- Why is vacuum operation capability an essential feature for a distillation unit operations pilot plant? Unlock Efficiency
- What are the primary reflux ratio control strategies? Master Distillation Unit Operations