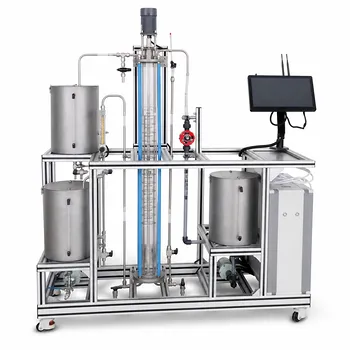
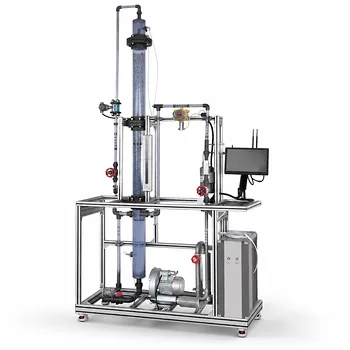
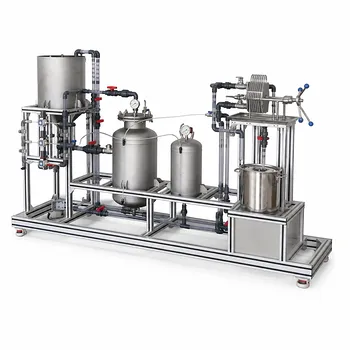
Getting the design ratios right—and the rotor speed wrong—is the fastest way to turn a perfectly good rotating disc contactor (RDC) into an expensive mixer-settler simulator. Put simply, your RDC pilot plant must maintain a column-to-disc diameter ratio ($D/D_R$) between 1.5 and 3.0, a column-to-compartment height ratio ($D/H_T$) between 2.0 and 8.0, and a disc peripheral speed no lower than 90 m/min—while carefully avoiding the critical speed that triggers flooding.
Configuring an RDC pilot plant hinges on two dimensional constraints that define its hydraulic stability and one operational window that governs mass transfer. The real art is not just hitting these numbers, but understanding that rotor speed creates three distinct flow regimes—and only one, the narrow “Ideal Operating Zone,” delivers the fine, uniform dispersion you need without crashing the column.
The Geometric Foundation: Two Ratios That Shape Performance
The dimensions of an RDC column are not arbitrary. They directly control how droplets shear, move, and coalesce. The primary reference establishes two critical ranges that every pilot-plant design must respect.
The Column-to-Disc Ratio ($D/D_R$)
The annulus between the rotor disc and the column wall is where the principal shear field develops. If this gap is too large, the intensity of turbulence drops off sharply away from the disc edges. If it’s too small, the dispersed phase is simply pushed against the wall, and internal recirculation patterns collapse.
A $D/D_R$ ratio between 1.5 and 3.0 keeps the shear zone proportional to the column cross‑section. Within this window, the rotating discs can generate a stable toroidal flow pattern that promotes droplet break‑up without throwing the entire dispersed phase outward.
The Column-to-Compartment Height Ratio ($D/H_T$)
Each agitated compartment in an RDC is separated by a stator ring. The compartment geometry determines how long droplets reside in a given shear zone before they can relax and coalesce at the interface.
A $D/H_T$ ratio between 2.0 and 8.0 ensures that the compartment is wide enough relative to its height to allow proper circulation cells to form. Too tall a compartment (low ratio) leads to stagnant zones; too shallow a compartment (high ratio) wastes the energy input by forcing the phases through unnecessarily narrow gaps.
Operational Guidelines: Speed, Zones, and the Flooding Cliff
Dimension ratios set the stage, but rotor speed writes the script. The primary reference cautions that peripheral speed should not fall below 90 m/min. This is not just a soft recommendation—it marks the boundary where droplet dispersion moves from insufficient to useful.
The Three Operating Regimes of an RDC
Supplementary references classify RDC operation into three distinct zones based on rotor speed. Pilot-plant operators must learn to identify and stay within the third zone.
Region I (Low Speed – Droplet Ejection) At very low speeds, centrifugal force dominates over drag. Droplets are thrown directly to the column wall. Holdup collapses, interfacial area plummets, and the column essentially stops transferring mass.
Region II (Moderate Speed – Weak Shear) Here the discs begin to shear the dispersed phase, but the energy is too low to overcome interfacial tension effectively. You get large, non‑uniform droplets, low holdup, and an efficiency curve that looks frustratingly flat. This is the regime you’re in if peripheral speed drops below the 90 m/min threshold, or if you’re simply not near the column’s optimal working point.
Region III (Ideal Operating Zone – Fine Dispersion) Increase the speed past the moderate range, and the shear field becomes intense enough to break droplets into a fine, relatively uniform population. Droplets now have longer residence times because they are entrained in the compartment’s vortex, creating a high interfacial area and dramatically better mass transfer. This is where you want to operate—and it’s the only region that justifies using an RDC over a simpler column.
The Critical Rotor Speed and Flooding
There is a hard ceiling. Push the rotor speed too high, and the dispersed phase can no longer settle against the rising continuous phase. Holdup spikes abruptly, the interface becomes indistinct, and mass transfer efficiency falls off a cliff.
This critical rotor speed defines the upper limit of Region III. It is system‑dependent, influenced by phase densities, interfacial tension, and compartment geometry, but the rule is universal: once flooding begins, you have lost all stable operation. A well‑designed pilot plant allows you to slowly approach this point while monitoring pressure drop or holdup so you can map the boundary for scale‑up.
Understanding the Trade-offs
Speed solves one problem and invites another. The key trade-off in RDC operation is between mass transfer efficiency and hydraulic capacity.
- Running below 90 m/min avoids flooding but kills efficiency so completely that the RDC ceases to be a practical extraction device.
- Pushing deep into Region III improves efficiency almost linearly—right up to the point where the column becomes inoperable.
- An over‑sized $D/D_R$ ratio (close to 3.0) can somewhat delay flooding by providing a larger settling zone, but it also reduces shear intensity, forcing you to run at higher tip speeds that bring their own risks.
For pilot plants that will test multiple chemical systems, there is no single “safe” speed. You must design the drive system with enough range to explore the full curve—from 90 m/min well past the critical point—so you can document where flooding occurs for each feed.
Making the Right Choice for Your Pilot-Plant Goal
Your geometric ratios ($D/D_R$ and $D/H_T$) should be set during the mechanical design phase and kept within the proven ranges. Your operational strategy then depends on what you’re trying to achieve.
- If your primary focus is research or scale‑up: Start at a peripheral speed near 90 m/min, then step upward while logging holdup, droplet size, and efficiency. Identify the onset of Region III and the flooding point. Use the resulting curve to select the speed that offers the highest stable mass transfer for your specific system.
- If your primary focus is educational demonstration: Deliberately drive the column through all three regions so students can see the visual and hydraulic differences. Emphasize the 90 m/min guideline as the “minimum for meaningful operation,” and let them experience the flooding threshold by pushing the control gradually beyond the critical speed.
- If your primary focus is process screening with limited time: Pre‑screen only in Region III. Use the $D/H_T$ ratio to adjust residence time without touching the rotor, and document the compartment flooding tendency for each candidate solvent system.
Operate within the design ratios, respect the 90 m/min floor, and treat the critical speed not as a failure but as a boundary you must map—and you will turn your RDC pilot plant into a genuinely predictive tool.
Summary Table:
| Parameter | Symbol | Recommended Range | Operational Impact |
|---|---|---|---|
| Column-to-Disc Ratio | $D/D_R$ | 1.5 – 3.0 | Controls shear zone and droplet break-up |
| Column-to-Compartment Height | $D/H_T$ | 2.0 – 8.0 | Influences residence time and circulation |
| Rotor Peripheral Speed | $v_p$ | ≥ 90 m/min | Essential to reach the Ideal Operating Zone (Region III) |
Bring Industrial-Scale Precision to Your Lab
Need reliable pilot plants for research or training? LABPARK provides premium Educational and Vocational Unit Operations Pilot Plants across chemical engineering, bioprocess & biotech, and environmental & water treatment.
Whether you are a university, research institute, or enterprise, our systems ensure stable and predictable scale-up. Contact LABPARK today to optimize your lab configuration!
Related Products
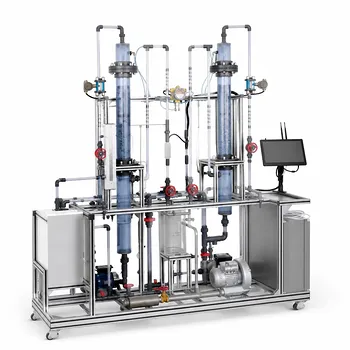
- Educational Rotary Disc Liquid-Liquid Extraction Pilot Plant
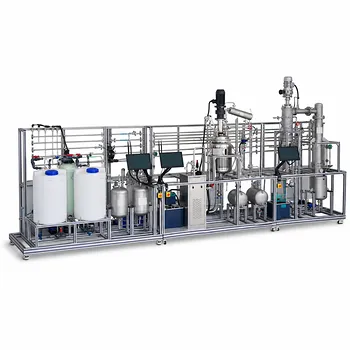
- Comprehensive Liquid-Liquid Extraction Pilot Plant for Engineering Education
- Continuous Batch Extractive Distillation Educational Pilot Plant
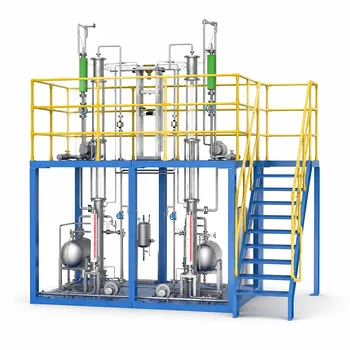
- Dual-Mode Rectification Pilot Plant for Practical Training Unit Operations
- Absorption and Desorption Educational Unit Operations Pilot Plant
People Also Ask
- How do density and IFT affect liquid-liquid extraction pilot plants? Optimize Column Performance
- How are ternary phase diagrams and LLE data applied in extraction experiments? Optimize Pilot Plant Scale-up
- In a liquid-liquid extraction pilot plant, how is a ternary-phase diagram utilized to determine solvent feed requirements?
- How Do Selectivity & Distribution Coefficients Influence LLE Pilot Plant Solvent Choice?
- How to Validate BIPs for LLE Pilot Plants? Steps to Align Simulations with Reality