Near-wall porosity variation creates a low-resistance bypass channel that diverts reactants away from the catalyst, directly lowering the conversion you measure in a pilot plant. This geometric artifact can systematically skew your experimental data, making a reactor appear less efficient than an ideal model predicts and corrupting kinetic parameters derived from that data.
The wall effect in a randomly packed bed is not a minor imperfection—it's a fundamental geometric consequence. Higher and oscillating void fraction near the wall causes preferential flow, which reduces local residence time and conversion. In exothermic systems, this couples with thermal effects to create radial gradients that simple plug-flow models completely miss.
The Physical Origin of the Wall Effect
To understand the impact on conversion, you must first grasp what happens when particles meet a solid boundary.
How Porosity Changes Near the Wall
In the bulk of a randomly packed bed, the average void fraction is relatively uniform, typically around 0.36–0.40 for spheres. The solid wall forces particles to arrange themselves in a different way.
This results in a local porosity that oscillates as you move away from the wall. The void fraction is highest right at the wall (often approaching 1.0), then drops, then rises again in a damped wave, finally stabilizing after about 4–5 particle diameters.
Why This Creates a Bypass Flow
Fluid follows the path of least resistance. A higher void fraction means lower local resistance to flow.
The near-wall region therefore becomes a low-resistance channel where a disproportionate amount of reactant flows. This fluid spends less time in intimate contact with the catalyst particles inside that high-porosity annulus.
How Bypass Flow Directly Suppresses Measured Conversion
The consequence for your pilot plant data is a systematic underestimation of the bed's true kinetic potential.
Reduced Local Residence Time and Contact Efficiency
Conversion is a function of both reaction rate and residence time. In the wall zone, the fluid moves faster and has less interaction with the catalytic surface.
This means the local conversion in the bypass region is significantly lower than in the bed's core. When you measure the bulk outlet concentration, that poorly converted fluid mixes back in and dilutes the overall conversion figure.
The Amplifying Effect in Exothermic Reactions
If your reaction is exothermic, the problem compounds. The heat released is directly tied to the local extent of conversion.
Lower conversion near the wall means less heat is generated in that region. This creates radial temperature gradients where a cooler wall zone further depresses the reaction rate, while the center of the bed may run hotter. The result is a complex, coupled mess that a model using a single average void fraction cannot capture.
The Modeling Pitfall and How to Address It
Your pilot plant's purpose is to generate data for scale-up. The wall effect threatens to make that data misleading.
The Danger of a Single Average Void Fraction
Using one average bed porosity in your heat and mass balance equations implicitly assumes the bed is uniform. This model will over-predict conversion because it doesn't account for the bypass.
The deviation between model and experiment is not random error—it's a structural bias caused by ignoring the initial radial void distribution near the wall.
Accounting for the Real Radial Profile
For accurate laboratory modeling, you must move beyond the plug-flow assumption. The most practical engineering approach is to use dispersion models that apply Fick's law for mass diffusion and Fourier's law for heat conduction with effective radial dispersion coefficients.
These effective parameters, when chosen correctly, lump together the combined effects of the wall bypass, velocity profile, and local mixing caused by the packing. Recognizing these nonidealities is essential to extracting intrinsic kinetics from your pilot plant data.
Understanding the Trade-offs
Mitigating the wall effect is possible, but every solution has a cost you need to consider for a pilot plant.
- Small tube-to-particle diameter ratio (D/dp): To minimize the wall effect's relative volume, you need a large D/dp. The classic rule of thumb is D/dp > 10 to keep the bypass zone negligible. In a pilot plant, this may demand larger reactors and higher flow rates than you'd like.
- Inert diluent at the wall: Filling the wall region with fine inert particles can reduce the local permeability and dampen bypass. This adds complexity to loading and can create hotspots at the interface if not perfectly executed.
- Accepting and modeling: Instead of fighting it, you can deliberately operate with a known bias. This requires investing the time to characterize the radial flow profile and build a validated dispersion model, a trade-off of modeling effort for experimental simplicity.
Making the Right Choice for Your Goal
Pilot plants are built for specific purposes. Your strategy for dealing with the wall effect should match that purpose directly.
- If your primary focus is generating intrinsic kinetic data for reactor design: You must either eliminate the wall bypass (by using a sufficiently large D/dp ratio) or explicitly deconvolute its effect using a validated 2D dispersion model. Averaging will poison your kinetic parameters.
- If your primary focus is operator training and demonstrating non-ideal flow: Accept the wall effect as a valuable teaching tool. Use the measurable deviation from an ideal plug-flow model to show students how and why real reactors behave differently, reinforcing the need for dispersion models.
- If your primary focus is testing a commercial catalyst for a specific plant condition: Replicate the commercial tube diameter as closely as possible. The goal is to mimic the bypass flow the catalyst will experience at scale, making your conversion data directly predictive, even if it's lower than ideal.
The wall effect turns your pilot plant from a simple measuring device into a small-scale representation of reality itself—both its uniform core and its imperfect edges. Your job is to decide whether to eliminate that edge, model it, or embrace it as part of the truth you need to capture.
Summary Table:
| Key Challenge | Impact on Conversion | Practical Solution |
|---|---|---|
| Near-Wall Porosity | Lowers resistance, creating bypass flow | Maintain $D/d_p > 10$ ratio |
| Reduced Residence Time | Drops local conversion, diluting outlet | Apply 2D dispersion modeling |
| Thermal Gradients | Distorts exothermic reaction rates | Match commercial tube diameter |
Master Chemical Engineering Principles with LABPARK
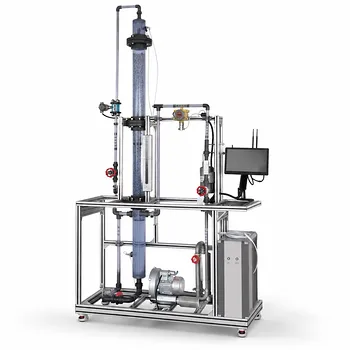
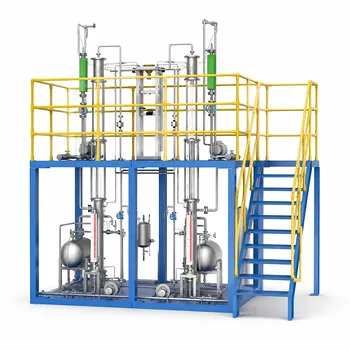
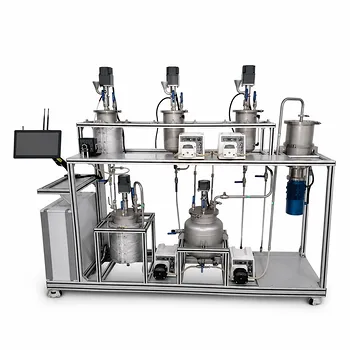
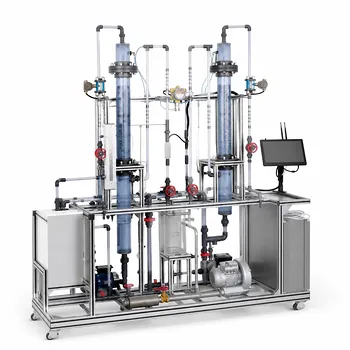
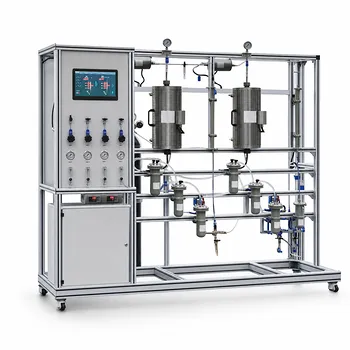
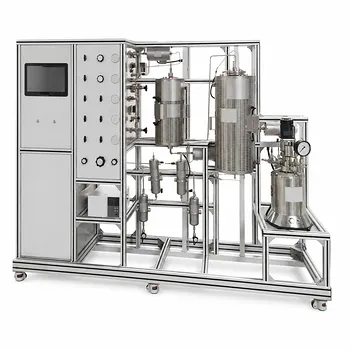
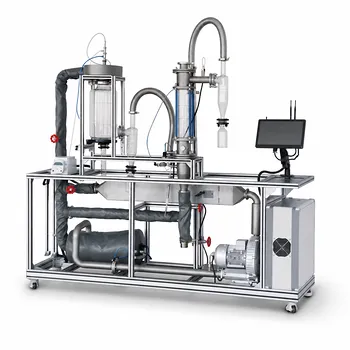
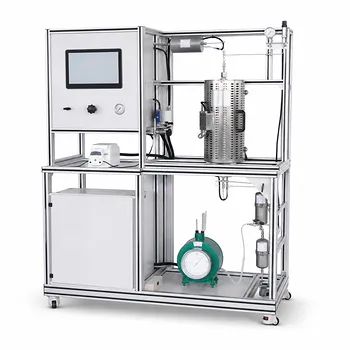
Accurately demonstrating and modeling complex reactor behaviors like the wall effect requires robust experimental equipment. LABPARK provides premium Educational and Vocational Unit Operations Pilot Plants across chemical engineering, bioprocess & biotech, and environmental & water treatment.
Whether you are a university reinforcing reactor design theory, a research institute gathering precise kinetic data, or an enterprise scaling up processes, our systems deliver the reliability and control you need.
Ready to elevate your laboratory capabilities? Contact LABPARK today to discuss your customized pilot plant requirements!
Related Products
- Packed Bed Absorption Educational Unit Operations Pilot Plant
- Multimodal Absorption and Desorption Pilot Plant for Unit Operations Training
- High-Gravity Emulsification and Mass Transfer Educational Pilot Plant
- Absorption and Desorption Educational Unit Operations Pilot Plant
- Fixed-Bed Chemical Reaction and Gas Dust Tar Removal Unit Operations Pilot Plant
People Also Ask
- How Do Flow Regimes Transition in Packed Bed Pilot Plants? Key Scale-up Insights
- How does reactant concentration determine absorption column control? Gas-film vs. dual-film.
- How is the packing height of an absorption column calculated? Master HTU & NTU Concepts
- How does static vs. operating holdup affect pilot plant calibration? Avoid Critical Scale-Up Errors
- How does a packed column gas absorption pilot plant demonstrate chemical absorption? Lab teaching guide.