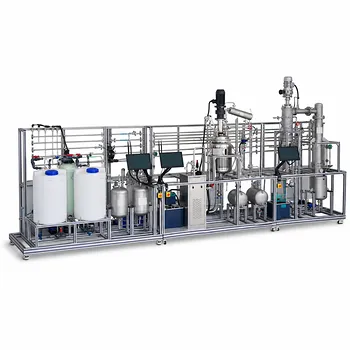
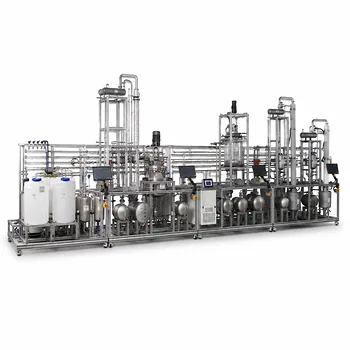
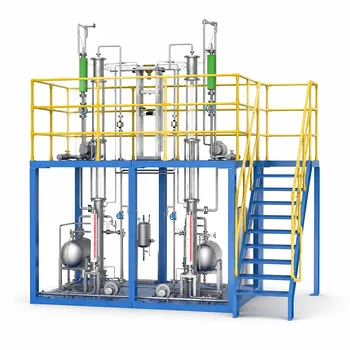
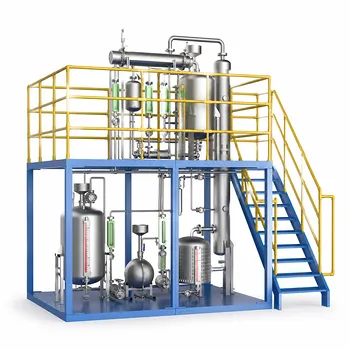
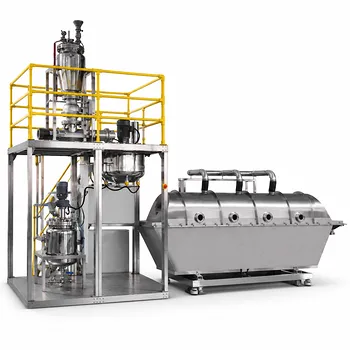
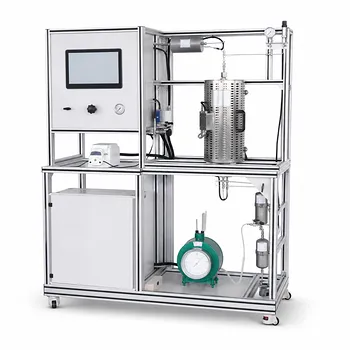
The configuration of control strategies and monitoring interfaces in a unit operations pilot plant is a structured, three-layer process. It begins with mapping every physical sensor and actuator into the software, then proceeds to defining the control algorithms that regulate the process, and finally culminates in building the interactive screens that operators and researchers use to visualize, log, and safely manipulate the plant. The entire configuration is performed from a central engineering station, turning a collection of hardware into an intelligent, experimental platform.
Effective pilot‑plant software configuration solves two deep needs simultaneously: it provides safe, intuitive supervision for hands‑on training, while also enabling the flexible, model‑based control required for rigorous process research and scale‑up. The true art lies in balancing these two demands without sacrificing clarity or data integrity.
The Three Layers of Pilot‑Plant Software Configuration
The configuration workflow always follows the logical path from physical equipment to human interaction. In practice, this is executed using vendor‑specific engineering tools (SCADA, DCS, or soft‑PLC platforms), but the underlying principles are universal.
Mapping the Physical World: Hardware and I/O Configuration
Before any control logic can run, the software must know exactly what is connected. This foundational step defines the digital twin of the plant’s instrumentation.
The engineer assigns each field device a unique address in the system’s memory, then configures its signal range (e.g., 4–20 mA, 0–10 V), engineering‑unit scaling, and diagnostic limits. This mapping ensures a raw electrical signal from a flowmeter is correctly interpreted as, say, 5.7 L/min.
All safety‑critical parameters—like a pump’s maximum operating current or a reactor’s pressure trip point—are also set during this stage. Without this meticulous mapping, even the most advanced control algorithm would receive meaningless numbers.
Shaping Process Behavior: Control Loop Configuration
Once the I/O is defined, the real intelligence is added. This layer determines how the pilot plant will react to disturbances and maintain desired conditions.
Standard PID and cascade control are the workhorses here. Most configuration tools provide pre‑built function blocks for temperature, flow, level, and pressure loops. These can be dropped into a logic diagram and wired visually.
For common teaching setups, that is often sufficient. An instructor can quickly set up a cascade arrangement where a reactor’s jacket temperature controller receives its setpoint from the reactor’s internal temperature master controller, or a feedforward‑feedback loop that pre‑emptively adjusts a feed valve based on a measured upstream disturbance.
Custom control strategies unlock the pilot plant’s true research potential. When a standard PID block cannot deliver the required performance—for instance, implementing ratio control for precise chemical dosing, split‑range control for a heating/cooling system, or a model‑predictive algorithm—the configuration software allows users to write their own logic.
This is done through integrated graphical programming languages (function‑block diagrams, structured text) or a dedicated scripting environment. Students can design, compile, and download their own code, then immediately test it on physical equipment. This closes the gap between theoretical control design and real‑world implementation.
Building the Operator’s Window: HMI Configuration
The Human‑Machine Interface (HMI) is where all the underlying engineering becomes usable. Poor HMI design can render a perfectly tuned control scheme dangerous; good HMI design makes complex experiments safe and educational.
Specialized screen types structure the operator’s experience. A well‑configured pilot‑plant HMI typically contains at least four distinct views:
- Overview Screen: A high‑level snapshot of the entire plant, showing critical temperatures, pressures, and flows. It serves as the entry portal to more detailed subsystems.
- Flowchart / P&ID Screen: A live, animated representation of the physical piping and instrumentation diagram. Active fluid paths, valve states, and pump statuses are displayed dynamically, helping students connect process theory to what is actually happening in the plant.
- Trend Screen: Plots process variables over time with adjustable sampling intervals (often from 1 second to 1 hour). This is essential for analyzing transient startup behaviors, process disturbances, and control‑loop performance.
- Control Group Screen: Clusters related PID loops together, displaying the Process Variable (PV), Setpoint (SP), and Manipulated Variable (MV) side‑by‑side. Operators can tune parameters and switch between manual and automatic modes from a single, focused view.
Clarity prevents catastrophe. A critical but often overlooked part of HMI configuration is labeling. While a programmer might keep a default internal name like Label2 for efficiency, every input field and display must carry a user‑friendly caption that explicitly states the parameter—for example, “Mol/hr rates” or “No. of Selected Components.” This prevents the kind of operator error that can rupture a glass reactor or ruin a batch.
Alarm management is the final safety net. Configuration involves setting logical alarm thresholds, defining alarm priorities, and designing clear annunciation windows so that operators are immediately alerted to deviations without being overwhelmed by nuisance alarms.
Beyond the Loop: Configuration for Quality and Design‑Space Exploration
In research and scale‑up contexts, configuration moves beyond simple stabilization. The pilot plant becomes a tool to formally define a process’s design space—the multidimensional region of raw‑material properties and operating parameters that demonstrably assures final product quality.
Control loops are configured not merely to hold a setpoint, but to actively test and maintain that space. Hybrid models (combining first‑principles equations with empirical data) can be embedded in the control software. The system then converts real‑time spectral or physical sensor measurements into a quality prediction and automatically corrects deviations. This allows students to see how feedforward control, for example, can compensate for an incoming variation in raw material moisture to keep dryer output consistent.
Understanding the Trade‑offs
Configuration is never a one‑size‑fits‑all exercise. The choices made during the design stage directly affect safety, flexibility, and maintenance.
- Flexibility vs. Complexity: Custom‑coded control strategies give unparalleled freedom for research, but they require rigorous testing and debug cycles. A mis‑loaded custom block can cause unpredictable plant behavior, making this approach less suitable for quick, scheduled teaching labs where standardized PID blocks are more robust.
- HMI Richness vs. Cognitive Load: A screen with every conceivable data point might seem helpful, but it can easily overwhelm an operator during a stressful startup. The best configurations deliberately limit the information on each screen to what is relevant for that specific task.
- Alarm Sensitivity vs. Alarm Fatigue: Overly tight alarm limits generate a constant stream of beeps that operators learn to ignore. A well‑configured system prioritises critical safety alarms while keeping informational alerts separate and non‑intrusive.
Making the Right Configuration Choices for Your Goal
The optimal configuration path depends on what the pilot plant is primarily meant to achieve. Use the following as a guide to align your engineering effort.
- If your primary focus is vocational student training: Prioritize the HMI configuration. Build a clean, clearly labeled overview and P&ID‑flowchart screen, use robust standard PID loops, and set up trend screens with generous storage. The goal is to make process dynamics visible and prevent simple operator mistakes, such as mis‑entering a flow rate.
- If your primary focus is advanced control research: Invest your time in the custom control‑loop layer. Ensure the platform supports graphical programming or a high‑level language, and configure a control group screen that allows rapid switching between manual, basic PID, and experimental algorithms. Accept that you will need a stricter testing protocol.
- If your primary focus is process development and scale‑up: Map your design space directly into the HMI and control configuration. Use feedforward contacts that react to raw‑material variations, and configure trend screens that overlay quality predictions with actual measured values. This transforms the pilot plant from a demonstration tool into an evidence‑generating research instrument.
Ultimately, the software configuration is what gives a unit operations pilot plant its character—whether that be a safe classroom demonstrator, a flexible research testbed, or a miniature production prototype. Treat each layer not as a separate chore, but as part of a single integrated design that serves the human being on the other side of the screen.
Summary Table:
| Configuration Layer | Key Functions & Components | Primary Goal |
|---|---|---|
| 1. Hardware & I/O Mapping | Memory addressing, signal scaling (4-20 mA), diagnostic limits | Establishes the digital twin of physical instrumentation |
| 2. Control Loop Setup | Standard PID/cascade loops, custom ratio/split-range control | Shapes process behavior and response to disturbances |
| 3. HMI Configuration | Overview, P&ID flowcharts, trends, alarm management | Creates a safe, intuitive operator interface for users |
Optimize Your Lab with LABPARK's Advanced Pilot Plants
Are you looking to enhance hands-on training or scale up your research? LABPARK provides state-of-the-art Educational and Vocational Unit Operations Pilot Plants in chemical engineering, bioprocess & biotech, and environmental & water treatment. Designed for universities, research institutes, and enterprises, our plants feature flexible software interfaces to match your custom control and monitoring needs.
Contact us today to find the perfect pilot plant configuration for your lab!
Related Products
- General Purpose Cosmetics Production Unit Operations Training Pilot Plant
- Multi Pump Fluid Transport Process Piping Unit Operations Training Pilot Plant
- Multi-Functional Drying Educational Unit Operations Pilot Plant
- Fixed-Bed Chemical Reaction and Gas Dust Tar Removal Unit Operations Pilot Plant
- 100L Continuous Loop Hydrogenation Educational Unit Operations Pilot Plant
People Also Ask
- How do deviations in estimating latent heat impact pilot plant thermal systems? Avoid hardware mis-sizing.
- Why is the chemical plant startup schedule crucial? De-risk scale-up with pilot plants.
- When to transition from PID to adaptive control in pilot plants? Key process indicators.
- Why Compare Predicted and Experimental Excess Enthalpy? Key to Accurate Pilot Plant Scale-up
- How to study gasification in pilot plants? Compare exit gas composition & efficiency