Oil baths provide precise, high-temperature heating from 100 °C up to 260 °C, but they become a severe burn and fire risk if basic safety protocols are ignored. The key considerations are: keeping water completely out of the hot oil, managing the oil level to prevent overflow, never exceeding the oil’s thermal degradation limit, ensuring robust ventilation, and following strict cool‑down and handling procedures. When these guidelines are embedded in experimental routine, oil baths remain a reliable and controllable heat transfer medium for demanding chemical processes.
While oil baths give steady high-temperature control that water baths cannot, their safe operation revolves entirely around three physical threats: explosive splattering from water ingress, oil degradation and fume release from overheating, and thermal expansion causing dangerous overflows. Choosing the correct oil type and respecting its temperature ceiling is a safety decision, not just a performance one.
The Critical Hazard: Preventing Water‑Induced Splattering
A drop of water in a bath above 100 °C instantly vaporizes, expanding in volume more than a thousandfold. This flash‑boiling flings scalding oil violently into the workspace.
Why Even Trace Moisture Is Catastrophic
Water sinks below the hot oil surface and does not visibly warn you. Any condensation, wet glassware, or a poorly sealed condenser dripping into the bath guarantees a sudden, violent splatter. Burn injuries and fire ignition from hot oil landing on hot plates or open flames are the immediate consequences.
Engineering Out Water Entry
Always use completely dry vessels and clamps. Position reflux condensers so their joints are outside the bath’s rim, and never suspend a cooling water line directly above the oil surface. A simple splash‑guard made from aluminum foil can deflect a stray drop, but the only true safeguard is absolute water exclusion.
Controlling Oil Level: Master Expansion and Displacement
Overfilling an oil bath invites a slow‑motion overflow when the oil expands or you submerge a flask. Under‑filling starves the reaction vessel of the uniform thermal contact needed for accurate temperature control.
Why You Never Fill Past Two‑Thirds Capacity
All oils expand by 5–15% in volume when heated to their upper limit. Add the displacement from the submerged portion of a round‑bottom flask, and a bath that looks “just right” at room temperature can spill over as it reaches 200 °C. Spilled oil is a fire hazard and a slip risk.
The Insertion and Removal Check
Before heating, lower the clamped flask into the cold oil to confirm the level stays safely below the rim. Remove the flask only after the oil has cooled below 60 °C—not only to prevent burns, but because hot, low‑viscosity oil drips more readily and spreads contamination faster.
Staying Within the Oil’s Thermal Limit
Every oil has a ceiling beyond which it degrades, smokes, and creates toxic fumes. Treating that limit as a soft target is a common root cause of lab fires.
Understanding Oil Degradation Pathways
Vegetable oils (rapeseed, castor) can begin to oxidatively polymerize and smoke above 200 °C. The primary reference notes that adding 1 % hydroquinone stabilizes them against rapid breakdown, but this is a delay, not a cure. Silicone oil, by contrast, remains thermally stable to 250 °C but costs significantly more—Glycerol decomposes at 140–150 °C and is useless for high‑temperature work. Match the oil to your process temperature, not just the bath’s maximum rating.
Signs You Are Overheating
Visible smoke, a sharp acrid odor, or a sudden color shift from pale to dark brown means the oil is thermally cracking. At that point, the flash point is dropping, and the risk of autoignition rises. Immediate cooling and oil replacement are mandatory.
Ventilation: Capturing Invisible Fumes
Even chemically stable silicone oils can emit low levels of volatiles at the top of their range. Overheated natural oils release aldehydes and acrolein, which are potent irritants.
Why a Fume Hood Is Non‑Negotiable
Always operate an oil bath inside a functioning fume hood. The sash acts as a physical barrier against a splatter event, and the airflow scrubs the breathing zone. Simply opening a window or relying on general lab ventilation does not provide the directional protection needed for a sudden high‑temperature aerosol release.
Safe Handling After the Run
The moment you turn off the heat, the lab’s highest‑risk object moves from the bath to the glassware you are about to grip.
The Cool‑Down Protocol
Set a timer: allow a minimum of 30 minutes of passive cooling for a bath that was above 150 °C. Use a surface thermometer if available—oil holds heat much longer than water. Never leave a cooling bath unattended without clearly marking it as “HOT.”
Wipe Residual Oil Immediately
Hot oil that drips onto a benchtop hardens into a sticky film that is later impossible to clean and can catch fire if a Bunsen burner is used nearby. Wipe the exterior of every vessel with a dedicated, solvent‑dampened cloth before it leaves the hood.
Understanding the Trade‑offs with Oil Types
No single oil is perfect. The safety profile of your setup depends on a deliberate choice among thermal stability, convenience, and cost.
Silicone Oil vs. Vegetable Oil vs. Paraffin
- Silicone oil offers the widest safe temperature window (up to 250 °C) and minimal fuming, but it is expensive and its low surface tension makes clean‑up tedious.
- Vegetable oils (with stabilizer) are cheap and biodegradable, but they demand rigorous temperature monitoring because their degradation point varies between batches.
- Paraffin oil is a solid at room temperature, making storage and spill clean‑up far easier. However, once molten, its thermal stability above 220 °C is only moderate, and it can smoke heavily if overtemperature.
The Hidden Pitfall of Viscosity
As oil ages and oxidizes, its viscosity rises, which reduces convective heat transfer. A sluggish, darkened oil may still be below its flash point but will cause uneven heating and hot spots on the flask, distorting process data. Replace oil on a preventive schedule, not just after visible degradation.
Making the Right Choice for Your Chemical Process
Your specific safety protocol flows directly from what you are trying to achieve and the oil you select.
- If your primary focus is a stable, high‑temperature hold above 200 °C: Use a fresh charge of thermally‑stable silicone oil and insert a calibrated external temperature sensor fully into the reaction liquid to prevent runaway heating.
- If your process runs between 130 °C and 190 °C and cost is critical: Choose a castor or rapeseed oil with 1 % hydroquinone; replace the oil as soon as the color darkens and never operate without a fume hood.
- If you must minimize ignition risk in a shared workspace: Select a paraffin oil with a flash point well above your maximum process temperature and implement a strict cool‑down checklist before any vessel is removed.
- If you are training new researchers: Standardize on a single oil type for the lab, post its temperature limit on the hood, and make the water‑exclusion rule the single non‑negotiable safety step.
A disciplined focus on excluding water, respecting thermal degradation points, and planning for expansion transforms an oil bath from a hidden hazard into a predictable, high‑performance tool for high‑temperature chemistry.
Summary Table:
| Oil Type | Safe Temp Limit | Key Advantage | Main Drawback |
|---|---|---|---|
| Silicone Oil | Up to 250 °C | High thermal stability, minimal fumes | High cost, tedious clean-up |
| Vegetable Oil | Up to 200 °C (stabilized) | Inexpensive and biodegradable | Prone to smoking & rapid degradation |
| Paraffin Oil | Up to 220 °C | Solid at room temp, easy cleanup | Heavy smoke when overheated |
Elevate Your Chemical Engineering Lab Safety and Performance
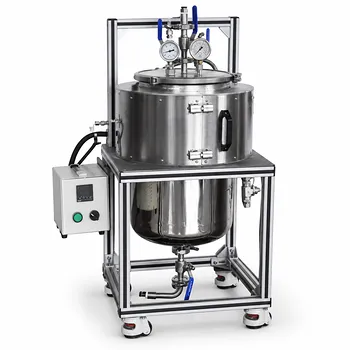
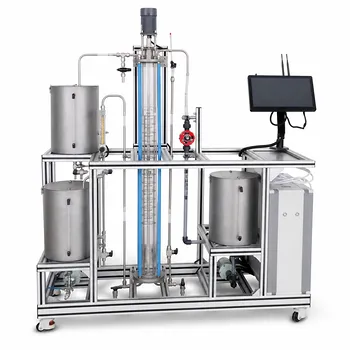
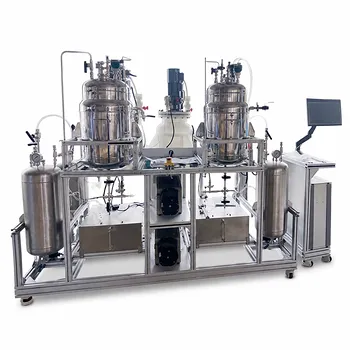
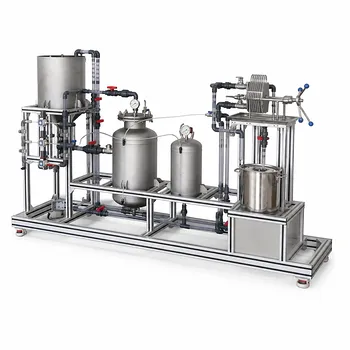
At LABPARK, we design and supply premium Educational and Vocational Unit Operations Pilot Plants in chemical engineering, bioprocess & biotech, and environmental & water treatment. We help universities, research institutes, and enterprises build safer, highly efficient, and industry-aligned laboratory environments.
Ready to optimize your experimental setups and ensure maximum laboratory safety? Contact LABPARK today to discuss your training and research equipment needs!
Related Products
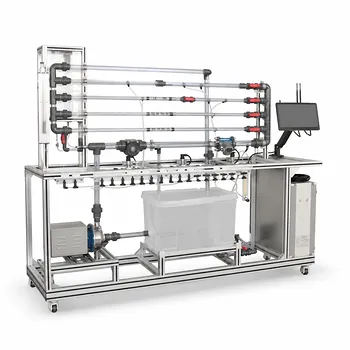
- Fluid Friction Resistance Determination Educational Unit Operations Pilot Plant
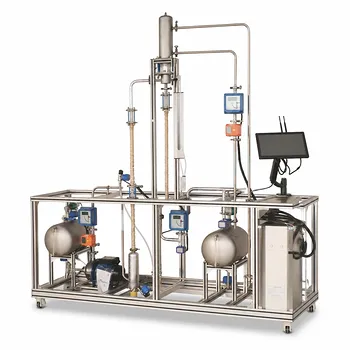
- Rising and Falling Film Evaporation Educational Unit Operations Pilot Plant
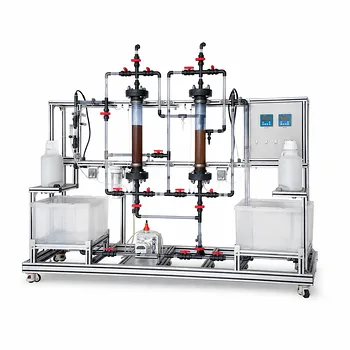
- Ion Exchange Water Purification Educational Pilot Plant for Engineering Unit Operations
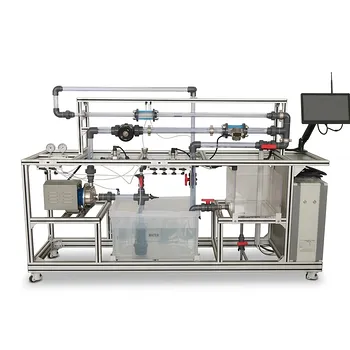
- Centrifugal Pump Performance and Orifice Flowmeter Calibration Educational Pilot Plant
- Bernoulli Equation Demonstration Unit Operations Pilot Plant
People Also Ask
- How do pilot plants teach U-tube manometers? Master Differential Pressure Calculations
- How is the hydrodynamic entrance length estimated for high-Re channel flows? Design accurate pilot-plant measurements
- How do velocity profiles and flow rates differ in Newtonian and power-law fluids? A Pilot Plant Guide
- How do pilot plants demonstrate siphon pressure variations? Visualizing Bernoulli's Energy Balance
- How does high-frequency pressure oscillation affect velocity distribution and boundary layer behavior? Discover Stokes-layer effects