Here is the definitive procedure for heat exchanger sizing, a fundamentally iterative trial-and-error calculation that you will run through multiple times before arriving at a viable design.
The process begins by defining your heat load and fluid properties, then moves into a converging loop: you guess an overall heat transfer coefficient, calculate a required area, design the physical geometry, and then check if the geometry delivers the coefficient you guessed. In a unit operations pilot plant, every one of these theoretical steps is then physically validated with real fluids, measured temperatures, and observed pressure drops, bridging the gap between your spreadsheet and industrial reality.
The 11-step design procedure is not a linear checklist; it is a converging optimization search. You start with a performance target and an educated guess, calculate the physical geometry required, and then rigorously test if that geometry can actually deliver the thermal performance you assumed. The true educational and professional value of a pilot plant is its ability to experimentally verify this entire iterative loop.
Foundations: Defining the Thermal and Physical Problem
Before any geometry is drawn, you must numerically frame the problem. This is a two-part data-gathering exercise that serves as the bedrock for every calculation that follows.
Establishing the Heat Load and Mass Balance
The first calculation is a macroscopic energy balance. You must precisely determine the heat transfer rate, (Q), by analyzing the fluid flow rates and their required temperature changes. For a reactor system, this must be preceded by a full material balance sheet. You must know the mass flow rates of every component entering and leaving the system, as this inventory is the required input for the heat balance.
Collecting Physical Property Data
You cannot design a unit without understanding the fluids. You must compile the density, viscosity, specific heat capacity, and thermal conductivity for both the hot and cold streams. Crucially, because these properties are temperature-dependent, you must select a reference temperature—often 298 K, as this is where standard thermodynamic tables are recorded—to anchor your initial calculations.
The Iterative Core: From an Educated Guess to a Verified Geometry
This is where the trial-and-error process becomes tangible. You will select a configuration, make a critical initial assumption, and then systematically force that assumption to align with physical reality.
Selecting a Preliminary Configuration and Initial Guess
Your first structural decision is to choose the heat exchanger type—be it a shell-and-tube, double-pipe, or plate unit. This choice is then paired with the most critical step in the iteration: estimating an initial overall heat transfer coefficient (U). This initial value is an educated guess, often sourced from experience or published tables.
Solving for the Theoretical Area
With your assumed (U) and a calculated log mean temperature difference (LMTD), you use the fundamental heat transfer equation, (Q = U \cdot A \cdot LMTD), to compute the required heat transfer surface area, (A). This area is a theoretical ideal, entirely dependent on your guess. It provides the first cost-linked parameter, as heat exchanger cost is primarily a function of this area.
Designing the Internal Structure and Testing the Guess
You now transform the theoretical area into a physical device. You determine the internal design: tube diameters, number of tubes, tube passes, and shell dimensions. Once the geometry is defined, you calculate the individual film heat transfer coefficients for both sides of the heat transfer surface. You then compute the calculated overall heat transfer coefficient and compare it against your initial guess. If the discrepancy is significant—and it always is on the first pass—you must replace your guess with the calculated value and recompute the entire loop until the values converge.
Verification and Cost Constraints in the Pilot Plant Environment
The design loop doesn't end at thermal convergence. A thermally viable unit that guzzles power or ruptures pipes is not a valid design. This is where the pilot plant becomes an indispensable verification tool.
Experimental Validation of Theoretical Results
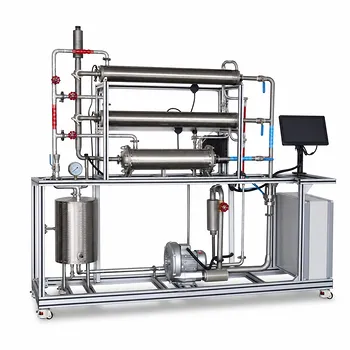
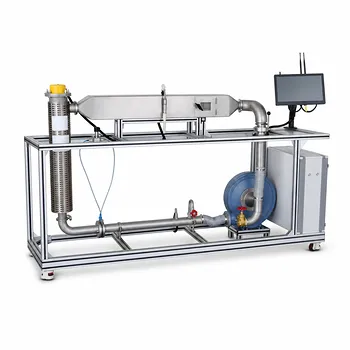
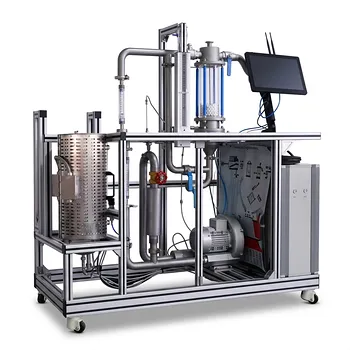
The pilot plant transforms design calculations into verifiable physics. By operating the exchanger, students and engineers measure actual process fluid inlet and outlet temperatures, flow rates, and pressure drops. Using sensors to capture real-time data—such as the pressure drop across a tube bundle—allows you to go beyond theory and calculate real-world coefficients, directly comparing your design's predicted performance with empirical data.
The Reality of Pressure Drop and Cost Optimization
After thermal convergence, you must calculate the pressure drop. If it exceeds allowable limits, you must return to the structural design step—often by increasing the number of tube passes to raise fluid velocity and heat transfer, as seen when switching a 2-pass design to a 4-pass. This optimization loop directly influences economics. When precise supplier quotes aren't available, you use equipment-specific cost correlations, such as (C_c = a + b \cdot S^n), where (S) is the heat transfer area, to estimate capital cost. For example, a standard carbon steel U-tube exchanger budgeted for a pilot plant can be scaled down using these cost-capacity relationships to ensure the design is both thermally and financially sound.
The Inherent Friction: Understanding the Trade-offs
No heat exchanger design is perfect. It is a compromise. Recognizing the central conflict embedded in this procedure prevents you from chasing an impossible ideal.
The Speed-vs.-Precision Conflict
The iterative loop from step 6 through step 9 represents a fundamental trade-off. You can achieve rapid convergence with a lazy guess that results in an oversized, expensive unit. Conversely, demanding a highly precise, lean design requires numerous iteration loops and high-accuracy physical property data, which takes time and computational effort.
The Classic U, ΔP, and Area Triangle
You are always negotiating between three variables. Higher fluid velocities dramatically improve the U-value and reduce fouling, but they increase the pressure drop (ΔP) exponentially, driving up pump or fan power costs. A lower pressure drop saves operating expenditure but requires a larger heat transfer area, increasing capital expenditure. A pilot plant is a tool for optimizing this triangle, allowing you to see how a decision to improve heat transfer directly impacts pressure drop readings on the control panel. Additionally, you must always validate your equipment against operational safety standards, ensuring the piping design per ASME B31.3 can handle the chosen pressures without compromising personnel safety.
Making the Right Choice for Your Design Goal
Your approach to this step-by-step procedure should shift based on your ultimate objective. The process is the same, but the emphasis changes.
- If your primary focus is skills validation and education: Use the pilot plant to deliberately cause and observe non-convergence. Intentionally make a poor initial U-value guess and force a re-design loop to see the procedure's self-correcting nature in real time.
- If your primary focus is scaling a unit to production: Prioritize the pressure drop verification steps and the cost optimization loop. Use the pilot plant data not just for heat transfer, but to fine-tune your constants a, b, and n in the equipment cost correlation for a more accurate scale-up budget.
- If your primary focus is designing for a tight capital budget: Zero in on the structural design step. Aggressively explore configurations that reduce surface area—like using multiple tube passes to boost velocity without increasing shell diameter—and then use the pilot plant to verify that your aggressive thermal performance doesn't come with an unaffordable operating cost.
The final design is not found on the first iteration; it is revealed through a structured process of proposing, calculating, observing, and refining until every thermal and hydraulic constraint physically converges.
Summary Table:
| Stage | Key Design Steps | Verification & Optimization |
|---|---|---|
| 1. Foundation | Define heat load ($Q$), mass balance, & collect temperature-dependent physical properties | Establish baseline thermodynamic data at reference temperatures |
| 2. Iteration | Assume initial overall $U$, calculate area ($A$), design internal geometry, calculate actual $U$ | Iterate geometry and calculations until the assumed and calculated $U$ values converge |
| 3. Verification | Calculate pressure drop ($\Delta P$), adjust tube/shell passes, and verify safety margins | Measure real fluid temperatures and pressure drops under actual operating conditions |
| 4. Economics | Apply equipment cost-capacity correlations to optimize size vs. utility costs | Balance capital expenditure (CAPEX) with long-term operating costs |
Bring Heat Transfer Theory to Life with LABPARK Pilot Plants
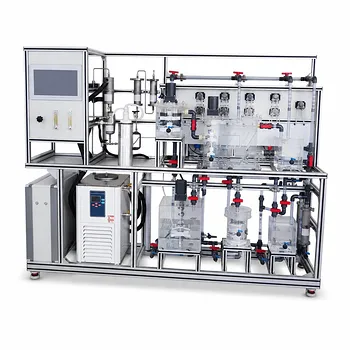
Bridging the gap between spreadsheet formulas and physical fluid dynamics is critical for engineering success. LABPARK designs and manufactures high-quality Educational and Vocational Unit Operations Pilot Plants in chemical engineering, bioprocess & biotech, and environmental & water treatment.
We help universities, research institutes, and enterprises build hands-on labs where students and researchers can experimentally validate heat transfer coefficients, monitor real-time pressure drops, and master industrial scale-up.
Ready to elevate your training and research capabilities? Contact our engineering team today to customize the perfect pilot plant solution for your institution!
Related Products
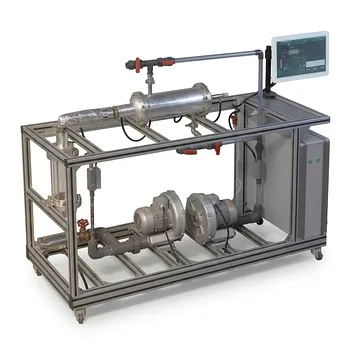
- Shell and Tube Heat Exchanger Heat Transfer Coefficient Determination Educational Pilot Plant
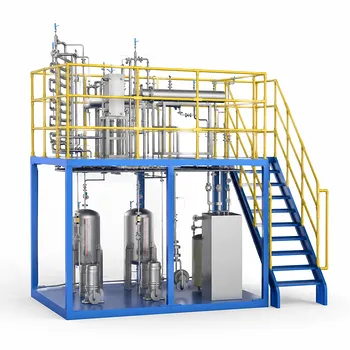
- Comprehensive Multi-Modal Heat Transfer Unit Operations Pilot Plant for Engineering Training
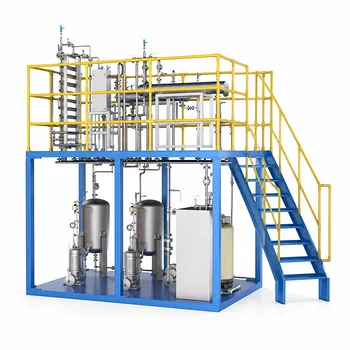
- Dual Mode Heat Transfer Pilot Plant for Unit Operations Training
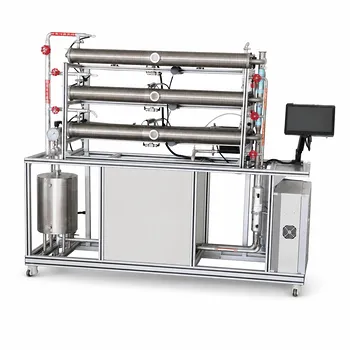
- Three-Tube Heat Transfer Educational Pilot Plant for Unit Operations Training
- Comprehensive Heat Transfer Coefficient Determination Educational Unit Operations Pilot Plant
People Also Ask
- Why Apply LMTD Correction in Shell-and-Tube Pilot Plants & How to Determine It
- Why adjust baffle spacing in shell-and-tube heat exchanger pilot plants? Master heat transfer & pressure drop.
- How to Estimate Shell-Side Pressure Drop in a Shell-and-Tube Heat Exchanger Pilot Plant: Key Parameters Explained
- How is the fouling factor (Rd) evaluated? Key Pilot Plant Insights for Students
- How is fouling factor demonstrated using shell and tube pilot plants? Practical Lab Guide