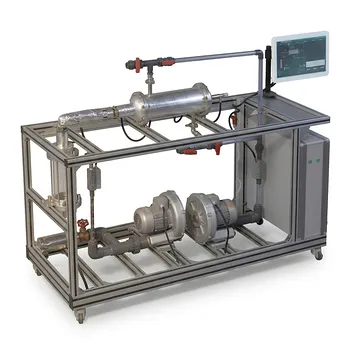
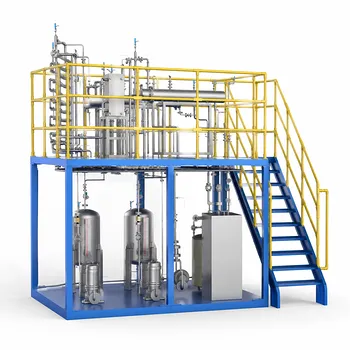
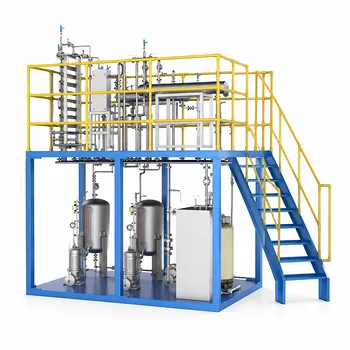
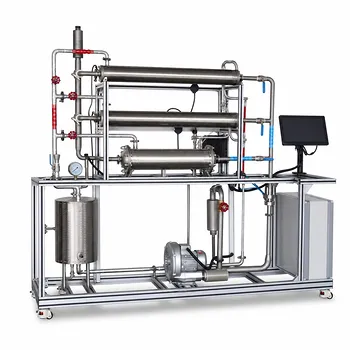
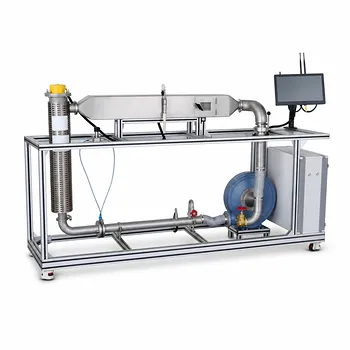
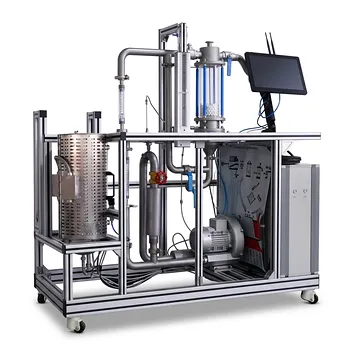
In educational pilot plants, the number of tube passes is far more than a geometric detail—it’s a decisive economic lever.
When fewer than three tube passes are selected, the heat exchanger configuration tends to be uneconomical and high in cost because it forces inefficient heat transfer patterns and poor flow distribution. Experienced designers instead opt for three or more tube passes, with over-and-under arrangements, to balance flow, boost thermal performance, and keep equipment costs manageable while giving students a clear window into real-world optimization.
Designing a shell-and-tube training unit with fewer than three tube passes typically drives up total ownership cost through oversized heat transfer surfaces and weak thermal efficiency. Three or more passes, properly arranged, balance heat transfer and pressure drop, reducing the required area and making the pilot plant both a more effective teaching tool and a better economic proposition.
Why Fewer Than Three Tube Passes Undermines Economics and Learning
The Trap of Weak Temperature Driving Forces
With only one or two tube passes, the flow inside a shell-and-tube unit approaches co-current or highly inefficient cross-flow patterns.
The LMTD correction factor (Ft) drops steeply, and for certain temperature profiles the configuration becomes thermally inoperable.
To meet the required duty, the heat transfer surface area must balloon—driving up material, fabrication, and footprint costs when laboratory space is already tight.
Flow Maldistribution and Hidden Oversizing
Fewer than three passes often leads to uneven fluid distribution among the tubes.
Some tubes carry most of the flow while others act as near-stagnant bypass lanes, reducing the effective heat transfer area.
The practical fix is oversizing the exchanger, feeding the very uneconomical cycle the pilot plant is meant to demonstrate.
A Lost Teaching Opportunity
A unit that relies on brute‑force oversizing instead of intelligent pass selection robs students of the chance to optimize.
You miss the hands‑on calculation of tube‑side mass flow rate (GT) and the direct observation of how a simple mechanical choice—the number of passes—can slash required area from hundreds to tens of square meters.
The Real Cost Drivers Beyond the Tube Count
Capital Cost: Material, Fabrication, and Footprint
A low-pass design demands a large heat transfer area, which means a longer, heavier shell, more tubes, and a larger support structure.
By contrast, moving to three or more passes dramatically improves the effective LMTD.
This often reduces the required surface area by 80% or more compared to a single-pass solution, directly shrinking the exchanger’s weight, physical volume, and manufacturing cost.
Operating Cost: The Pressure Drop Penalty
Every added pass narrows the flow cross-section, increasing tube‑side velocity.
Higher velocity raises the Reynolds number and the tube‑side heat transfer coefficient ((h_i))—a clear thermal win.
But pressure drop ((\Delta p_t)) scales with the square of velocity and is multiplied by the number of passes, so pumping power can climb sharply.
In a training pilot plant, this trade‑off is precisely what students must quantify, weighing the cost of larger pumps against the material savings of a compact exchanger.
Complexity and Scalability
Header designs for multiple passes are more intricate, requiring partition plates and careful sealing.
Yet the incremental manufacturing complexity is usually minor when set against the massive area reduction that three or more passes deliver.
For educational setups, a configuration with 3 to 6 passes strikes a practical sweet spot—teachable, optimizable, and cost‑effective.
Understanding the Trade‑offs
The Heat Transfer versus Pressure Drop Balance
Adding tube passes boosts (h_i) and lowers the required surface area, but it also inflates the pressure drop.
The key lesson for pilot‑plant operators is that economic optimum occurs where the sum of capital and pumping costs is minimized.
A design with fewer than three passes sits far from that optimum—capital costs dominate and the unit becomes a liability, not a learning tool.
Over‑and‑Under Passes: A Practical Enabler
When three or more passes are used, over‑and‑under tube arrangements are recommended to balance fluid distribution across the bundle.
This layout avoids the dead zones that plague low-pass designs, ensuring that every tube contributes to heat transfer and that the calculated GT values reflect reality.
The Danger of Ignoring Shell‑Side Effects
Higher tube counts and longer travel paths can increase shell‑side pressure drop if baffle spacing isn’t adjusted.
However, the dramatic capital savings and improved thermal performance of a 3+ pass design usually outweigh the added pump energy, especially in a laboratory where budgets favor low capital outlay and compact equipment.
Making the Right Choice for Your Goal
Decide what you want your pilot plant to teach, and let that guide the tube pass count.
- If your primary focus is demonstrating industrial best practices: Choose a configuration with three or more tube passes and an over‑and‑under layout. This mirrors the real‑world approach that avoids uneconomical oversized exchangers.
- If your primary focus is hands‑on optimization experiments: Use a unit that can be reconfigured from 2 to 4 passes. Let students measure how the required area and pump power shift, so they can find the cost minimum themselves.
- If your primary focus is operating within a tight spatial or budget constraint: Start with a design of at least three passes right away. The upfront compressor or pump power increase is far smaller than the cost of a giant exchanger that won’t fit in your lab.
By always starting at three tube passes and using the over‑and‑under layout, you transform the heat exchanger from a costly laboratory burden into a compact, instructive model of efficient engineering design.
Summary Table:
| Design Feature | < 3 Tube Passes | 3+ Tube Passes (Over-and-Under) |
|---|---|---|
| Heat Transfer Area | Oversized & costly | Compact & cost-effective (up to 80% reduction) |
| Flow Distribution | Uneven (stagnant zones) | Balanced fluid distribution |
| Pressure Drop | Low pumping power | Higher (teaches critical optimization trade-offs) |
| Educational Value | Low (oversimplified design) | High (mirrors industrial engineering practices) |
Optimize Your Lab's Heat Exchanger Unit Operations with LABPARK
Ready to design highly efficient, cost-effective pilot plants that deliver real-world learning? LABPARK provides state-of-the-art Educational and Vocational Unit Operations Pilot Plants in chemical engineering, bioprocess & biotech, and environmental & water treatment for universities, research institutes, and enterprises.
Whether you need to demonstrate optimal tube pass configurations or complex thermodynamic trade-offs, our expert engineering team is here to help you select the ideal setup. Contact LABPARK today to customize the perfect training unit for your laboratory!
Related Products
- Shell and Tube Heat Exchanger Heat Transfer Coefficient Determination Educational Pilot Plant
- Comprehensive Multi-Modal Heat Transfer Unit Operations Pilot Plant for Engineering Training
- Dual Mode Heat Transfer Pilot Plant for Unit Operations Training
- Three-Tube Heat Transfer Educational Pilot Plant for Unit Operations Training
- Comprehensive Heat Transfer Coefficient Determination Educational Unit Operations Pilot Plant
People Also Ask
- Why Apply LMTD Correction in Shell-and-Tube Pilot Plants & How to Determine It
- How is the fouling factor (Rd) evaluated? Key Pilot Plant Insights for Students
- How is fouling factor demonstrated using shell and tube pilot plants? Practical Lab Guide
- Why is simulating and calculating fouling factors crucial when operating educational heat exchanger pilot plants?
- Why Estimate Tube Wall Temp in Heat Exchangers? Master Pilot Plant Thermal Resistance