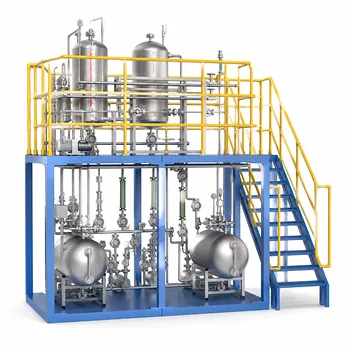
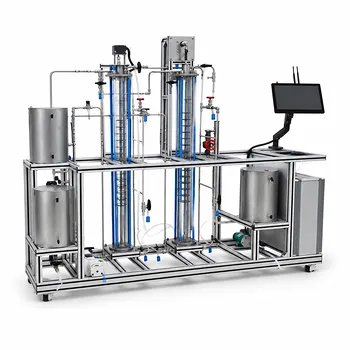
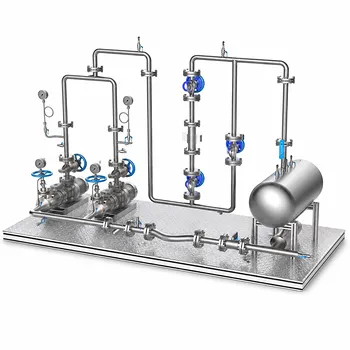
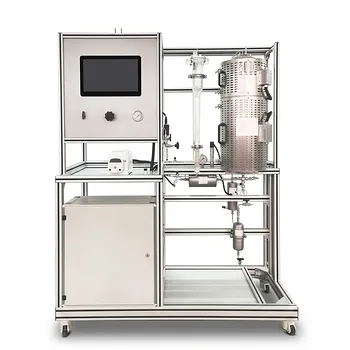
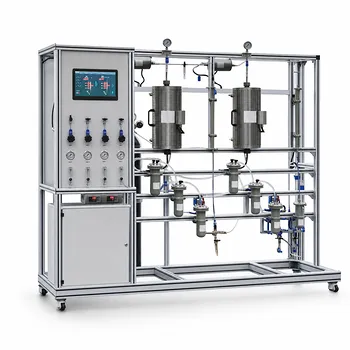
In any fluid mechanics pilot plant equipped with a clear test section and a dye injection system, the relationship between laminar entry length, pipe diameter, and Reynolds number becomes a tangible, visual phenomenon. Instructors can demonstrate it by systematically varying the flow rate or by swapping in pipes of different diameters, then measuring the distance a dye filament—or better, a wall‑injected dye streak—travels before the boundary layers merge and the velocity profile becomes fully developed. The governing equation, (x_0 / d = 0.057 , Re), shows that the entry length (x_0) is directly proportional to both the pipe diameter (d) and the Reynolds number (Re). By keeping the flow laminar and altering either variable, students can see this linear dependency unfold in real time and critically compare their observations with theory.
The entry length of laminar pipe flow is a sensitive function of both the Reynolds number and the pipe diameter—changing either will proportionally alter the distance required for the velocity profile to stabilize. A well‑designed pilot plant experiment lets students visualize boundary layer growth and directly test the theoretical linear relationship (x_0/d = 0.057 Re), turning an abstract formula into an intuitive, memorable lesson.
Designing a Visual Entry Length Experiment
Equipping the Pilot Plant for Visualization
The heart of the demonstration is a glass or clear acrylic pipe section long enough for laminar flow to fully develop at the chosen conditions.
A dye injection system—placed at a precise location near the pipe wall—makes the boundary layer visible. As the fluid moves downstream, the dye marks the outer, slow‑moving fluid layer, which gradually thickens from the wall toward the centerline.
Students watch the colored layer grow until it reaches the pipe’s axis. That merge point signals the end of the hydrodynamic entry region, where the parabolic laminar velocity profile is finally established.
A calibrated rotameter or flow meter allows students to measure the volumetric flow rate (Q) and calculate both the average velocity (u) and the Reynolds number (Re = \frac{d u \rho}{\mu}).
Manipulating Flow Rate to Change the Reynolds Number
The most straightforward way to alter the entry length is to change the flow rate while keeping the pipe diameter constant.
Increasing the flow (while staying within the laminar regime, (Re < 2000)) raises the velocity (u), which directly increases the Reynolds number. Because (x_0 = 0.057 , d , Re), the entry length grows proportionally. Students can double the flow rate and observe that the dye‑marked boundary layers now merge roughly twice as far downstream.
This exercise reinforces that even in laminar flow, higher velocities demand longer distances for the velocity profile to “forget” its initial shape and settle into the fully developed parabolic form.
Switching Pipe Diameters to Demonstrate Direct Proportionality
A well‑stocked pilot plant typically has several interchangeable test sections of different inner diameters.
Keep the Reynolds number exactly the same—by adjusting the flow rate accordingly—and then swap in a pipe of a different diameter. Because (x_0/d) depends only on (Re), the nondimensional entry length remains constant.
The result is that the absolute entry length (x_0) increases or decreases in direct proportion to the pipe diameter. For example, doubling the pipe diameter while holding (Re) constant will double the physical length required for development. Students see, vividly, that a laboratory‑scale pipe reaches fully developed flow much sooner than a geometrically similar but much larger industrial conduit.
Understanding the Trade‑offs and Common Pitfalls
Defining the End of the Entry Region
The formula (x_0/d = 0.057 Re) is based on the distance at which the centerline velocity reaches 99% of its fully developed value. In practice, visually pinpointing the exact merge point of boundary layers is approximate.
Minor asymmetries in the dye injection or slight inlet disturbances can shift the apparent merge location. Instructors should encourage students to take repeated measurements and treat the demonstration as an exploration of the principle rather than a precision metrology exercise.
Avoiding Accidental Flow Transition
The linear relationship only holds for fully laminar flow ((Re \lesssim 2000)). As (Re) climbs, the flow becomes increasingly sensitive to background vibrations, pump pulsations, and inlet sharpness.
At Reynolds numbers above about 1800, even a small bump or a slightly misaligned fitting can trigger the transition to turbulence, causing the dye streak to break up prematurely. Instructors must select operating points safely inside the laminar envelope and ensure that the inlet section provides a smooth, disturbance‑free entry.
Managing Limited Test Section Length
For large pipe diameters or moderately high Reynolds numbers, the calculated entry length may exceed the physical length of the pilot plant.
Choose demonstration conditions so that (x_0) is comfortably shorter than the available clear pipe section. If the test section is too short, the boundary layers never merge and the fully developed condition is never reached. A quick pre‑calculation using (x_0 = 0.057 , d , Re) avoids a demonstration that simply shows an endlessly growing boundary layer.
Making the Right Choice for Your Lab Objective
- If your primary focus is conceptual visualization: Use a fixed pipe diameter and let students slowly increase the flow rate. The progressive stretching of the entry region gives an intuitive feel for how inertia and viscous forces compete to shape the velocity profile.
- If your primary focus is quantitative verification of theory: Set up a single‑diameter pipe and have students calculate (Re) from measured flow rates while marking the merge point at several speeds. Plotting (x_0/d) versus (Re) should yield a slope near 0.057, directly validating the empirical correlation.
- If your primary focus is scaling to industrial designs: Hold (Re) constant and switch between multiple pipe diameters. Measure how the absolute entry length scales linearly with (d), and discuss why large chemical plant pipe networks require much longer calming sections than benchtop models.
By letting students manipulate flow rate and pipe diameter and then observe the moving boundary between developing and fully developed flow, a pilot plant transforms a textbook formula into a living experiment—one that builds genuine, durable understanding of laminar pipe fluid mechanics.
Summary Table:
| Variable / Parameter | Relationship to Entry Length ($x_0$) | Experimental Demonstration Method |
|---|---|---|
| Reynolds Number ($Re$) | Directly proportional ($x_0 \propto Re$) | Vary the flow rate while keeping the pipe diameter constant. |
| Pipe Diameter ($d$) | Directly proportional ($x_0 \propto d$) | Swap test sections to a different diameter while keeping $Re$ constant. |
| Laminar Flow Limit | Linear relation holds for $Re \lesssim 2000$ | Maintain low velocities to prevent transition to turbulent flow. |
Bring Fluid Mechanics to Life in Your Laboratory
Ready to upgrade your teaching and research capabilities? LABPARK provides premium Educational and Vocational Unit Operations Pilot Plants in chemical engineering, bioprocess & biotech, and environmental & water treatment. Designed to meet the rigorous demands of universities, research institutes, and enterprises, our systems offer clear visualization and precise control to help students master complex fluid dynamics concepts.
Contact LABPARK today to find the perfect pilot plant for your lab!
Related Products
- Comprehensive Fluid Mechanics Educational Unit Operations Pilot Plant
- Orifice and Venturi Flowmeter Calibration Educational Pilot Plant for Fluid Mechanics Laboratory
- Centrifugal Pump Performance and Orifice Flowmeter Calibration Educational Pilot Plant
- Fluid Friction Resistance Determination Educational Unit Operations Pilot Plant
- Multi Pump Fluid Transport Process Piping Unit Operations Training Pilot Plant
People Also Ask
- How do changes in pipe diameter & local head losses affect gradients? Pilot plant insights.
- How do pilot plants teach U-tube manometers? Master Differential Pressure Calculations
- How do piping modifications impact pilot plant system resistance? Learn the Best Upgrade Methods
- How to demonstrate head, friction, & pump energy in pilot plants? Master fluid mechanics.
- How can students verify piping network flow & head loss using a fluid mechanics pilot plant?